
10 Things To Take On Every Backpacking Trip

This post was originally written in July of 2017, but I wanted to bring it back around since it still is very applicable today and we make sure to bring these 1o things on every backpacking trip.
10 Things To Take On Every Backpacking Trip
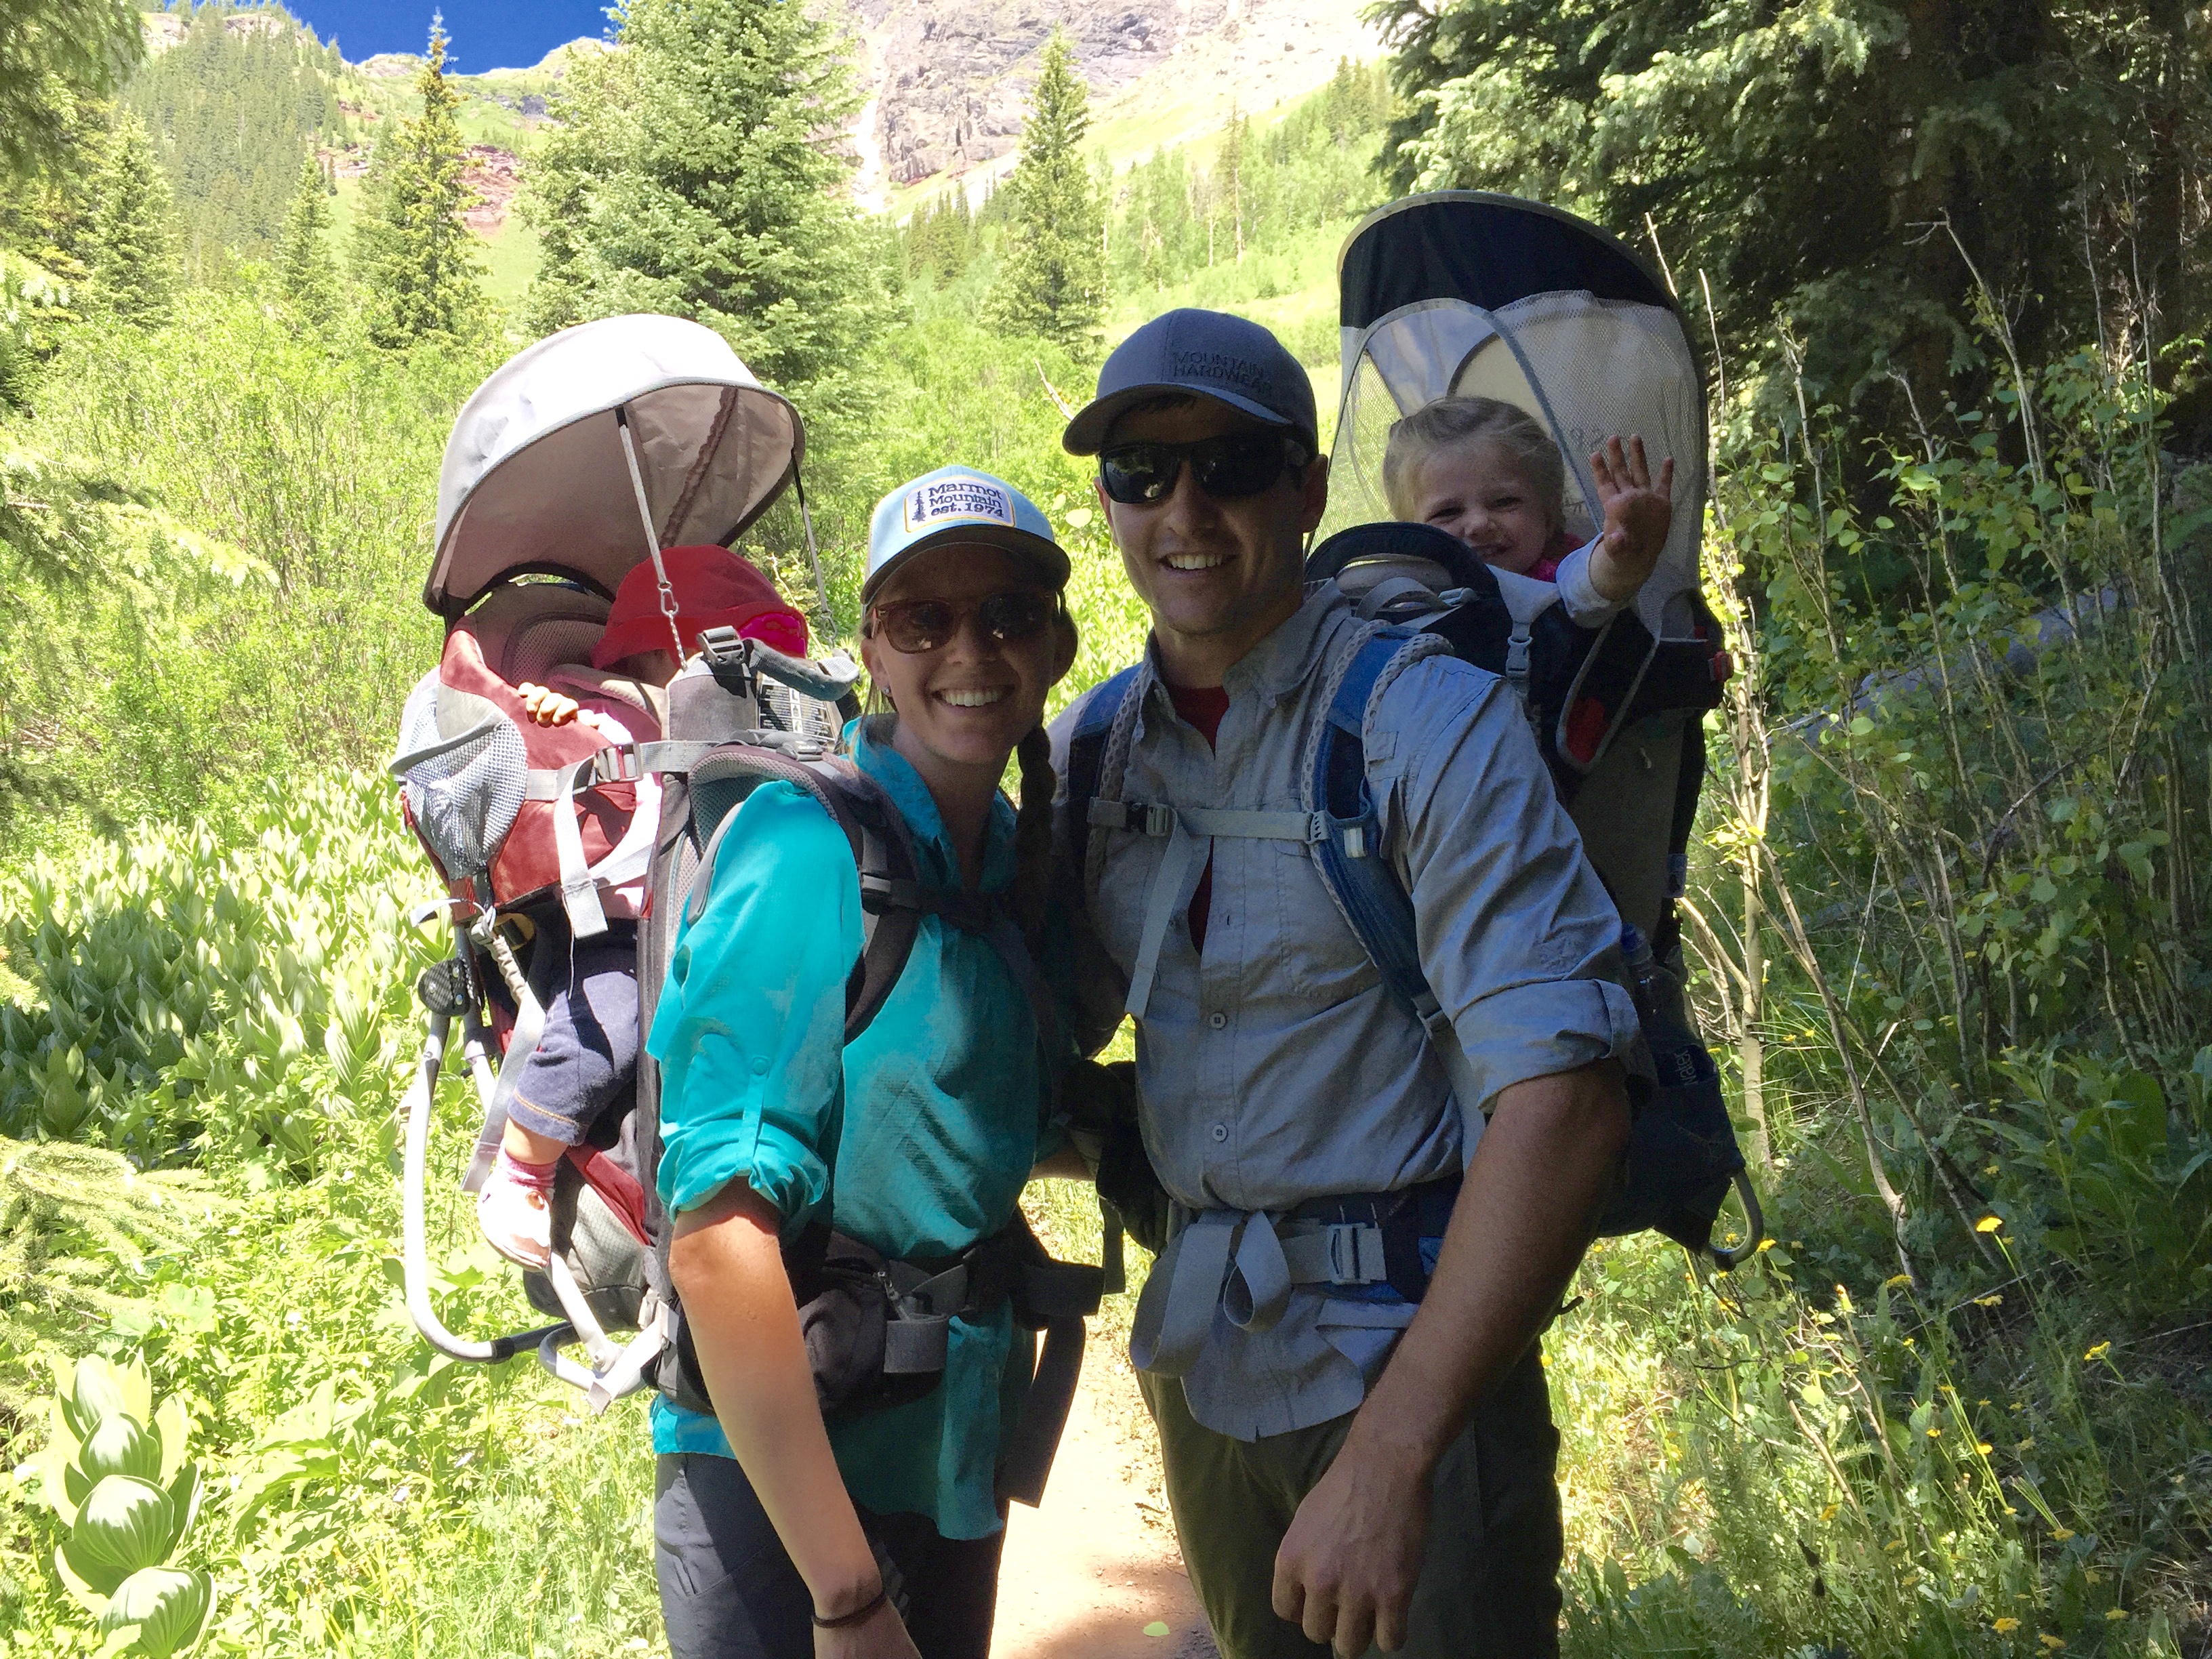
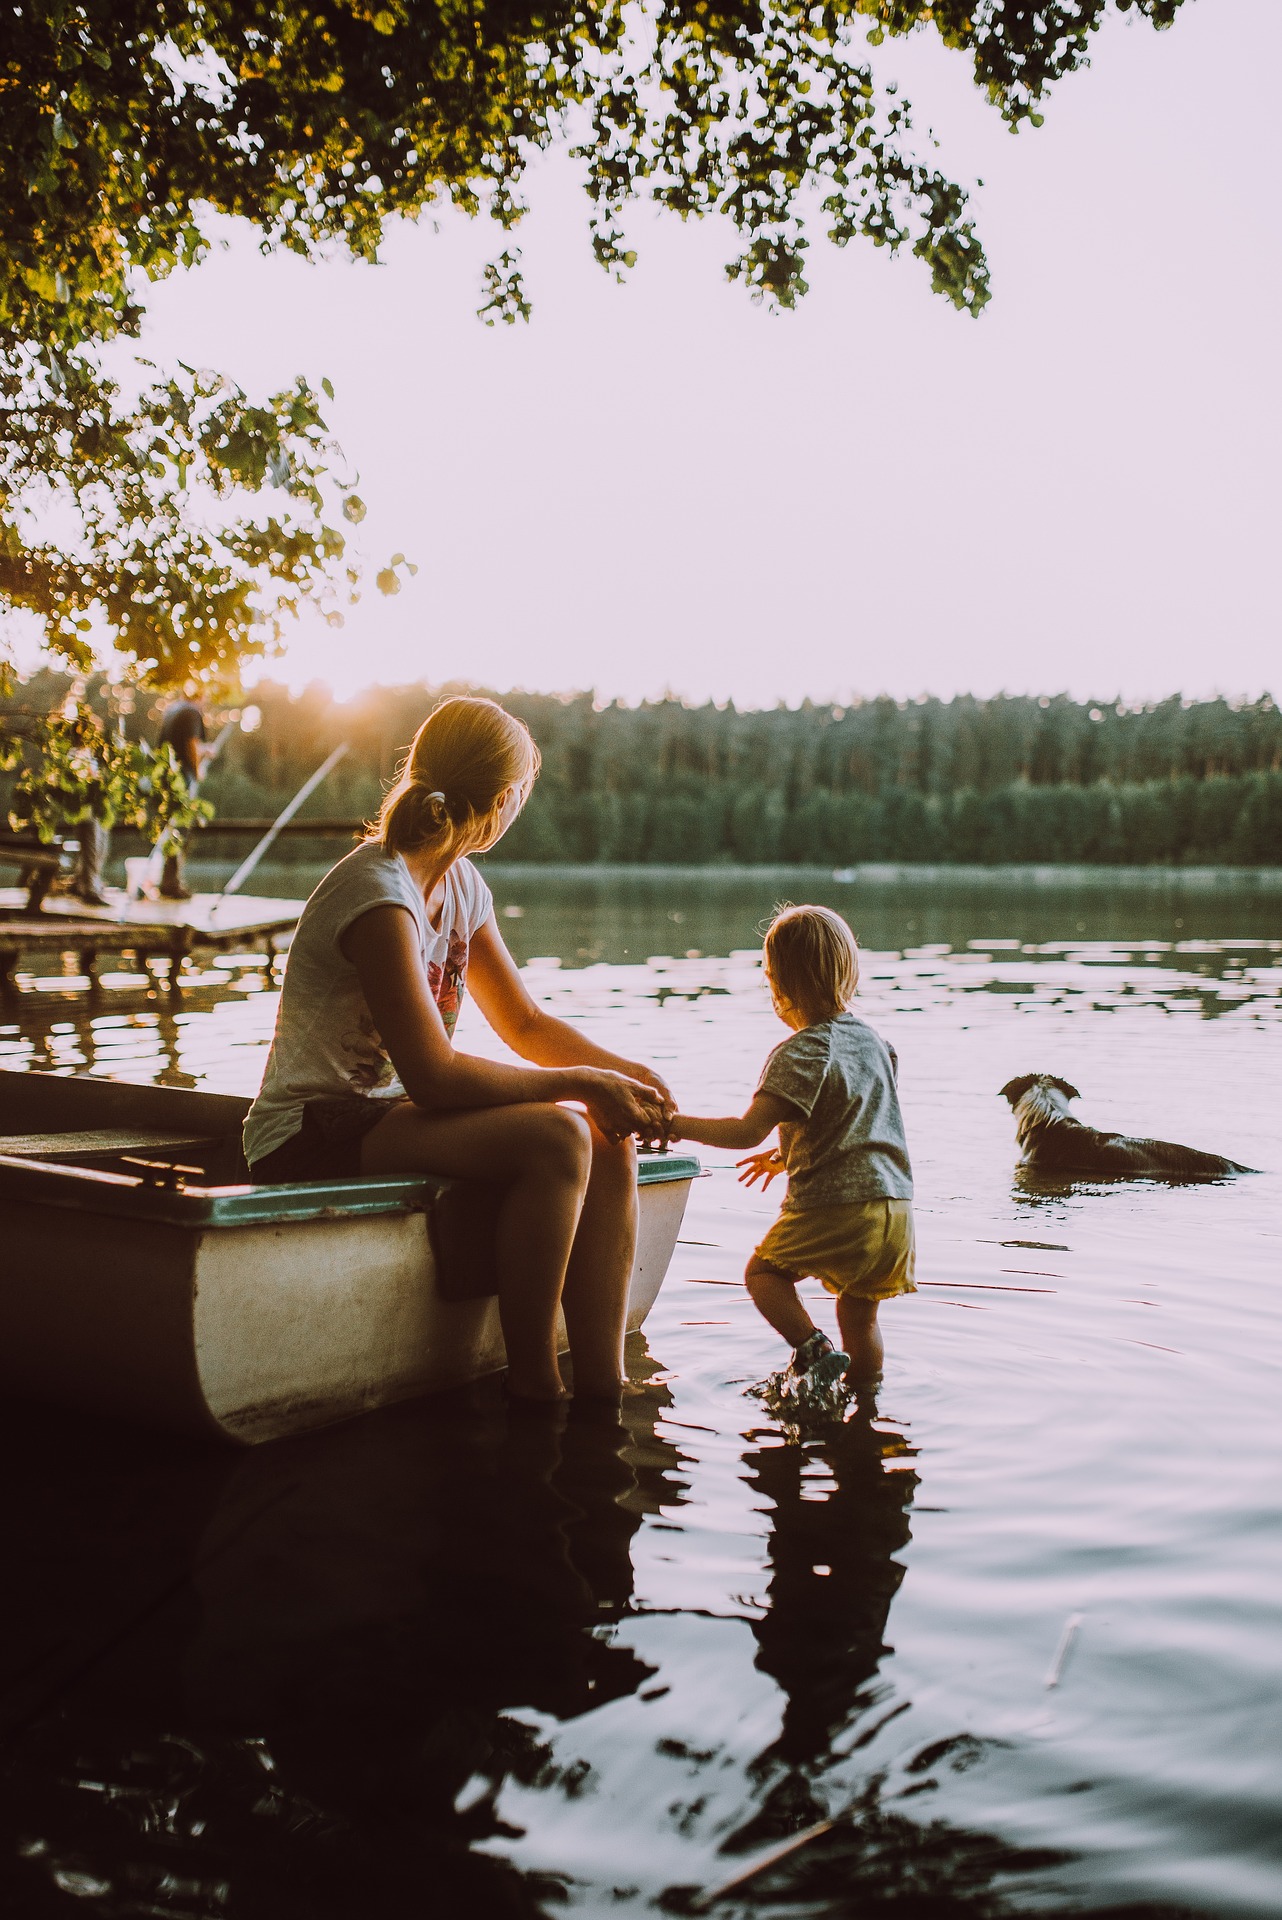
Let’s be real here. Packing for a trip can sometimes be a little daunting (especially with kids). There are always the what if’s and uncertainty of what could happen on your trip. A backpacking trip could even be a little bit more daunting. You have to be prepared for any kind of weather, have some way to make food, and have somewhere to sleep. We have been on quite a few backpacking/camping trips with our kiddos so hopefully some of these will help ease that daunting feeling and get you ready for your next trip. Some of these might seem pretty obvious but they are things we make sure to take on all of our adventures.
1. Start With The Basics
Food and water = Life. Plain and simple. A full belly makes a happy camper. Snacks are the ultimate key to happiness, so bring plenty! You also need to figure out a cooking system. Depending on the food you bring and the adventure you are going on will determine what you bring. Whether its a traditional stove, a homemade stove or no stove at all, you’ll need a way to prepare your meals.
2. Water Filter
I love water and sure as heck don’t want Guardia!
3. First Aid Kit
Cause when you are an adventurer, you can get hurt sometimes.
Band-Aids
Burn cream
Allergy pills
Tylenol/Ibuprofen
Pocket Knife – That has scissors, tweezers.
Gauze
Athletic tape/Duct tape
4.Rain Gear
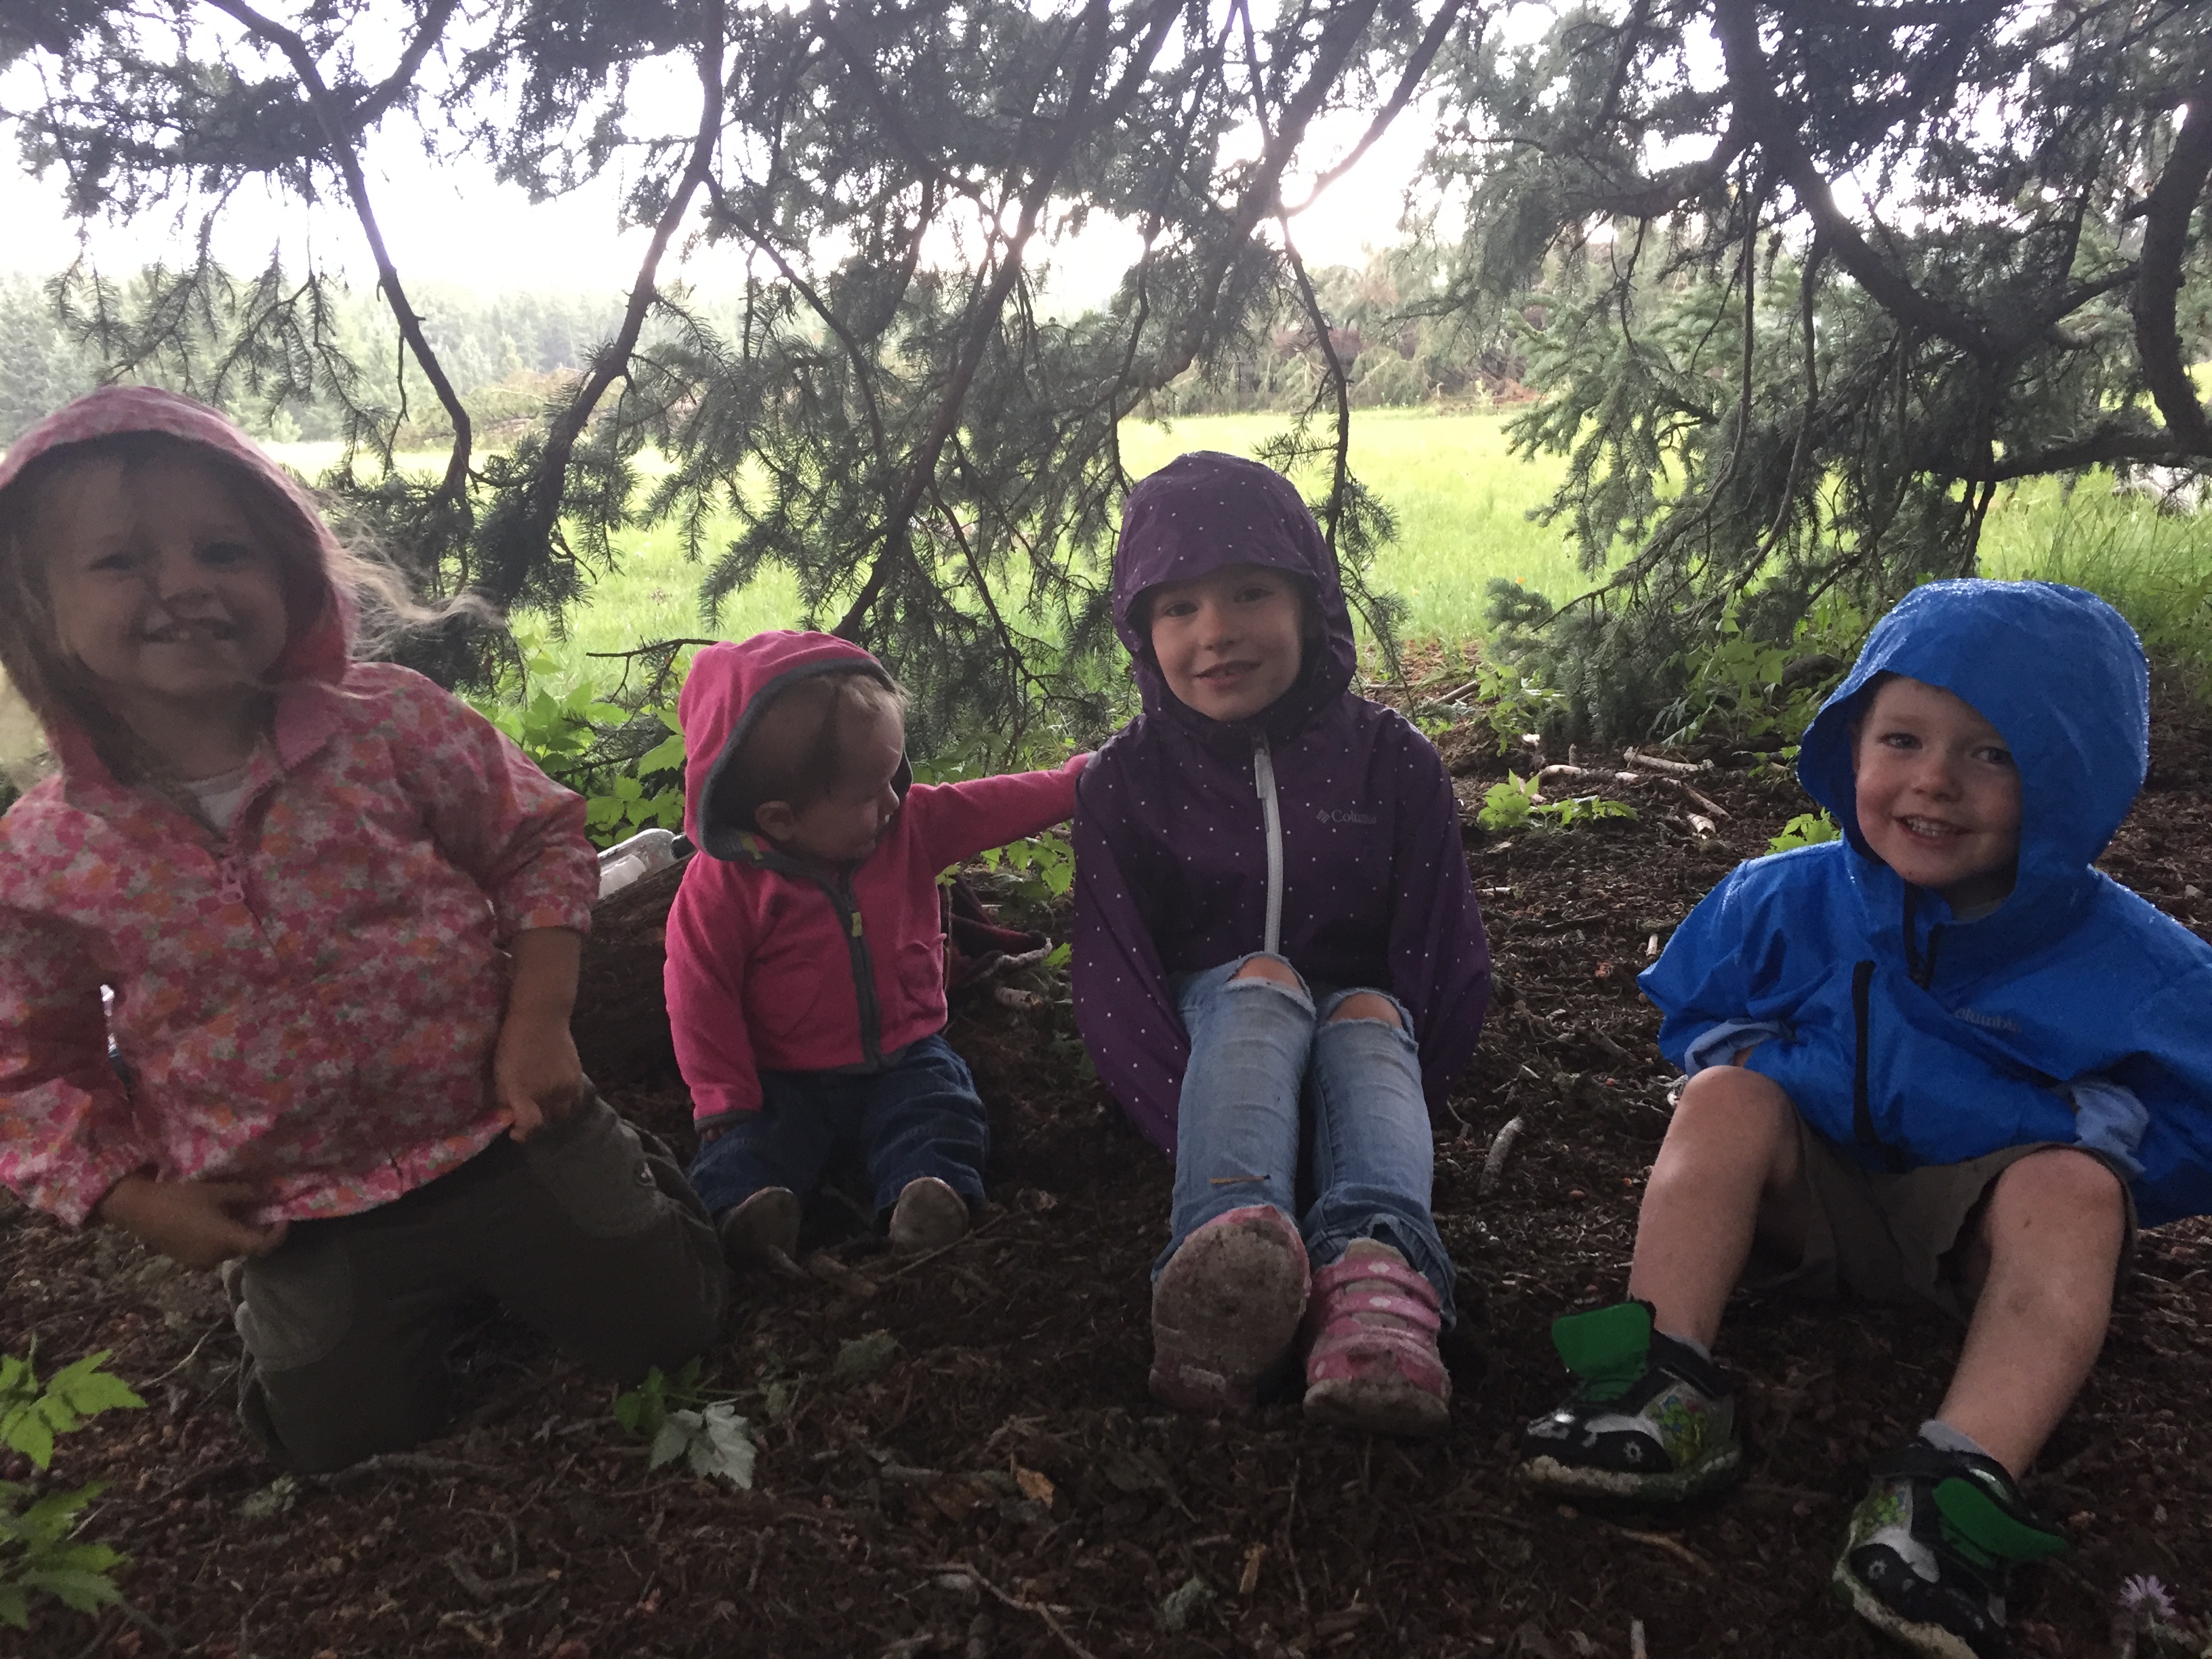
Rain coat, poncho, trash bag, tarp, fly or what ever else you think might keep you dry. Anything that will keep you a little dryer is better then nothing at all. We also line our packs with a trash bag so everything inside will stay dry.
5. Fire Starter
Lighter, flint and steel, matches, or hand sanitizer. Hand sanitizer is flammable, so its a great multi-use for (cleaning hands, or using to help start a fire).
6. Grocery/Ziploc Bag
With kids anything can happen. Blowouts, vomit, pee, a nasty diaper, or just soaking wet clothes. It is nice to have a designated spot to put that nasty stuff.

7. GPS/Map (Prep First)
Before you even need a GPS or map, make sure you know where you are going. Do a little research and make a plan. Learn and become familiar with an area before you go out. A GPS is great, but make sure it is fully charged, will work with no service and is up to date.
8. Tent/Tarp
You need something. If you feel extra adventurous go ahead and make your own shelter once your out in the wild. But having some kind of covering to protect to you from the rain, wind, and bugs is always with us.
9. Sleep System
Staying warm is the ticket for a good night. Sleeping bag, backpacking quilt, layers, designated sleeping socks, beanie, and a pad.
10. Light
You can get by with out a light, but if you ever get stuck hiking later then you thought then they are life savers. Hiking in the dark is no bueno!
*Bonus: 11. Sun Protection
You lucky duck. We are giving you a bonus. Hopefully to save you some pain. I get sunburnt way to easy! We use quick dry, long sleeve shirts that have a collar and are easy to roll up. These are nice because the collar will protect your neck and can be used as short or long sleeve. So it can work as an extra layer too.
Related Posts:
5 Basic Hiking Exercises To Help You Get Ready For A Big Hike
5 Tips For Backpacking With Kids: Starting With The Basics
Best Way To Hike With Your Kids – Kid Carrier Review
Hiking With A Baby? How To Conveniently And Inexpensively Bring Baby Food
Was this helpful? Please consider sharing. Or if you have any questions or thoughts, feel free to comment below.

Embrace The Kids Life Style Blog
Email: ContactUs@EmbraceTheKids.com
“Make Them The Reason, Not The Excuse”
P.S. Looking to start your own business and working from home? Learn how to follow a simple process to start building a full-time income online.
If you enjoyed this post on “10 Things To Take On Every Camping/Backpacking Adventure”, comment, share, or follow us on Instagram @EmbraceTheKids.
Camping With Kids – How To Avoid Hypothermia

Hypothermia- Learn how to prepare, know what to look for, and what to do when camping with kids.
Camping with kids is one of the best things! There is so much to do, explore, and learn. However there are precautions that need to be taken to keep everyone safe and happy. It doesn’t take much for hypothermia to set in, especially with kids. Learn how to prepare, know what to look for and what to do. Some may think that temperatures need to be freezing but that is not the case. Most hypothermia cases tend to happen in the spring, summer, and fall.
Prepare
Once you have a plan in place then you need to take the necessary steps to prepare for any situation that may arise on your trip. When camping, or just being outdoors this can often times get a little tricky. Kids and the weather can be so unpredictable so taking precautionary steps ahead of time can make a world of difference.
Step 1-Weather
Before you head out make sure you have a pretty good idea of what the weather is going to be like. This ultimately may make you change your plans, which can be a bummer. But sometimes it needs to be done.
As you increase your elevation your temperature is going to drop. You will lose and average of 3.5 degrees Fahrenheit for every 1,000 feet of elevation you gain.
For example we are currently living at 4,000 ft. In a couple weeks we are planning a trip and will be going to around 9,000 ft. So that will be a 5,000 ft difference. (9,000 – 4,000 = 5000). So thats a temperature drop of 17.5 degrees ( 5 x 3.5 = 17.5 degrees). And just to be safe you can round up to the nearest degree, so that would make a 18 degree difference. Now take your expected low from your starting point and subtract 18 and that will be your expected temperature.
*Remember, this is for the high. Make sure to always consider your low temperatures too. Add wind, rain, or snow into the mix and your calculated temperature can drastically change. Cloud cover vs. clear sky’s also plays a big part in temperature.
Step 2- Pack
*this is not a complete packing list, just things to be aware of while packing
When packing you want to plan on at least 3 layers. Layering is the key to effective dressing in cold weather. Layering helps your body’s heating and cooling system work efficiently. So you can adjust your layer to not only stay warm but to avoid sweating. Getting wet can be one of the biggest culprits of hypothermia. There are 3 main layers you need to focus on.
Layer 1
The most critical layer to ensure warmth is your base layer (the layer that will be touching your skin). When hiking or just being involved in outdoor activities you typically begin to sweat. So you want your base layer made of material that is going to help with “wicking”. Wicking means that the fabric will pull the sweat from the body and keep you dry. The best wicking fabrics are made from polypropylene and merino wool. They do not absorb the moisture and dry very quickly.
*Cotton should be worn as a last resort. Cotton has the ability to wick but retains moisture and takes too long to dry, and in turn will keep your skin wet and cold (“cotton kills”).
Layer 2
This should be an insulating layer. This is going to help you and your little ones stay nice and warm. Great fabrics for this are wool, fleece, or down. Or on warmer climates this could be a long sleeve shirt. Depending on the weather you can always add an additional insulating layer.
Layer 3
This will be the outer layer. You want to wear a loose fitting jacket made of windproof and water resistant or water proof material. You also want to make sure that your outer layer is breathable. As you hike and move around sweat and moisture is going to build up inside your hiking clothes. So you need material that will be able to let this moisture out rather than keeping it in. If the material is not breathable then jackets will often come with side zippers that allow moisture to escape.
*again be mindful of overheating. Layers may need to be taken off to prevent excessive sweating.
Extras
Hats are often overlooked. You may have heard that your head can lose 50-80% of heat, which isn’t accurate. Our heads are about 7-10% of the total surface area of our body. The amount of heat loss out of your head is proportionate to the amount of surface area of your body. So heat loss out your head averages about 10-11% of your total body heat. With that being said it is still very important to wear hats especially, for little ones as their heads are typically larger in proportion then adults.
Gloves- Or we often use socks, for some reason ours like keeping them on better then gloves.
What To Look For
Hypothermia starts when the body’s temperature drops more than 2 degrees. This does not require freezing temperatures to happen.
Mild Hypothermia
- Vigorous, uncontrollable shivering
- The “umbles”- grumbles, mumbles, fumbles, stumbles
- Has cool or cold skin on Abdomen, chest, or back
Severe Hypotherima
- Rigid and stiff muscles
- No shivering
- Skin feels ice cold and appears blue
- Altered mental status
- Slow pulse
- Slow breathing
What To Do
For all hypothermic symptoms
- Stop the heat loss:
- Get out of the cold
- Handle gently
- Replace wet clothing with dry clothing
- Add insulation (Blankets, towels, pillows, or sleeping bags)
- Cover with a vapor barrier (layer 3 or tarp, plastic, or trash bags) to prevent heat loss.
Mild Hypothermia
- Follow step 1 above
- Allow them to shiver-Do not stop the shivering by adding heat. Shivering that generates heat can re warm someone with mildly hypothermic symptoms. Applying heat packs, water bottles, or body to body contact adds no advantage when re warming someone in a mild hypothermic state who is shivering vigorously. External rewarming increases skin temperature and stops shivering.
- Give warm, sugary drinks, which can provide energy (calories) for the shivering to continue.
Severe Hypothermia
- Follow step 1 above
- Clothing should be cut off to help limit movment
- Monitor breathing, give CPR if necessary.
- Very gently evacuate to medical help for re warming, if possible start re warming by any available external heat source (body to body contact).
- Do not start CPR if:
- They have been submerged in cold water for more than 1 hr
- Has obvious fatal injuries
- Is frozen (ice in airway)
- Has a chest that is stiff or that cannot be compressed
- Rescuers are exhausted or in danger
Hiking and camping with kids can be an amazing experience. Be prepared for your next trip to stay safe and have loads of fun!
Related Posts:
5 Basic Hiking Exercises To Help You Get Ready For A Big Hike
5 Tips For Backpacking With Kids: Starting With The Basics
Best Way To Hike With Your Kids – Kid Carrier Review
Hiking With A Baby? How To Conveniently And Inexpensively Bring Baby Food
Was this helpful? Please consider sharing. Or if you have any questions or thoughts, feel free to comment below.
Embrace The Kids Life Style Blog
Email: ContactUs@EmbraceTheKids.com
“Make Them The Reason, Not The Excuse”
P.S. Looking to start your own business and working from home? Learn how to follow a simple process to start building a full-time income online.
If you enjoyed this post on “Camping With Kids – How To Avoid Hypothermia”, comment, share, or follow us on Instagram @EmbraceTheKids.
5 Simple Ways To Start Achieving Goals

This post was originally written in February of 2017, but I wanted to bring it back around since it still is very applicable today.
Achieving goals can sometimes be a daunting thing. But it really doesn’t have to be. Just take it a step at a time and follow these 5 tips to start achieving goals today.
How To Start Achieving Goals
1. Read
I have never been a great reader and have always had a hard time finishing books. I set a goal at the start of this year to read at least one book a month. I know it’s not the loftiest goal out there, but its a start. The things that are helping me to achieve goals have come from the books I have been reading. Books make you think, and ponder. They can help open your eyes, and guide you in a direction to make a change in your life.
2. Prioritize
Let’s be honest we all waste time on FB, Instagram, other social media platforms, and good ol’ Netflix. I know I did, and still do, but I am improving. I have started to make a change. Everything in life is connected. When you start making one small change you will be able to make bigger changes. I am not perfect but I have started to take baby steps and can see what is really going to help me get to where I want to be.
3. Create Affirmations For Yourself
I have read affirmations before, but I never really let them sink in. That is until I read the book “The Breakthrough Experience” by, Dr. John F. Demartini. This book was amazing and opened my mind and eyes in so many ways. In Demartini’s book he had an exercise of writing affirmations. As I went through the process, I thought of things I wanted to improve in my life, and made an affirmation for it.
Here is an example; Often times I don’t do things because it pushes me out of my comfort zone or I think I don’t know enough, to do whatever it may be. So the affirmation I created is, I do the uncomfortable until it is comfortable. Instead of thinking negatively about myself and thinking I wont we able to do it. I am now focusing on how I can change and become a better me. My affirmations are helping me to get out of my comfort zone, pushing me to try harder and helping me to get one step closer to my dreams.
4. Write Your Goals Down
There is no better way to start achieving goals then to start writing your goals down. If you are not sure where to start, go evaluate the seven areas of life. They are Financial, mental, health, family, vocation, spiritual, and social. Take one area and make one goal. Your goals now are what will be taking you to your future. I like how Dr. Demartini put it. He says,
” Things that aren’t put down on paper get left in the mind, and a short pencil is better than a long memory when it comes to your dreams”.
5. Take the time
Often times I have felt like there is too much to do. I felt like I didn’t have time to sit down and read or meditate. I have realized though, that it really was more of an excuse. After all, I had time to scroll through FB and Instagram. I would tell myself that that was my relaxing time and it was, but what was I gaining from it? How was that helping me personally? Sure I picked up a few good tips and tricks every now and then, and was learning about other peoples lives. What about my own life though?
I wasn’t challenging myself, learning anything significant, or becoming who I really wanted to be. SO… The key here is to TAKE THE TIME. Take a break and do something different! Read a book, write a goal down, envision your dreams, create an affirmation, learn about something new, the options could go on and on.
I hope this has helped. I hope it will give you a little motivation to start achieving goals and to get to reach them. You don’t have to make a drastic change all at once. Just start with changing one thing and then eventually move on to something else. Another Affirmation that Adam and I use is “I am improving”. So start today! Find a new book to read, prioritize your time, create meaningful affirmations, write down your goals, and take the time.
Related Posts:
10 Minute Parental Stress Test
Becoming Your Best (Parent) Self
Embrace The Kids – Make Them The Reason
Was this helpful? Please consider sharing. Or if you have any questions or thoughts, feel free to comment below.
Embrace The Kids Life Style Blog
Email: ContactUs@EmbraceTheKids.com
“Make Them The Reason, Not The Excuse”
P.S. Looking to start your own business and working from home? Learn how to follow a simple process to start building a full-time income online.
If you enjoyed this post on “5 Simple Ways To Start Achieving Goals”, comment, share, or follow us on Instagram @EmbraceTheKids.
Bonus Quotes
From Dr. Demartini
“If you can say I am worth it, I deserve to have my dreams, I deserve to take the time to focus on the infinite details to create them”.
“Most people are too busy to take the time to plan, and they’re distracted by low priority actions instead of committing themselves to high-priority dreams”.
“The question is, are you important enough to yourself to take the time to plan”?
5 Easy Tips For Working Out With Toddlers

Working Out With Toddlers Can Be Hard… But Make Them The Reason…Not The Excuse.
It can be so easy to make an excuse for not working out with toddlers. I’ll be honest, they can make it A LOT more challenging at times. We all know exercise is good for our own bodies, but we should also be thinking about our kids. How is staying fit and working out with toddlers RIGHT NOW going to affect them currently and later in life??
How To Make Working Out With Toddlers Easy
Tip 1. Do It First Thing In The Morning
As the day goes on, it gets harder and harder to fit in a workout. To-do lists pile up, unexpected trips happen, and then it’s time for dinner. By that point you are most likely exhausted and don’t have any energy or desire to exercise.
So do it first thing! You will have more energy and it will make your day better. There are three things I do to make working out in the mornings easier.
1. Know what kind of workout you will be doing. So plan the night before. Are you going to get out and run, stay indoors, do yoga, or go to a gym? There are so many options of things to do, so knowing ahead of time can really help you get moving in the morning. You can even go as far as laying out your workout clothes, so you know where everything is (I hate it when I can’t find a sports bra).
2. Leave your kids in their pajamas, and hand them a quick snack if they are hangry. A banana will usually hold them over tell breakfast, or our girls love food pouches with applesauce or yogurt. If I am trying to get out the door, this is a big one. Basically I just grab them, a snack, and go.
3. Plan Breakfast and the snack. Planning helps a ton. We often times like to do oatmeal, rice, millet, quinoa, or other grains for breakfast. Usually while they cook, I can get a workout in. They are so hands off, especially if you have and Instant Pot (they are the best ever). Just dump your grain, add some water and set a timer. So amazing! Even if you do pancakes though, you can still do something (squats, pushups, burpees, ect.) in between flipping. 🙂 For the snack have it out on the counter ready to go, so there is no fuss or hassle.
Tip 2. Include Your Toddler
Toddlers love being involved. Here are two ways we like to include them.
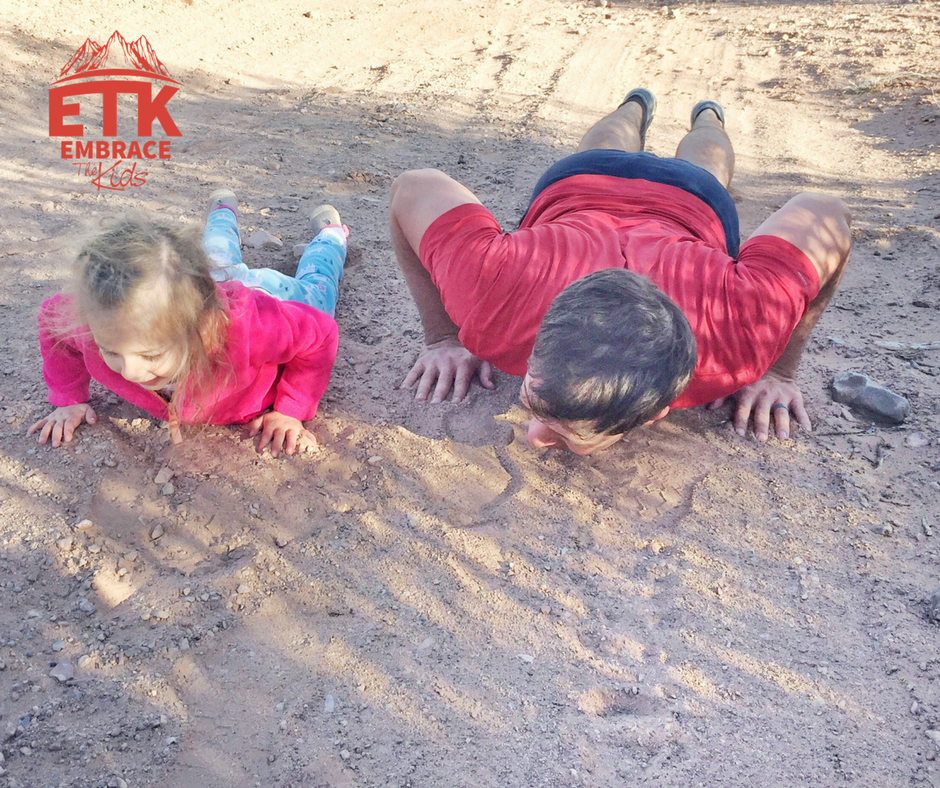
1. By physically using them. They love being up in our business, so why not let them and put them to good use. 🙂 We use our kids as extra weight and they think it is the funnest thing ever. Adam will use them for bench pressing, this takes some coordination on their part, since they have to lay straight but they love it. They love hoping on our backs for push ups too. Another great way to include them is while doing squats. It is also a sneaky way to get some snuggles and hugs in. 🙂
2. By letting them do what you do. Kids are really great at learning by example. So as they are watching you exercise they are going to be curious and will want to join in. So include them and give them a simple workout that they can do beside you.
Tip 3. Teach Them
Kids just naturally like to move, as I am sure you all know. So teach them how to put that energy to good use. You don’t have to teach them a million exercise all at once. Just start with one and then slowly build. We started with squats. They are already great at them because they already know how to do it. Just put a name to it, add some reps and they will be squat pros. We then we added push ups and burpees. Push ups are hard, they are still a work in progress, but everyone has to start somewhere.
Our 18 month old LOVES burpees! Which is a lay on the floor and slowly get up exercise for her. We just started teaching our 3-year-old jumping jacks. She is slowly getting the hang of them. She is always so proud when she masters a few in a row. Sit ups are also one we are working on. I also like to do yoga, so our kids are starting to join in on that fun too. 🙂
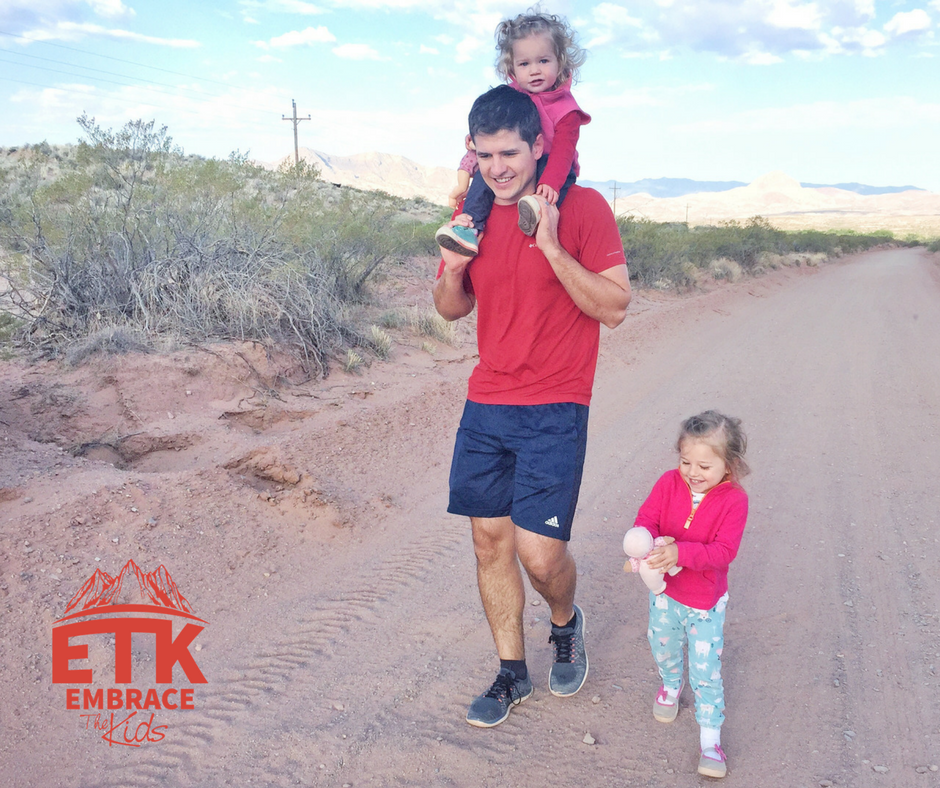
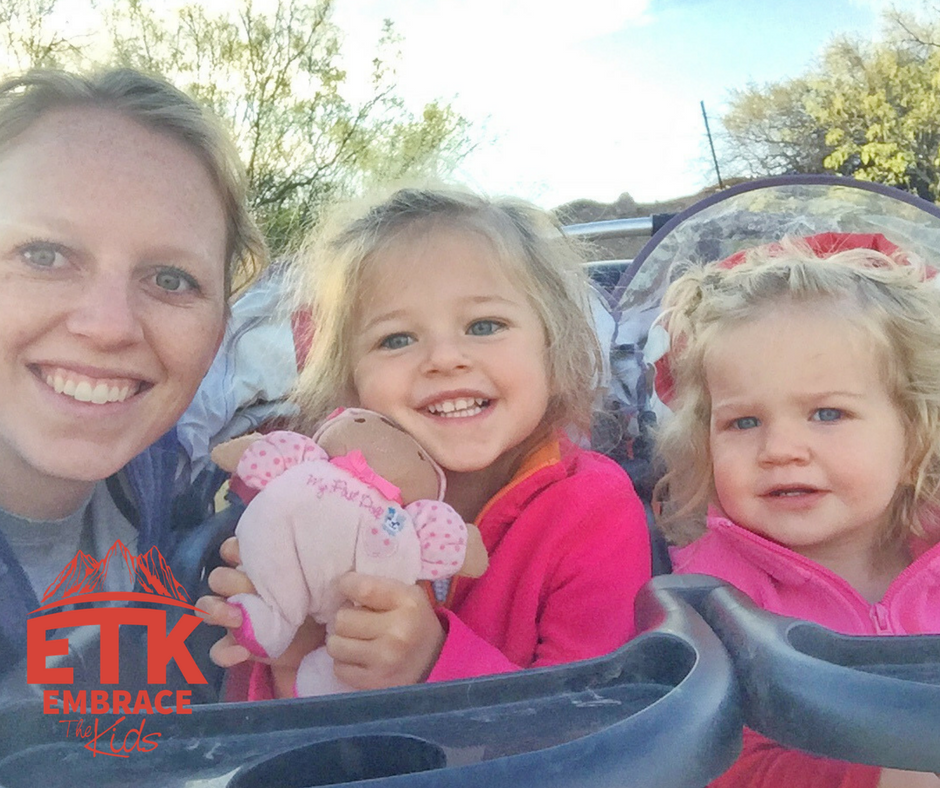
Tip 4. Take Your Toddler With You
Running can get tricky with toddlers. But the best solution (if you don’t have someone to watch them) is to take them with you. Yes, it may make your run a little slow, because man they add some weight. But just look at it as an added bonus. Pushing the stroller is giving you some strength training too. 🙂
We also like to run hills. So if you can get to a hill, then let your kids out and they can run around and play while you run. Or for some extra difficulty and fun Adam will give them piggy backs or put them on his shoulders as he runs up. Some days it is fun to change it up, and we will just go to a park. It is always fun for our kiddos, and there is always a variety of things we can do for a workout.
Tip 5. Just Move
Anything is better then nothing. If all you can do is squats in between flipping pancakes, then you are one step ahead of where you were. Some days are more challenging then others to get a workout in, so just keep it simple. Just do a little something extra. 🙂
Related Posts:
5 Tips For Backpacking With Kids: Starting With The Basics
How Backpacking With Your Toddler Will Make Them Stronger
Hiking With Toddlers – How To Set Them Free
Was this helpful? Please consider sharing. Or if you have any questions or thoughts, feel free to comment below.
Embrace The Kids Life Style Blog
Email: ContactUs@EmbraceTheKids.com
“Make Them The Reason, Not The Excuse”
P.S. Looking to start your own business and working from home? Learn how to follow a simple process to start building a full-time income online.
If you enjoyed this post on “5 Easy Tips For Working Out With Toddlers”, comment, share, or follow us on Instagram @EmbraceTheKids.
5 Basic Hiking Exercises To Help You Get Ready For A Big Hike

Hiking Exercises To Be Ready For The Trail
It is prime time!! Prime time for what, you may ask? It is hiking, backpacking, and camping time. Winter is finally coming to a close and it is time to start preparing for your first hike of the season. Before you hit the trail you are going to want to make sure you are ready by using these hiking exercises. So let’s dust off your pack, pull out your boots, and get moving!

Why Do You Need Hiking Exercises?
Hiking can be a truly amazing experience.There are so many amazing places to go and a variety of hikes to do. Ranging from long and short hikes, strenuous to relaxed hikes. The options are limitless. It can also be super rough if your not physically prepared. Even just a little preparation can have a huge impact.
You will feel better at the end:
Have you ever gone on a hike and then could hardly get out of bed the next morning?? I know I have done this, and I always wish I would have done a little more prep before hand.
It makes your trip more fun:
When you are not trying to catch your breath at every turn you will be able to enjoy your surroundings more. And instead of feeling the pain of your muscles you will feel a sense of power and accomplishment.

5 Basic Hiking Exercises
I am calling these basic because these are just to get you started. If you cannot do anything else do these. These hiking exercises can be done pretty much anywhere! You could definitely train harder and longer but by at least doing these you will be farther ahead then by doing nothing.
1. Crunches
Or really any any core strengthening exercise. Your core affects so many things. All movements either start from your core or move through it. Your core also affects your balance and stability which will help you stay on your feet on bumpy terrain. Your posture is also affected by your core which can affect your breathing and altogether comfort of your hike.
2. Squats
Squats help to increase entire body strength and muscle. They also help to increase flexibility and prevent injuries. They also help to tone your legs and butt which is always and added bonus. 🙂
3. Lunges
Lunges help to target multiple muscles at a time. They also help with unilateral training which is training one side of the body at a time. This greatly helps with balance and coordination.
4. Push-Ups
The previous exercises have mainly focused on lower body, but your upper body is just as important. Pushups are a compound exercise which means they work on multiple muscle groups. When multiple large muscle groups are having to work together it makes your heart have to work harder which then turns into a great cardio vascular exercise. Anything that gets your heart pumping harder is going to help you A LOT when on the trail.
5. Step-Ups
Pretty self explanatory, but basically just step up on to something like a bench, bucket, box, or stairs. Keep in mind, the higher your step the more your muscles are going to have to work. These are going to help you prepare for climbing up hills. Start with just your body weight and then slowly start adding weight onto your back to increase the intensity.
Now that you have these basic hiking exercises down start doing them. You don’t have to start by doing 50 of each everyday. Just start where you are at. If you you can only do 2 push ups then start there. Each day try to add one more. Before you know it you will be ready for your hike and whooping everyone to the end of the trail. 🙂
Related Posts:
5 Tips For Backpacking With Kids: Starting With The Basics
Best Way To Hike With Your Kids – Kid Carrier Review
Hiking With A Baby? How To Conveniently And Inexpensively Bring Baby Food
Was this helpful? Please consider sharing. Or if you have any questions or thoughts, feel free to comment below.
Embrace The Kids Life Style Blog
Email: ContactUs@EmbraceTheKids.com
“Make Them The Reason, Not The Excuse”
P.S. Looking to start your own business and working from home? Learn how to follow a simple process to start building a full-time income online.
If you enjoyed this post on “5 Basic Hiking Exercises To Help You Get Ready For A Big Hike”, comment, share, or follow us on Instagram @EmbraceTheKids.
How To Handle Mom Guilt

Oh…Mom Guilt
I am going to go out on a limb here and say, I KNOW all moms (probably dads too) have mom guilt. We all regret something we did. We wish we could reverse the clock, and maybe rethink what we said or how we reacted. Let’s just face it, mom guilt is real.
How I Know Mom Guilt Is Real
The other day I went to a meeting with a group of about 15-20 other moms. This group is for support, encouragement, love, story sharing, and pretty much anything else a mom would like to share. There is always a theme talked about, and on this particular day it was mom guilt. So naturally, all the ladies started to share their stories of what they regretted most.
One mothers was when she went on a short drive she accidentally forgot to buckle in her second child in his car seat. He made it into the car seat, just not buckled. Another moms was when she would run into the post office super fast without her two kids (we live in a very small town).
Moms talked about how they wished they didn’t yell so much at their kids or grab them by the arm when trying to get their attention. Several had mom guilt about letting their kids watch to much TV or play on a tablet to often. Other moms shared how they felt mom guilt while being on their phones instead of focusing, and giving attention to their child. If these stories do not sound real then I do not know what is.

The Funny Thing About Mom Guilt
I personally did not share any of the stories mentioned above at the mom gathering. But the funny thing is, I have been in every one of those situations. Yes, I have forgotten to buckle a kid in. Yup, I did it. I RAN (hint ran) into a store without my kids. More then once, I have said things I wish I didn’t. And yes, yes, yes, to all the other stories. And multiple other moms had the same mom guilt’s.
I am sure many of you can relate to some, if not all the stories shared. As we are all beating our selves up for what we have done, you may not realize that almost every mom has done what you might be feeling guilty for. So now that we know we all have it, how do we actually handle it??
Disclaimer: I am not giving you permission to go into a store for an hour or even five minutes, especially on a hot day without your kids. And this is definitely not something to take lightly.
What To Do With Mom Guilt?
It was really nice to hear everyone’s stories, but I will be honest, they didn’t really help me “deal” with my mom guilt. Yes, they confirmed that we all have it. But, as I left the meeting I didn’t really leave with anything except for stories I could relate to my own.
Once I got home, I didn’t have mom guilt, I had personal guilt. Instead of talking about our past mistakes I wished we could have brought in a little more light and positive vibes. I wished I would have spoken up and asked a few questions.
Questions like… How are we going to help each other prevent mom guilt from happening in the future? How are we going to react to situations differently? What are we going to do to make things different? These are just a few questions that I think could help each one of us deal with our mom guilt.
I don’t have all the answers, and I am not perfect, but here are some things I personally do to deal with mom guilt.
-
Stop dwelling on what happened. It happened in the past, so put it behind you. (easier said then done)
-
Remember that everyday is a new day and you get a new opportunity to try again. Thank goodness! 🙂
-
Forgiveness is key. When you know you said or did something you wished you didn’t, go resolve the situation. Take responsibility for your actions and own up to them.
-
Understand that your child will probably forget about the “incident” before you do (depending on age of course). So forget about it already! 😉
-
Use your particular situation as a learning tool. Learn from it, and come up with a way to react or change in the future.
-
Don’t compare. As you just learned, we all do similar things. So just focus on you and your little ones.
-
Focus on the positive. What good things have you done today, past week, month, year. You have feed your kid everyday! That is something very positive. 🙂
-
Be real. Things happen, laugh it off, and keep moving forward.
-
Talk with other moms on how to become the best you. You got this girl!
As fun as it can be to laugh with other moms about our past mistakes, also try to help each other learn from them. Build each other up and figure out how you can be a better parent the next time something comes up.
Related Posts:
10 Minute Parental Stress Test
Becoming Your Best (Parent) Self
Embrace The Kids – Make Them The Reason
Was this helpful? Please consider sharing. Or if you have any questions or thoughts, feel free to comment below.
Embrace The Kids Life Style Blog
Email: ContactUs@EmbraceTheKids.com
“Make Them The Reason, Not The Excuse”
P.S. Looking to start your own business and working from home? Learn how to follow a simple process to start building a full-time income online.
If you enjoyed this post on “How To Handle Mom Guilt”, comment, share, or follow us on Instagram @EmbraceTheKids.
10 Reasons You Need Green Smoothies And Chocolate

Green Smoothies And Chocolate
Let me guess… you are thinking what do green smoothies and chocolate have to do with each other? Well they don’t have much in common, except that I consume both almost daily. 🙂 Green smoothies are my morning jam these days. They are the fuel that gives me a jump start each morning. And Chocolate just helps to keep me sane.

Why Green Smoothies
1. Green Smoothies Are Full Of Goodness
Fruits and vegetable are amazing! They are packed full of good nutrients, vitamins, minerals, and antioxidants. Most Fruits are full of Vitamins A and C which help keep eyes and skin healthy, protect against infections, help with healing cuts and wounds, and keeps teeth and gums healthy. Dark leafy greens are also loaded with folic acid which is super important for women who are pregnant or plan on becoming pregnant.
2. Green Smoothies Are Better Then Eating A Salad
I’ll be honest, sometimes salad just sound disgusting, and other times they hit the spot. Green smoothies however hit the spot everyday! I typically get a lot more greens in a smoothie then I would a salad too. So its a win-win. More goodness and more greens. 🙂
3. Green Smoothies Are Way Better Then Fruit/Vegetable Juices
When doing a smoothie, nothing gets left out. You can use every bit of your fruit/vegetable. Where juices leave out good fibers.
4. Green Smoothies Are Perfect For Breakfast
Don’t get me wrong, I love a nice big plate of chocolate chip pancakes doused in syrup. But they also leave me dragging a little too. So starting off on a good foot in the morning helps me to make better decisions throughout the day.
5. Green Smoothies Keep Things Moving
This is the down under kind of moving. With all the good fiber that is in fruits/vegetables you should have no problem with keeping things flowing (if you know what I mean). Since everything is blended it makes it easier for your body to digest and to absorb nutrients.
6. Green Smoothies Are Quick And Easy To Make
It doesn’t take much time to whip up a green smoothie. Pull stuff out, through it in the blender, and boom, you now have a delicious and nutritious green smoothie. They are faster then cooking oatmeal, eggs, waffles. Not much could beat how quick and easy they are.
7. Green Smoothies Keep You Hydrated
This is a good easy way to get more water into your day. If you don’t like water by its self then add some extra in with your smoothie to hide it. Also some fruits/vegetables contain more water then you might think. High water content fruits/veggies at the top of the list are watermelon, strawberries, grapefruit, cantaloupe, peaches, cucumber, zucchini, tomato, and celery.
8. Homemade Green Smoothies Are CHEAP
Going to a smoothie shop is kinda like… getting robbed. They sure know how to whip up a good smoothie though. If you compare it to making a homemade smoothie, you can do it for A LOT cheaper.
9. Green Smoothies Can Help Kids Get Their Veggies
Our girls love green smoothies. Just because they are green doesn’t mean they are gross. If your kids don’t seem very interested then start with more fruit and slowly add in more and more vegetables.
10. Green Smoothies Give Energy For Days
With so much goodness packed into one glass, how could you not get energy from it. With things “flowin” down under you won’t have as much weight to hold you down. 😉 You will have more pep in your step and just feel good.

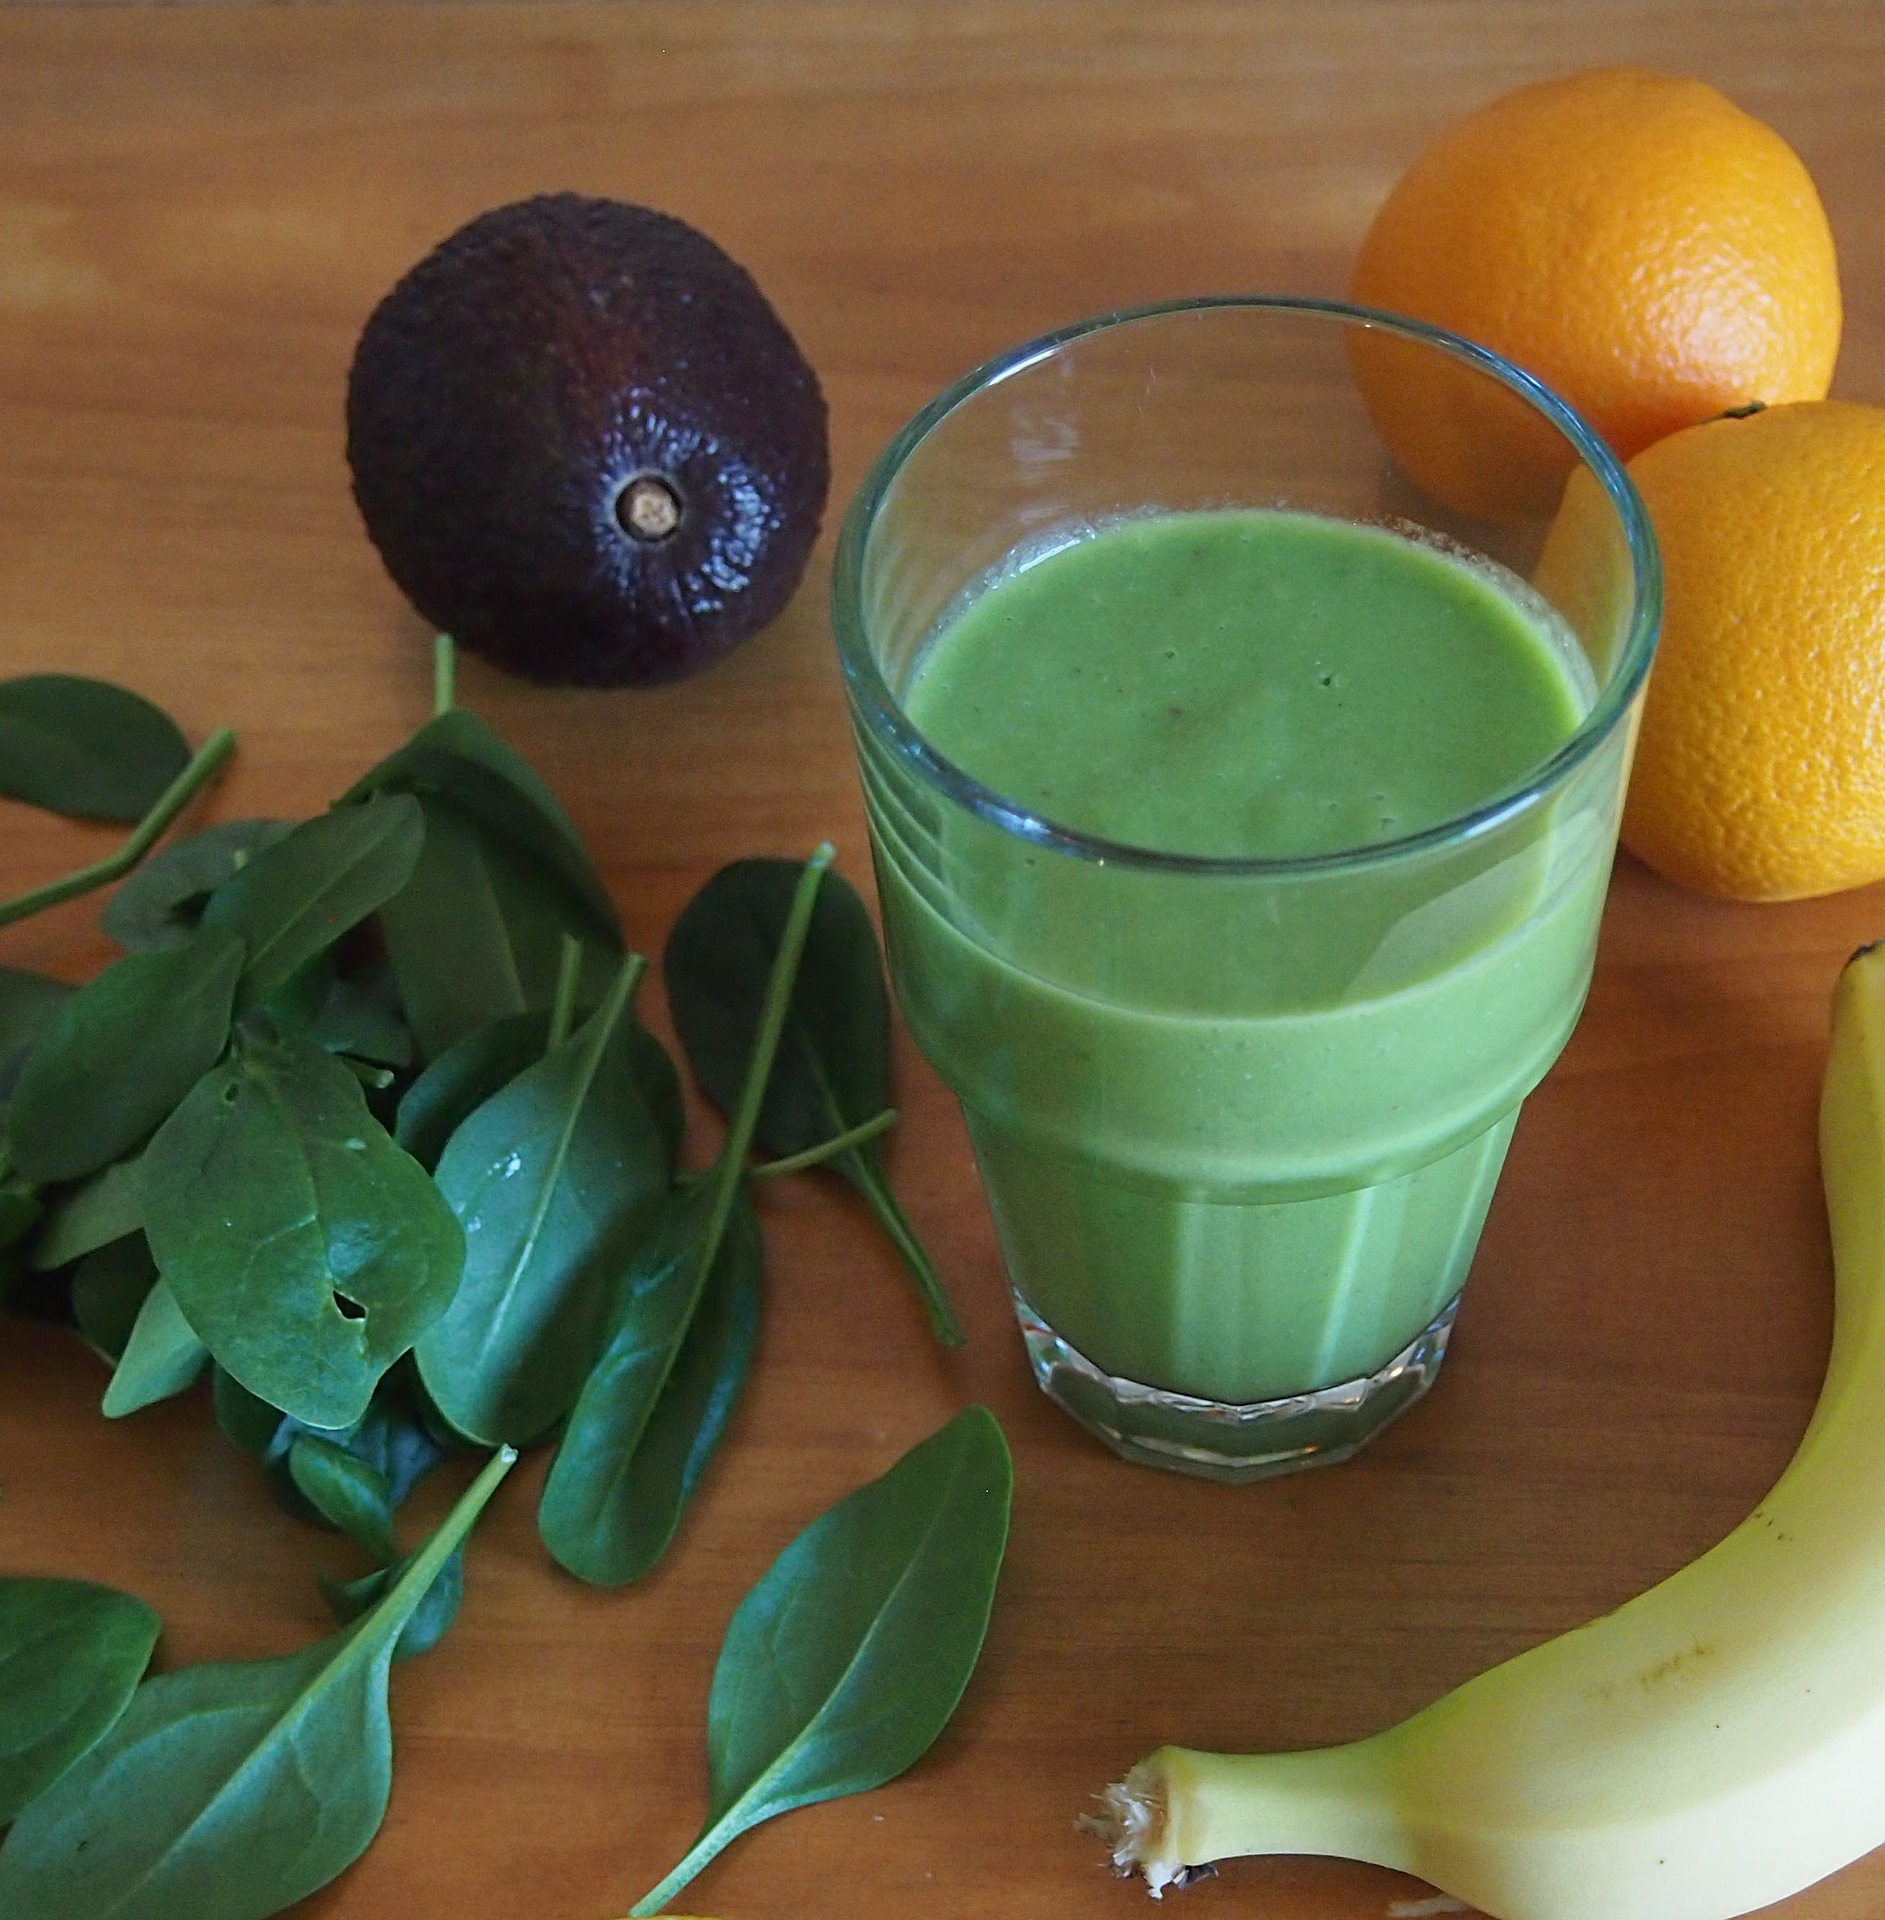
How To Make A Green Smoothie
It really isn’t to complicated. Grab some greens, fruit, and a liquid and your almost done.
The Basics
1 cup fruit- fresh or frozen
2-3 cups greens
1 cup liquid- depending on how thick you want it. If you want it thinner add more water/milk.
1-2 T. nuts or seeds (optional)
Protein (optional)
What We Do
We typically do a mixture of fresh and frozen fruit. We get the big bag of mixed frozen fruit and use a little each time. For fresh fruit it depends what is in season. Apples are always a go to. Adam hates bananas in smoothies, but I think they are delicious. Oranges, grapes, strawberries, pears, peaches, the list goes on and on. Pick what you like and have a hay day!
For vegetables we try not to just do greens. Yes it is a green smoothie but you can add any vegetable. We use spinach and kale for the base though. We also like beet greens, which are nice because you get two things for one. The greens and the beets, which will then make your smoothie purple. Carrots, celery, cucumber, and avocado are what we use the most. But again the list goes on and on. Just experiment with it and have fun.
If you don’t want to use a ton of milk, then just use water. Or to make it even more interesting you could use juice. Use what you have and make it work. 🙂
We don’t always put nuts and seeds in but they can add some extra flavor. Peanut butter and chia seeds are at the top of our list when we do.
We usually add protein. We exercise regularly so a little extra protein is always good. It also add some extra flavor.
If you feel like your smoothie just isn’t up to par, then go ahead and add some sweetener. Try not to go straight to white sugar. Instead try using honey, dates, stevia, or another natural source of sugar.
I hope this was helpful and that I have convinced you that green smoothies are where it is at! They have really helped us feel better and simplified our mornings. We are in love with them! 🙂
Related Posts:
Homemade Yogurt: It Really Is Easy
3 Steps To Get More Done Today
5 Tips For Enjoying The Journey
Was this helpful? Please consider sharing. Or if you have any questions or thoughts, feel free to comment below.
Embrace The Kids Life Style Blog
Email: ContactUs@EmbraceTheKids.com
“Make Them The Reason, Not The Excuse”
P.S. Looking to start your own business and working from home? Learn how to follow a simple process to start building a full-time income online.
If you enjoyed this post on “10 Reasons You Need Green Smoothies And Chocolate”, comment, share, or follow us on Instagram @EmbraceTheKids.
Toddler Snack Ideas That Are Quick And Easy

Toddler snacks seem to always stump me. Maybe because I get so caught up in the day and then all of a sudden the kids are hungry. To stay ahead of the game and be ready for those crazy moments I have created this list of toddler snacks (that are just as good for adults too). So hopefully this list will make your toddler snack time quick and easy so life will keep moving smoothly.
Find A Rhythm
Keeping track of the day makes a huge difference for us. If your kids know when to expect a snack and you are prepared as well, it will help you keep your sanity and your kids from throwing a fit. Here is a routine that has helped us keep things a little more together.
Toddler Snacks – Fruits and Veggies
- Apple slices with cheese or peanut butter
- Veggies-cucumbers, bell peppers, carrots, baby tomatoes, avocado, olives
- Freeze-dried fruit or yogurt
- Apple sauce
- Pears and cottage cheese
- Fruit leather
- Fruit- Orange slices, cantaloupe slices, grapes, strawberries, blueberries, pears, honeydew, watermelon… the list could go on and on.
- Banana with peanut butter
- Dried fruit and nuts
- Peanut butter and banana roll up- Spread peanut butter on tortilla, put banana on top and roll it up and then cut into slices.
Toddler Snacks – Grains, Cheese, Dairy, And Everything Else
- Rice cakes- plain or with peanut butter and bananas on top.
- Whole grain, fiber-rich cereal with (or without) milk
- Yogurt with fruit, granola or both- For making your own head over to…Homemade Yogurt: It Really Is Easy
- Chips and salsa
- Quesadilla- just cheese or with lunch meat
- Graham cracker sandwich filled with peanut butter and jelly
- Graham crackers with applesauce for dipping
- Graham crackers with cream cheese and fruit on top.
- Graham crackers dipped in milk- may not be the healthiest but it is delicious!
- Popcorn- we love making it with coconut oil and sprinkling salt and nutritional yeast on top.
- Crackers topped with meat and cheese slices
- Left over oatmeal- Our girls love this one!
- Smoothies- we love green smoothies or fruit and yogurt smoothies
- Left over pancakes- we love them plain or make a peanut butter and jelly pancake sandwhich
- For one of our favorite snacks check out Coconut Clusters Recipe: A Simple Yummy Snack
I hope this list of toddler snacks have given you some new ideas. Make life easy, plan ahead and keep it simple. 🙂
Related Posts:
Hiking With Toddlers – How To Set Them Free
Backpacking With Kids – Starve Your Fear
5 Tips For Enjoying The Journey
Was this helpful? Please consider sharing. Or if you have any questions or thoughts, feel free to comment below.
Embrace The Kids Life Style Blog
Email: ContactUs@EmbraceTheKids.com
“Make Them The Reason, Not The Excuse”
P.S. Looking to start your own business and working from home? Learn how to follow a simple process to start building a full-time income online.
If you enjoyed this post on “Toddler Snack Ideas That Are Quick And Easy”, comment, share, or follow us on Instagram @EmbraceTheKids.
Petrified Forest National Park

Park Number: 1 of 59
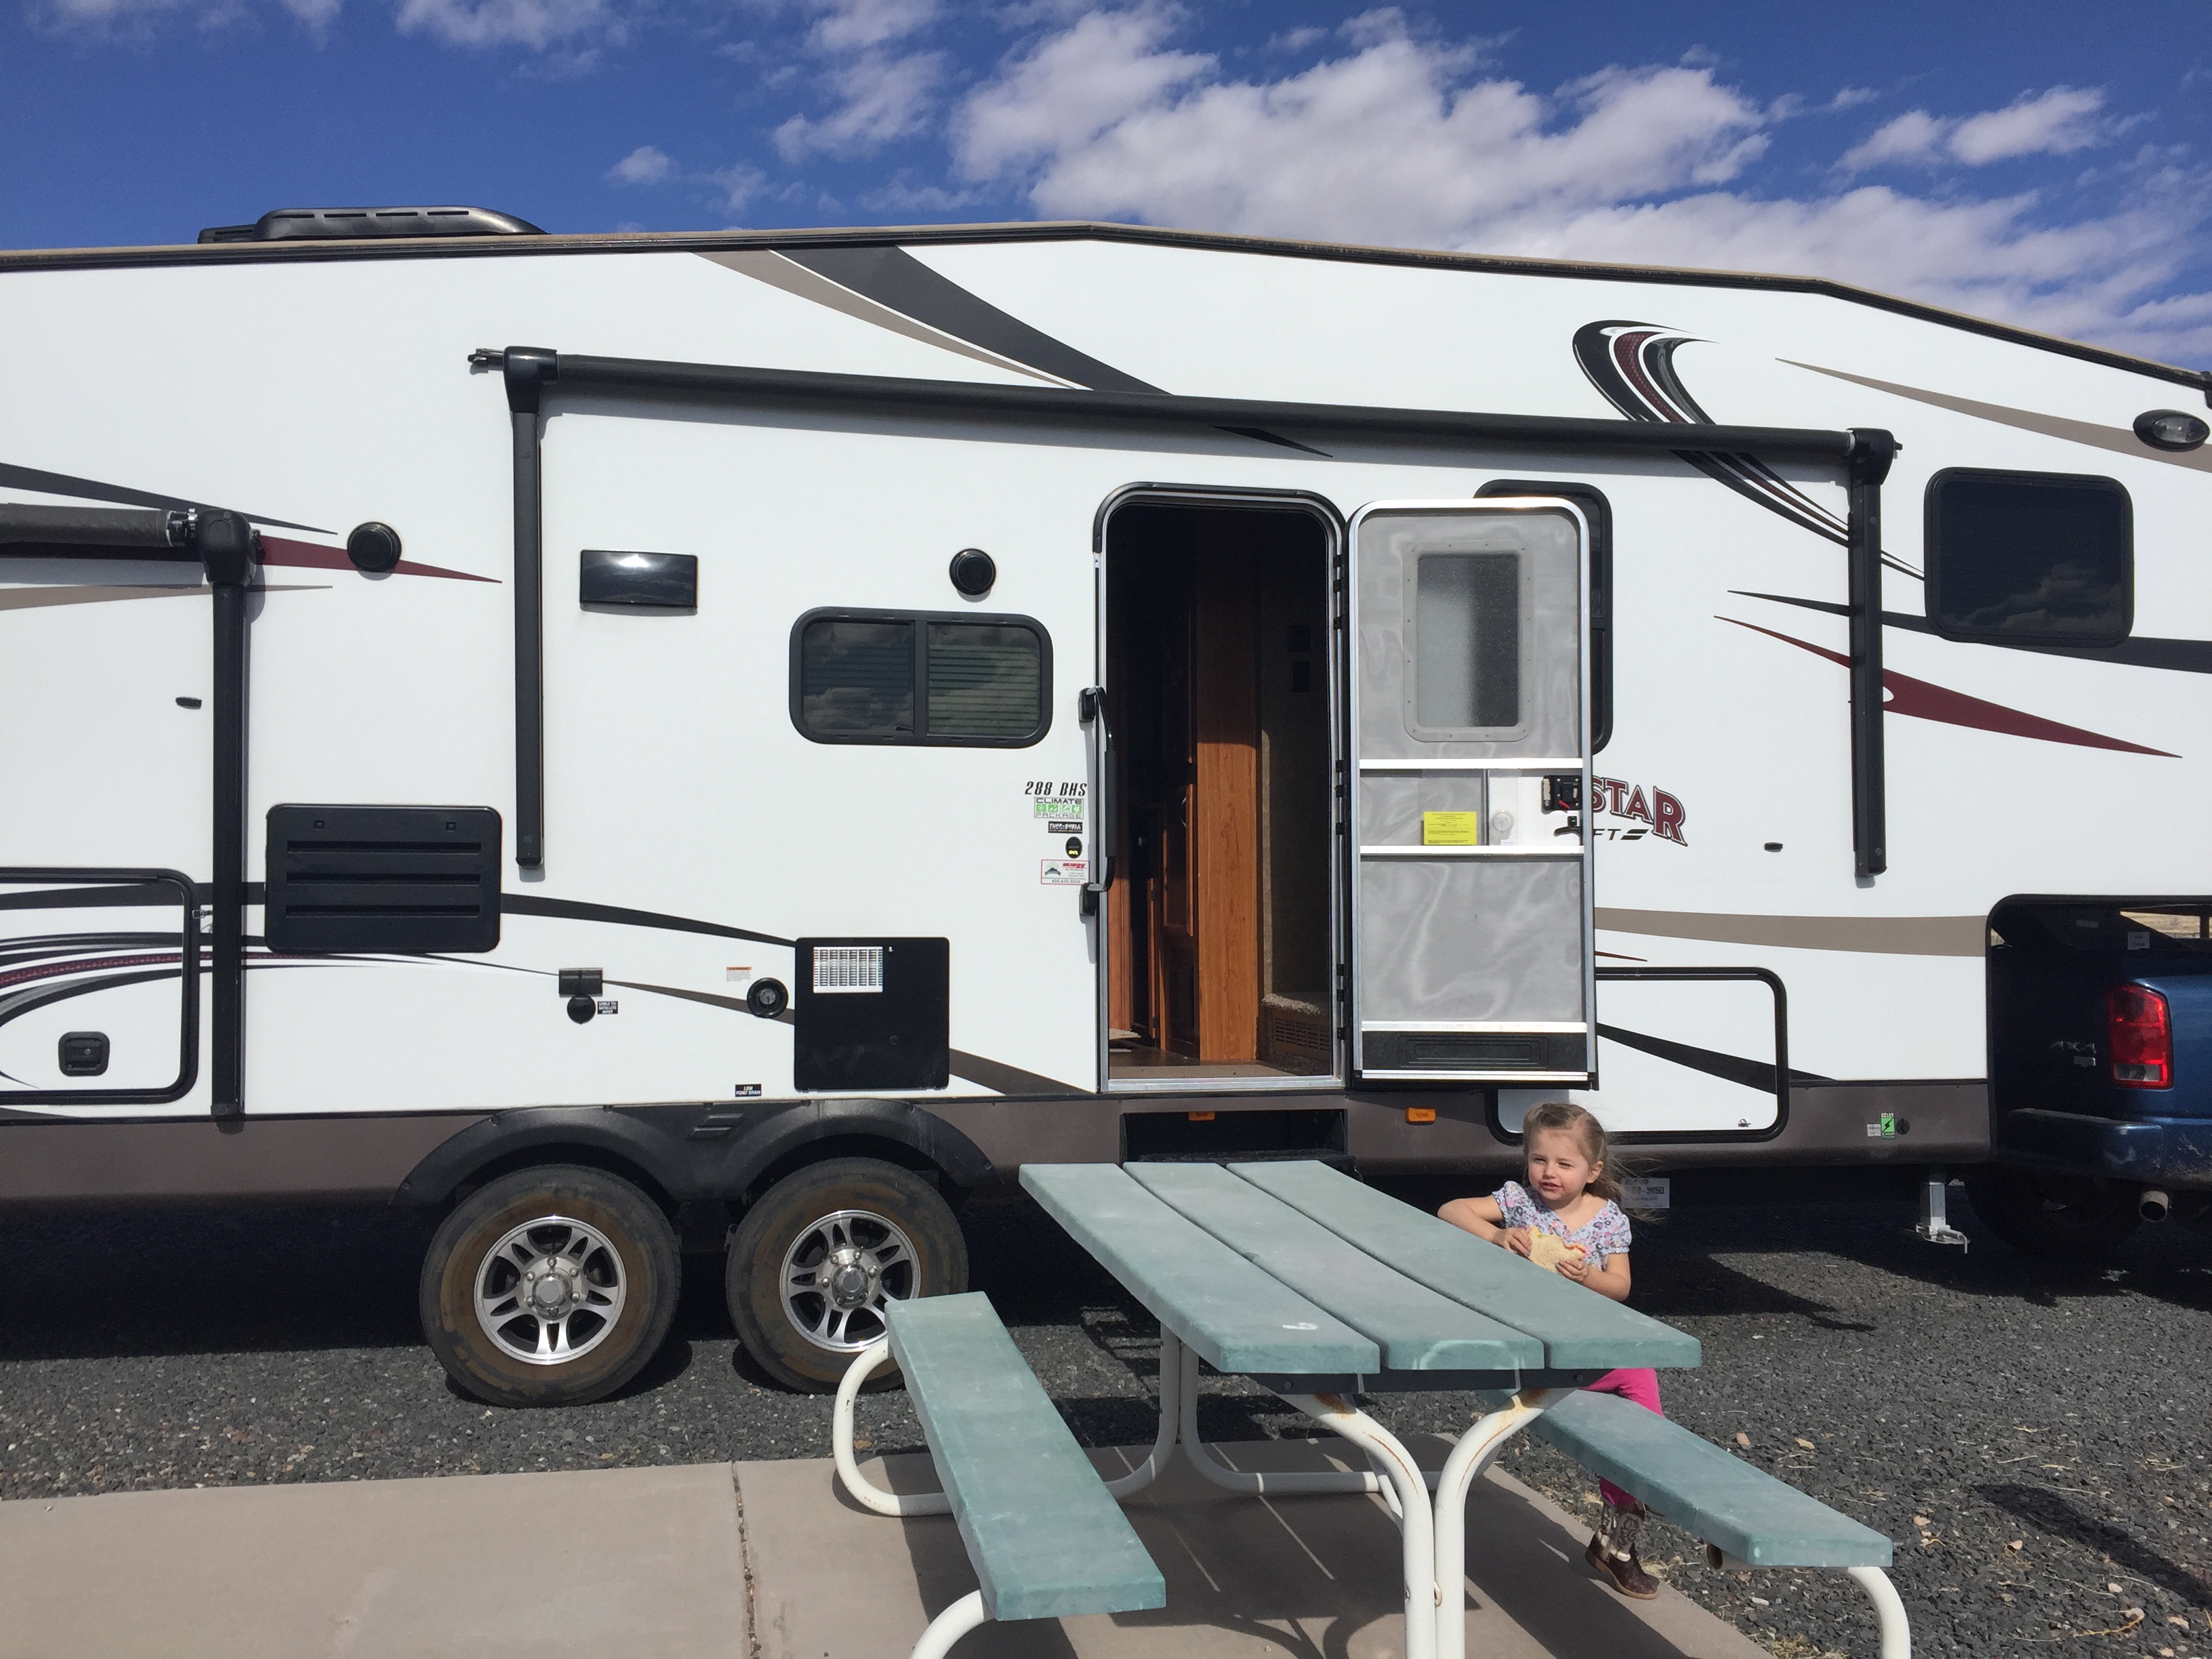
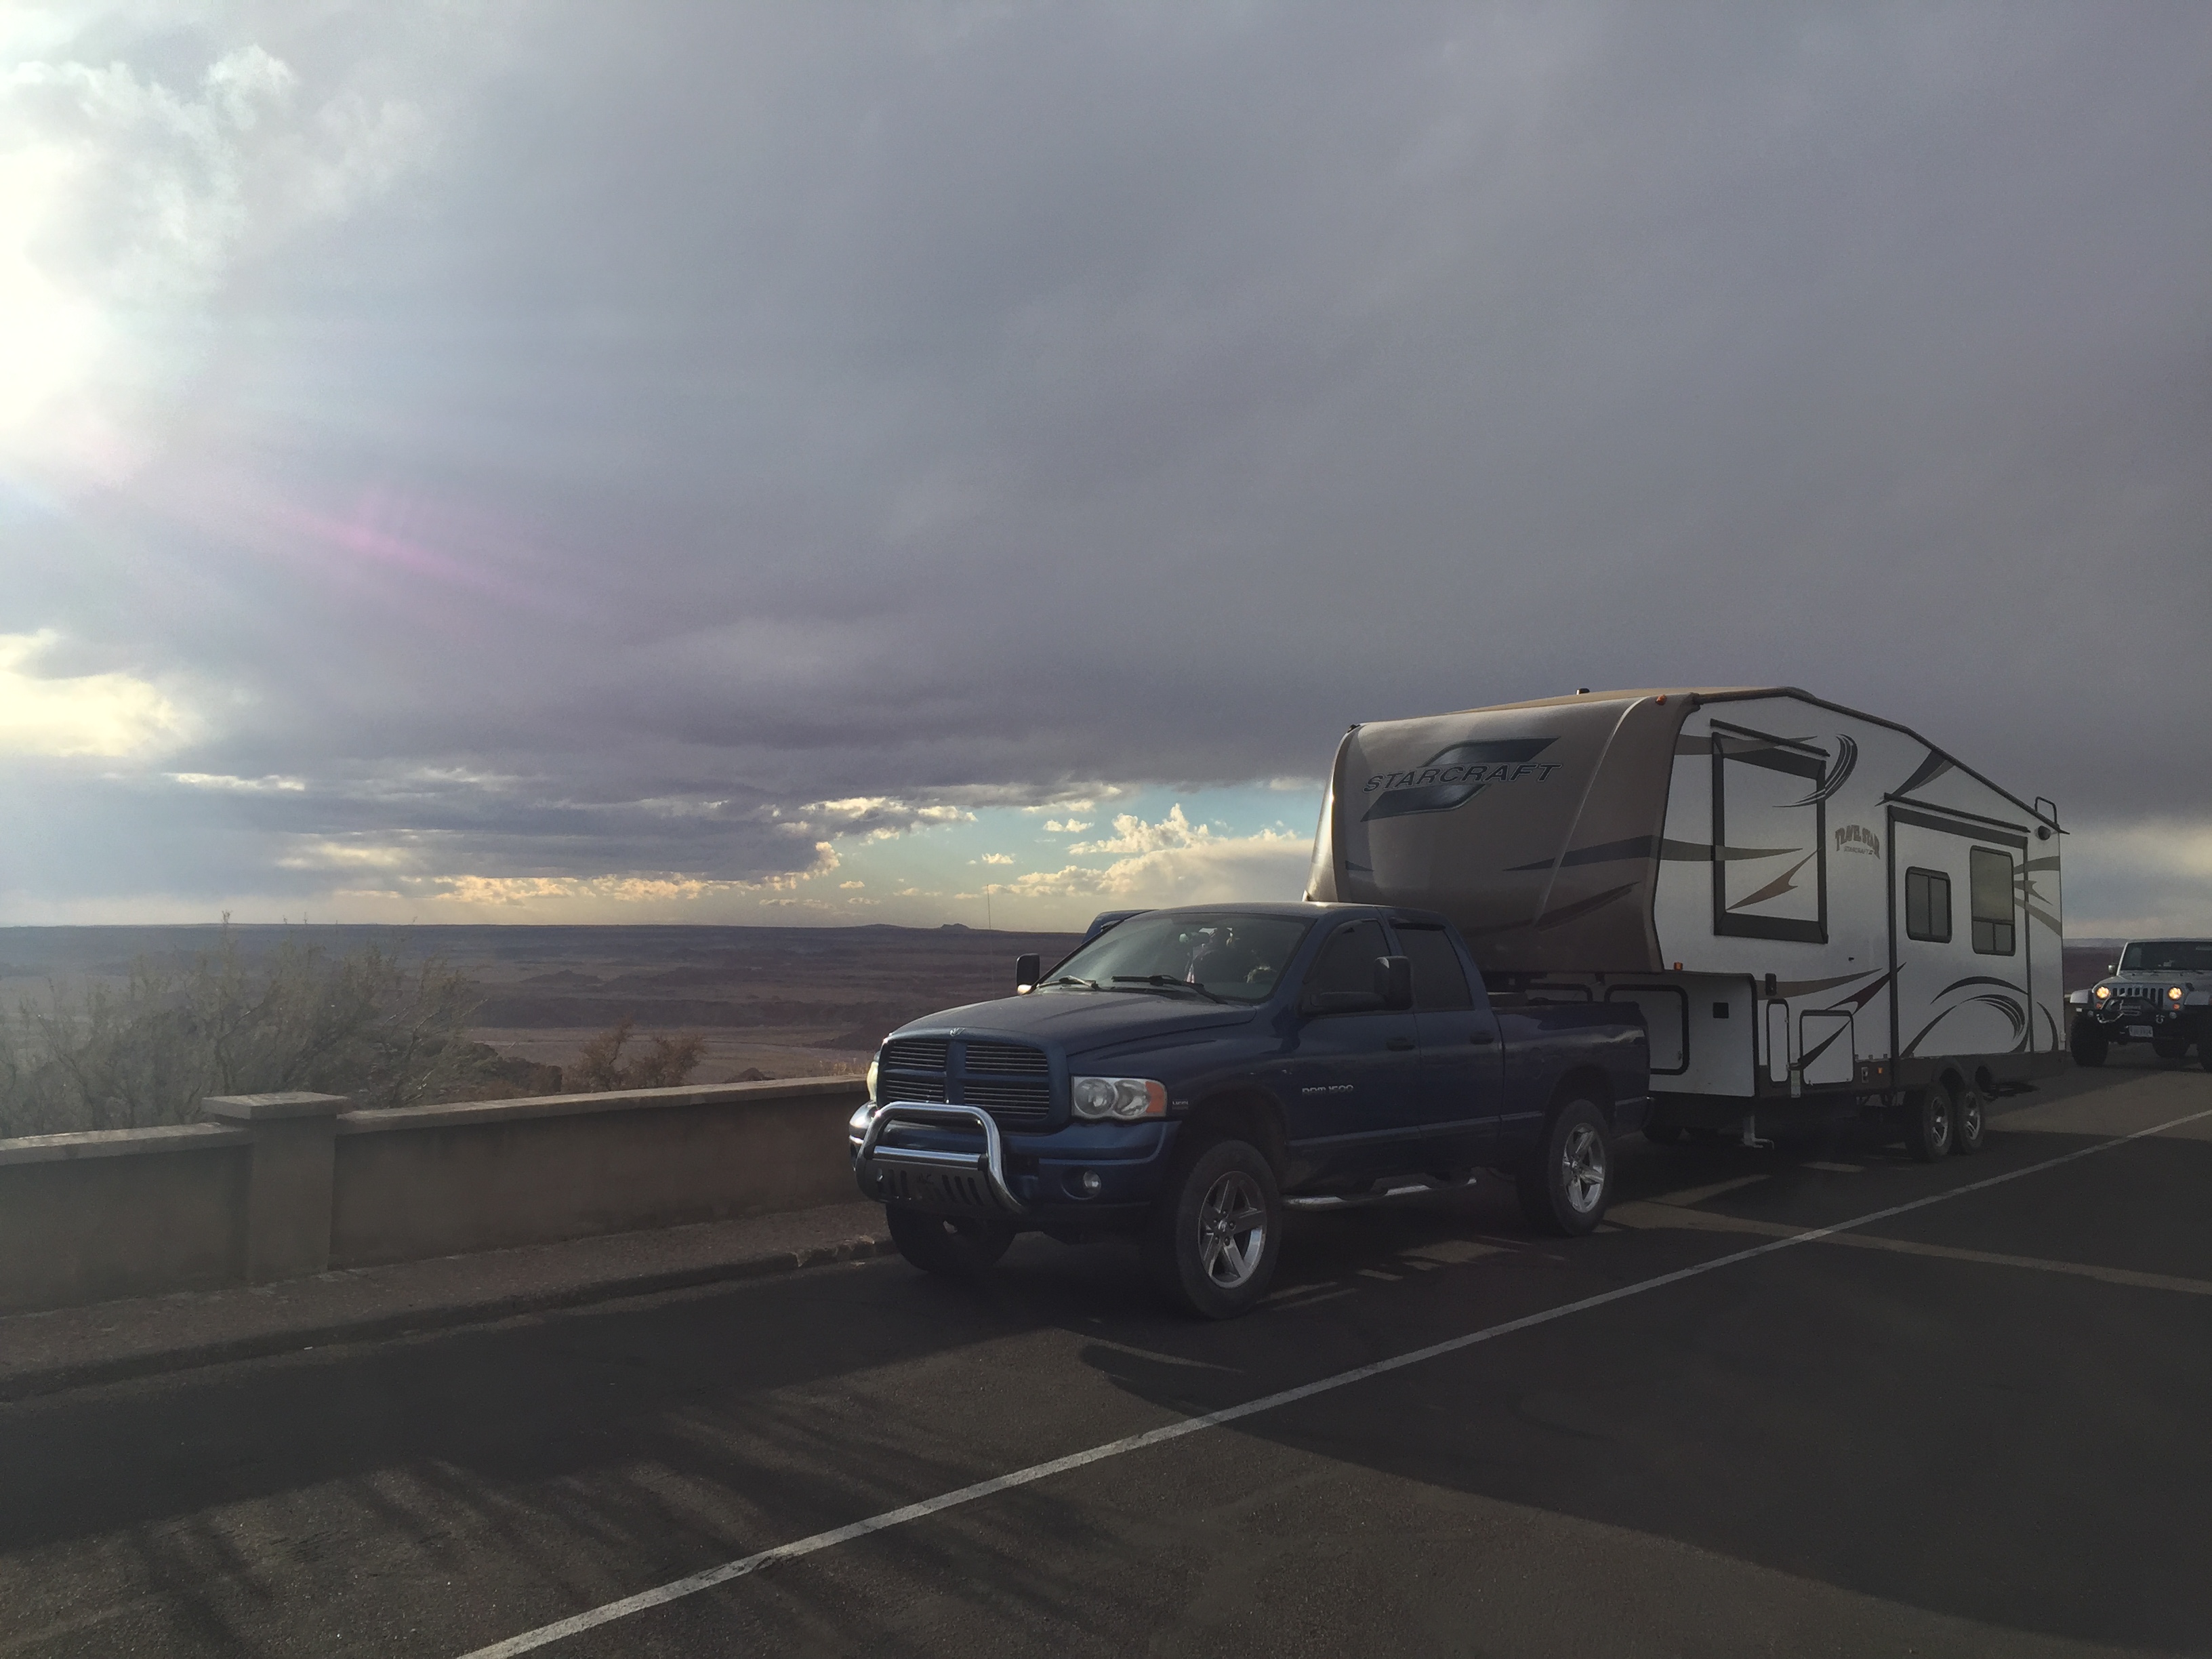
Number 1! What an exciting number to see. The start of a new adventure and a new chapter of life. While we are not completely on the road full time yet we take trips as often as we can. We have been living in our fifth wheel just over 6 months now.
Whao! Where did the time go. It is crazy to think we have been living in our tiny home for that long. We have gone on so many fun adventures in our home but this trip was our first National Park adventure since living in our RV. 🙂 What took us so long? haha.
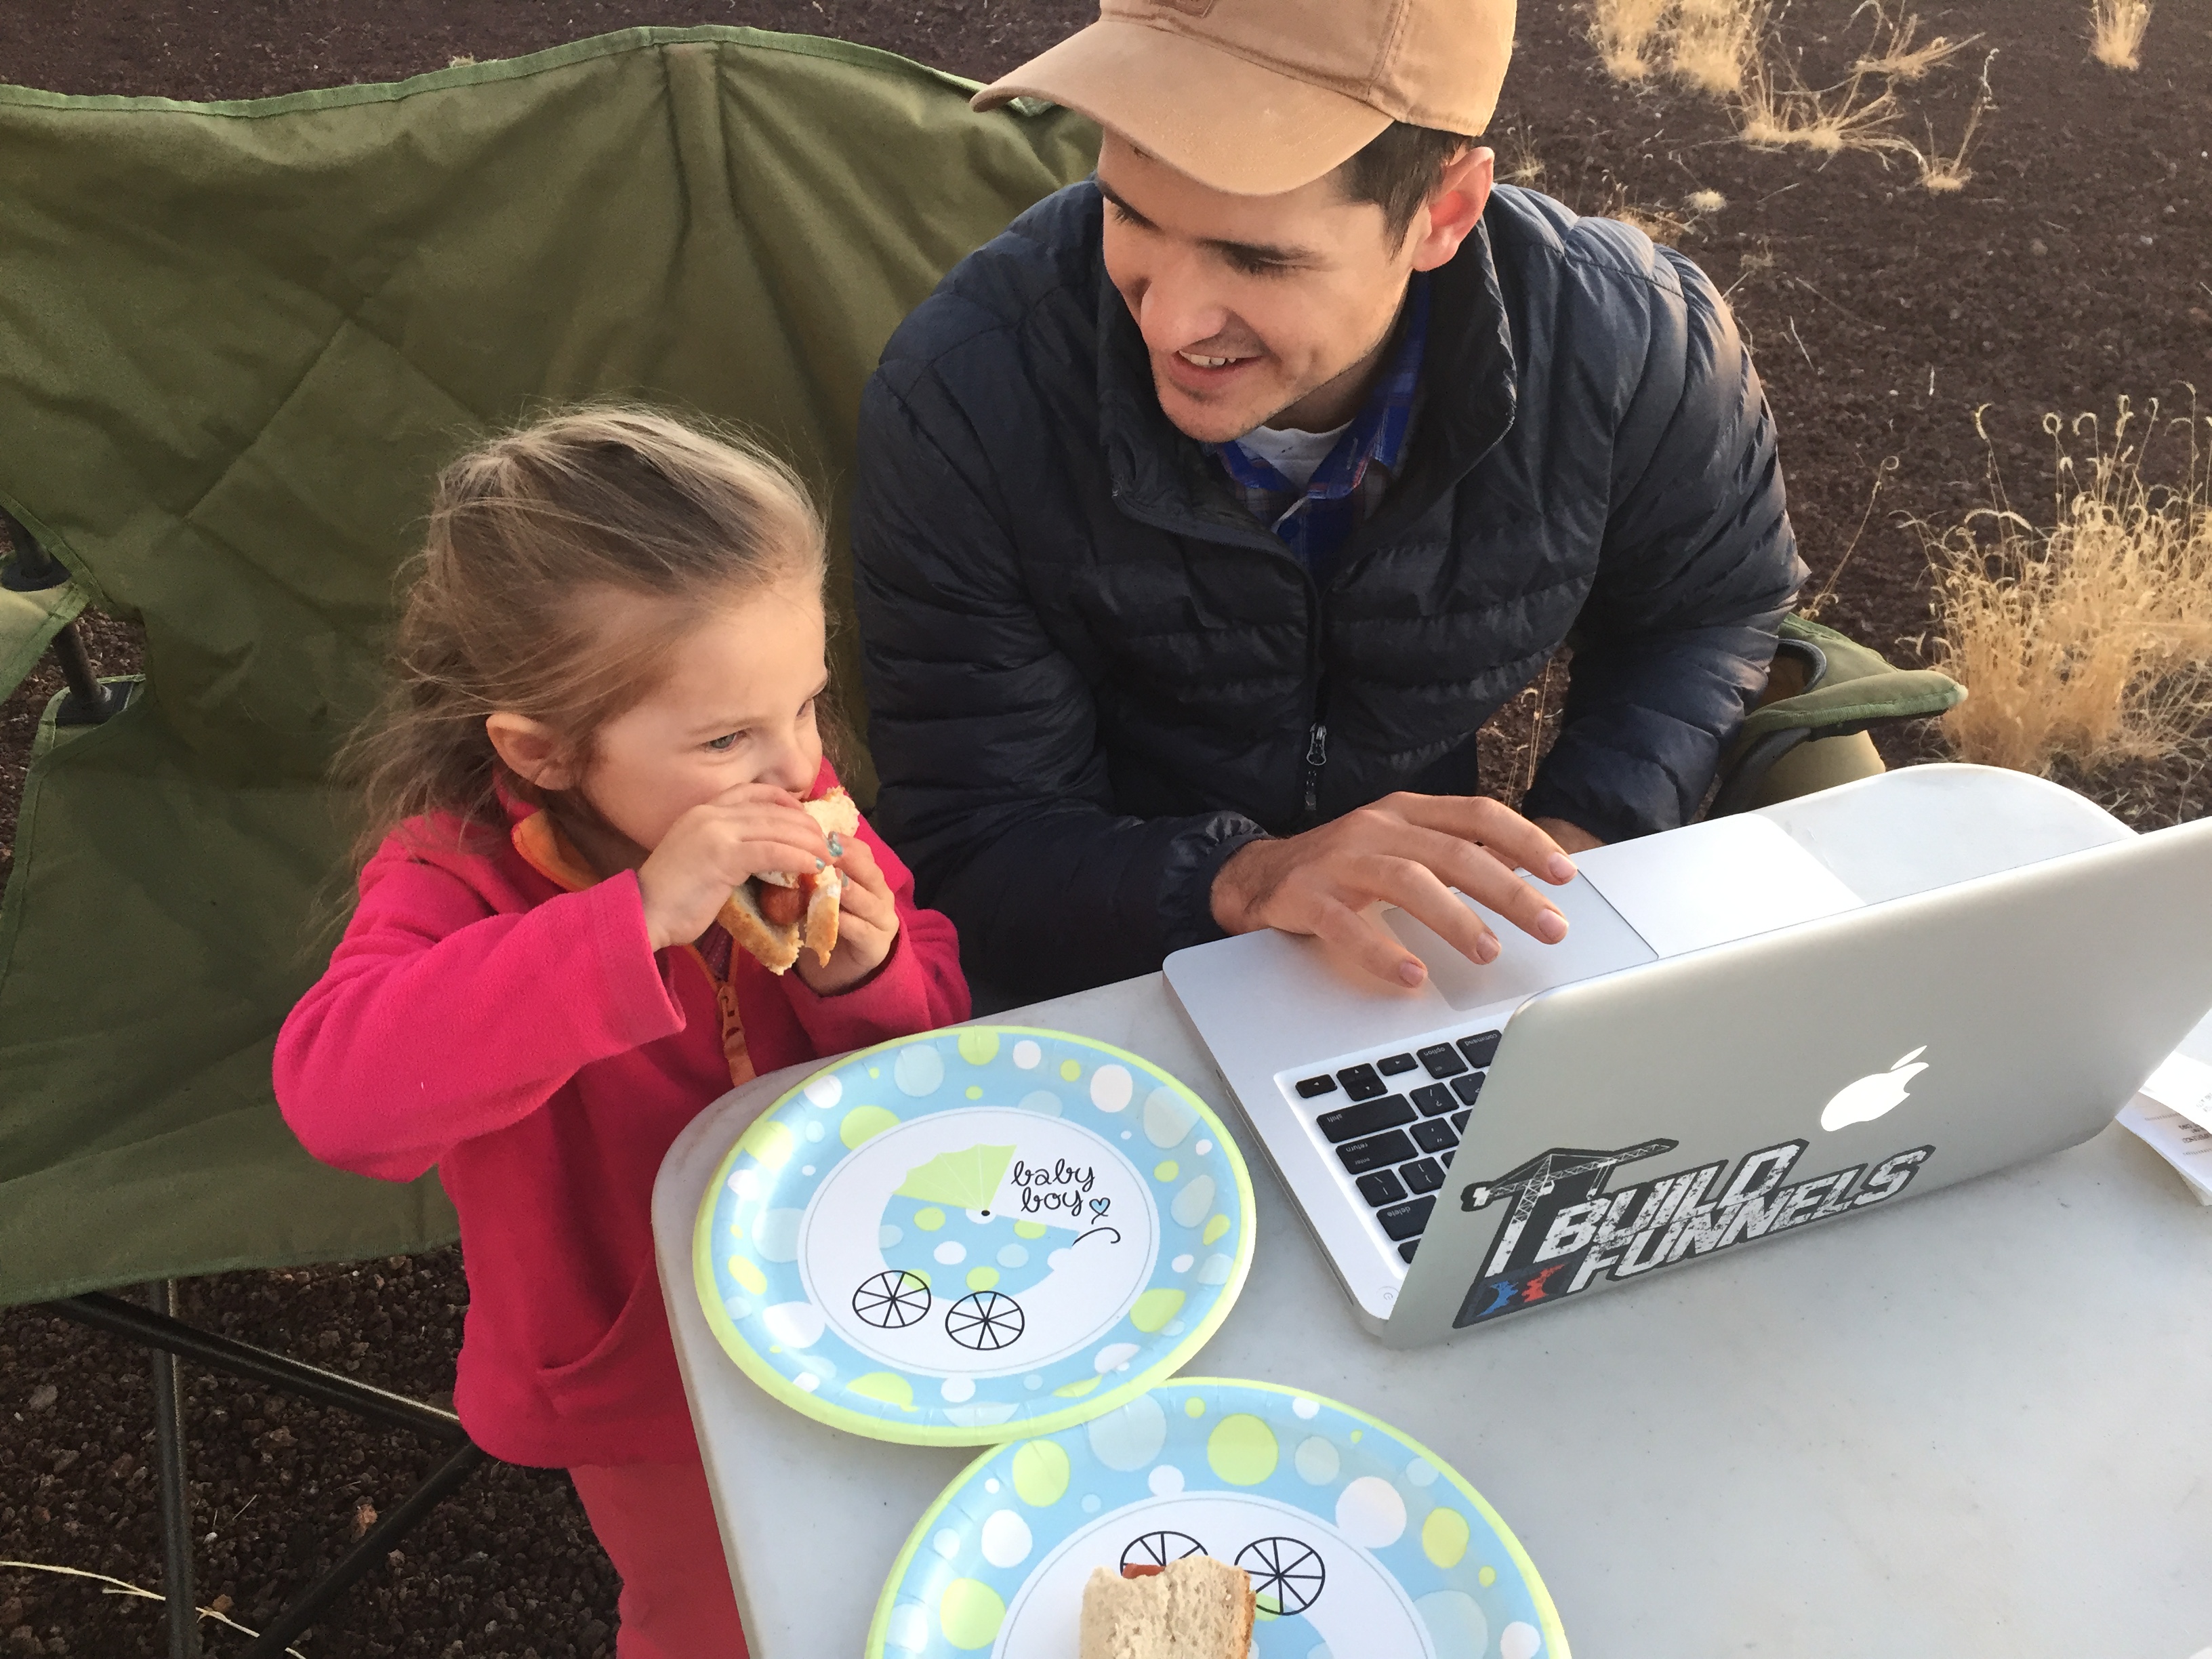
Our home base has been Socorro, NM. So we took off from there and headed toward Springerville, AZ. We spent a day there so Adam could catch up on some work and do some coaching calls for our business. While he was working the girls and I took off to stroll the town (which has a population of almost 2,000, just to give you an idea of how much we had to stroll).
Our first stop was the visitors center/museum. Which we really enjoyed. They had a lot of really neat things, Emery particularly loved the butterfly collection, and volcano display. There was a really fun park just behind the building, where we spent a couple hrs enjoying the sun.
While in Springerville I learned a valuable lesson that I will be putting to good use as we continue on our adventuring. Check when things are open before you plan. I had created great plans for the day but soon found out that everything I had planned was going to be closed.
We had planned to go to the White Mountain Dinosaur Exploration Center, Casa Malpais Archaeological Park & Museum, and a cute looking thrift store. Sounds like fun right? I thought so too, so before you get your plans shattered make sure they will work for the day, time, and season you decide to go. 😉 We still had a great time, we just had to do some adjusting. After the park we made a store run for some BBQ necessities and enjoyed a nice sunset as we finished up the day.

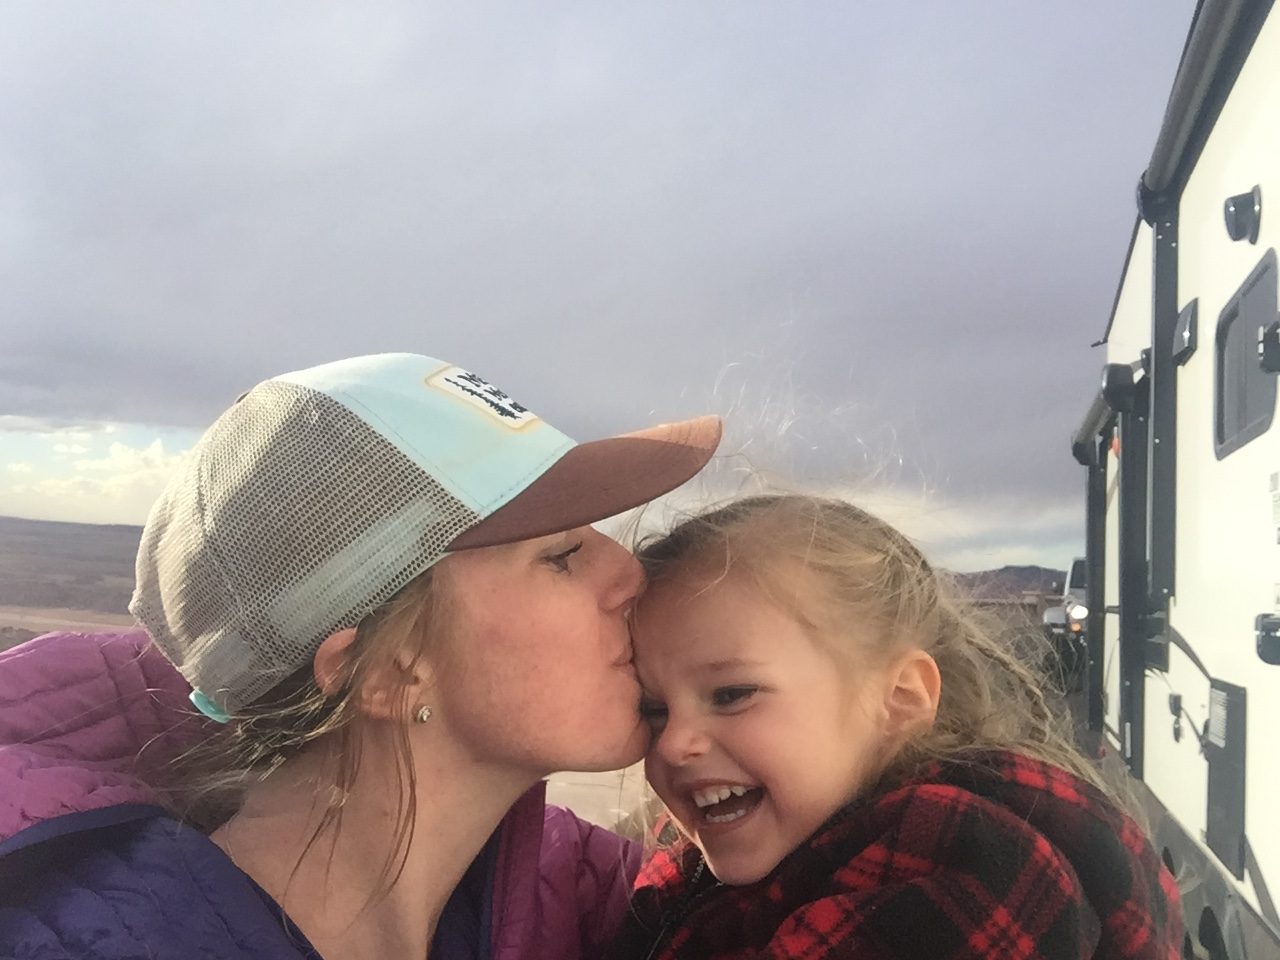
The next morning we packed up and headed towards Petrified Forest National Park. I wish we would have had more time, but then again it was a super windy day so we were all ready to be done by the time we finished. This was a really neat park, there was so much I wish we could have seen.
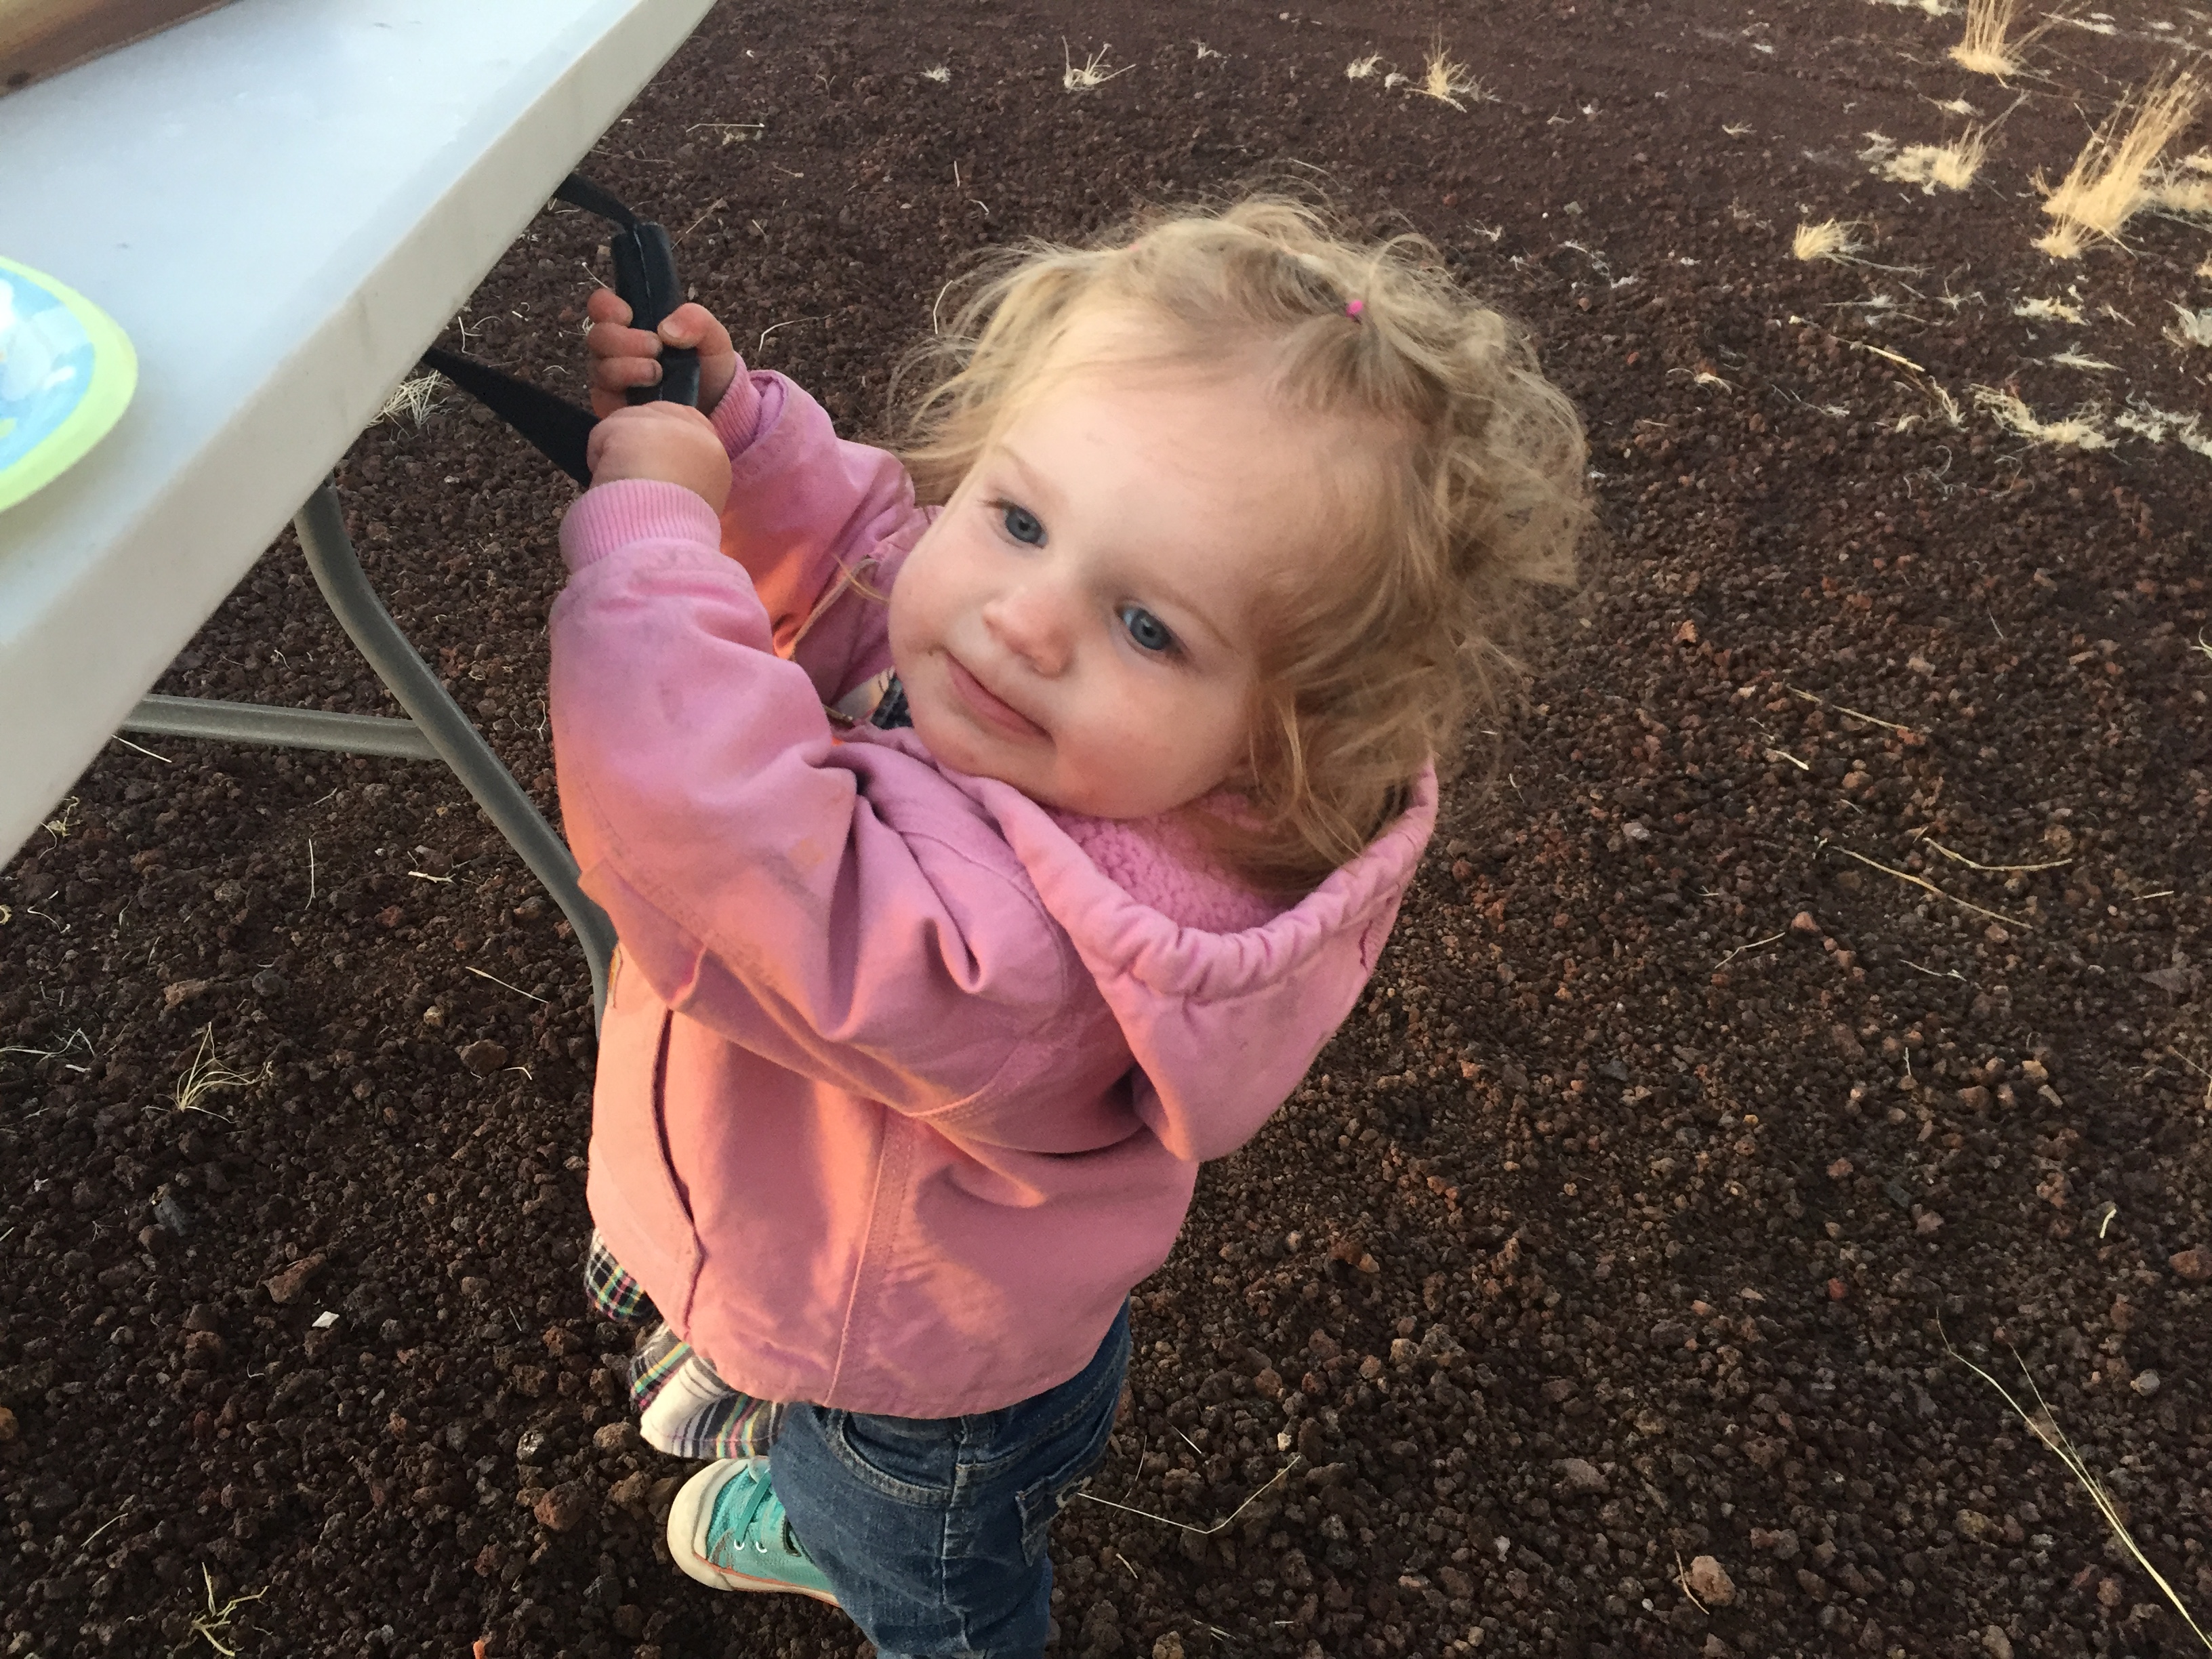
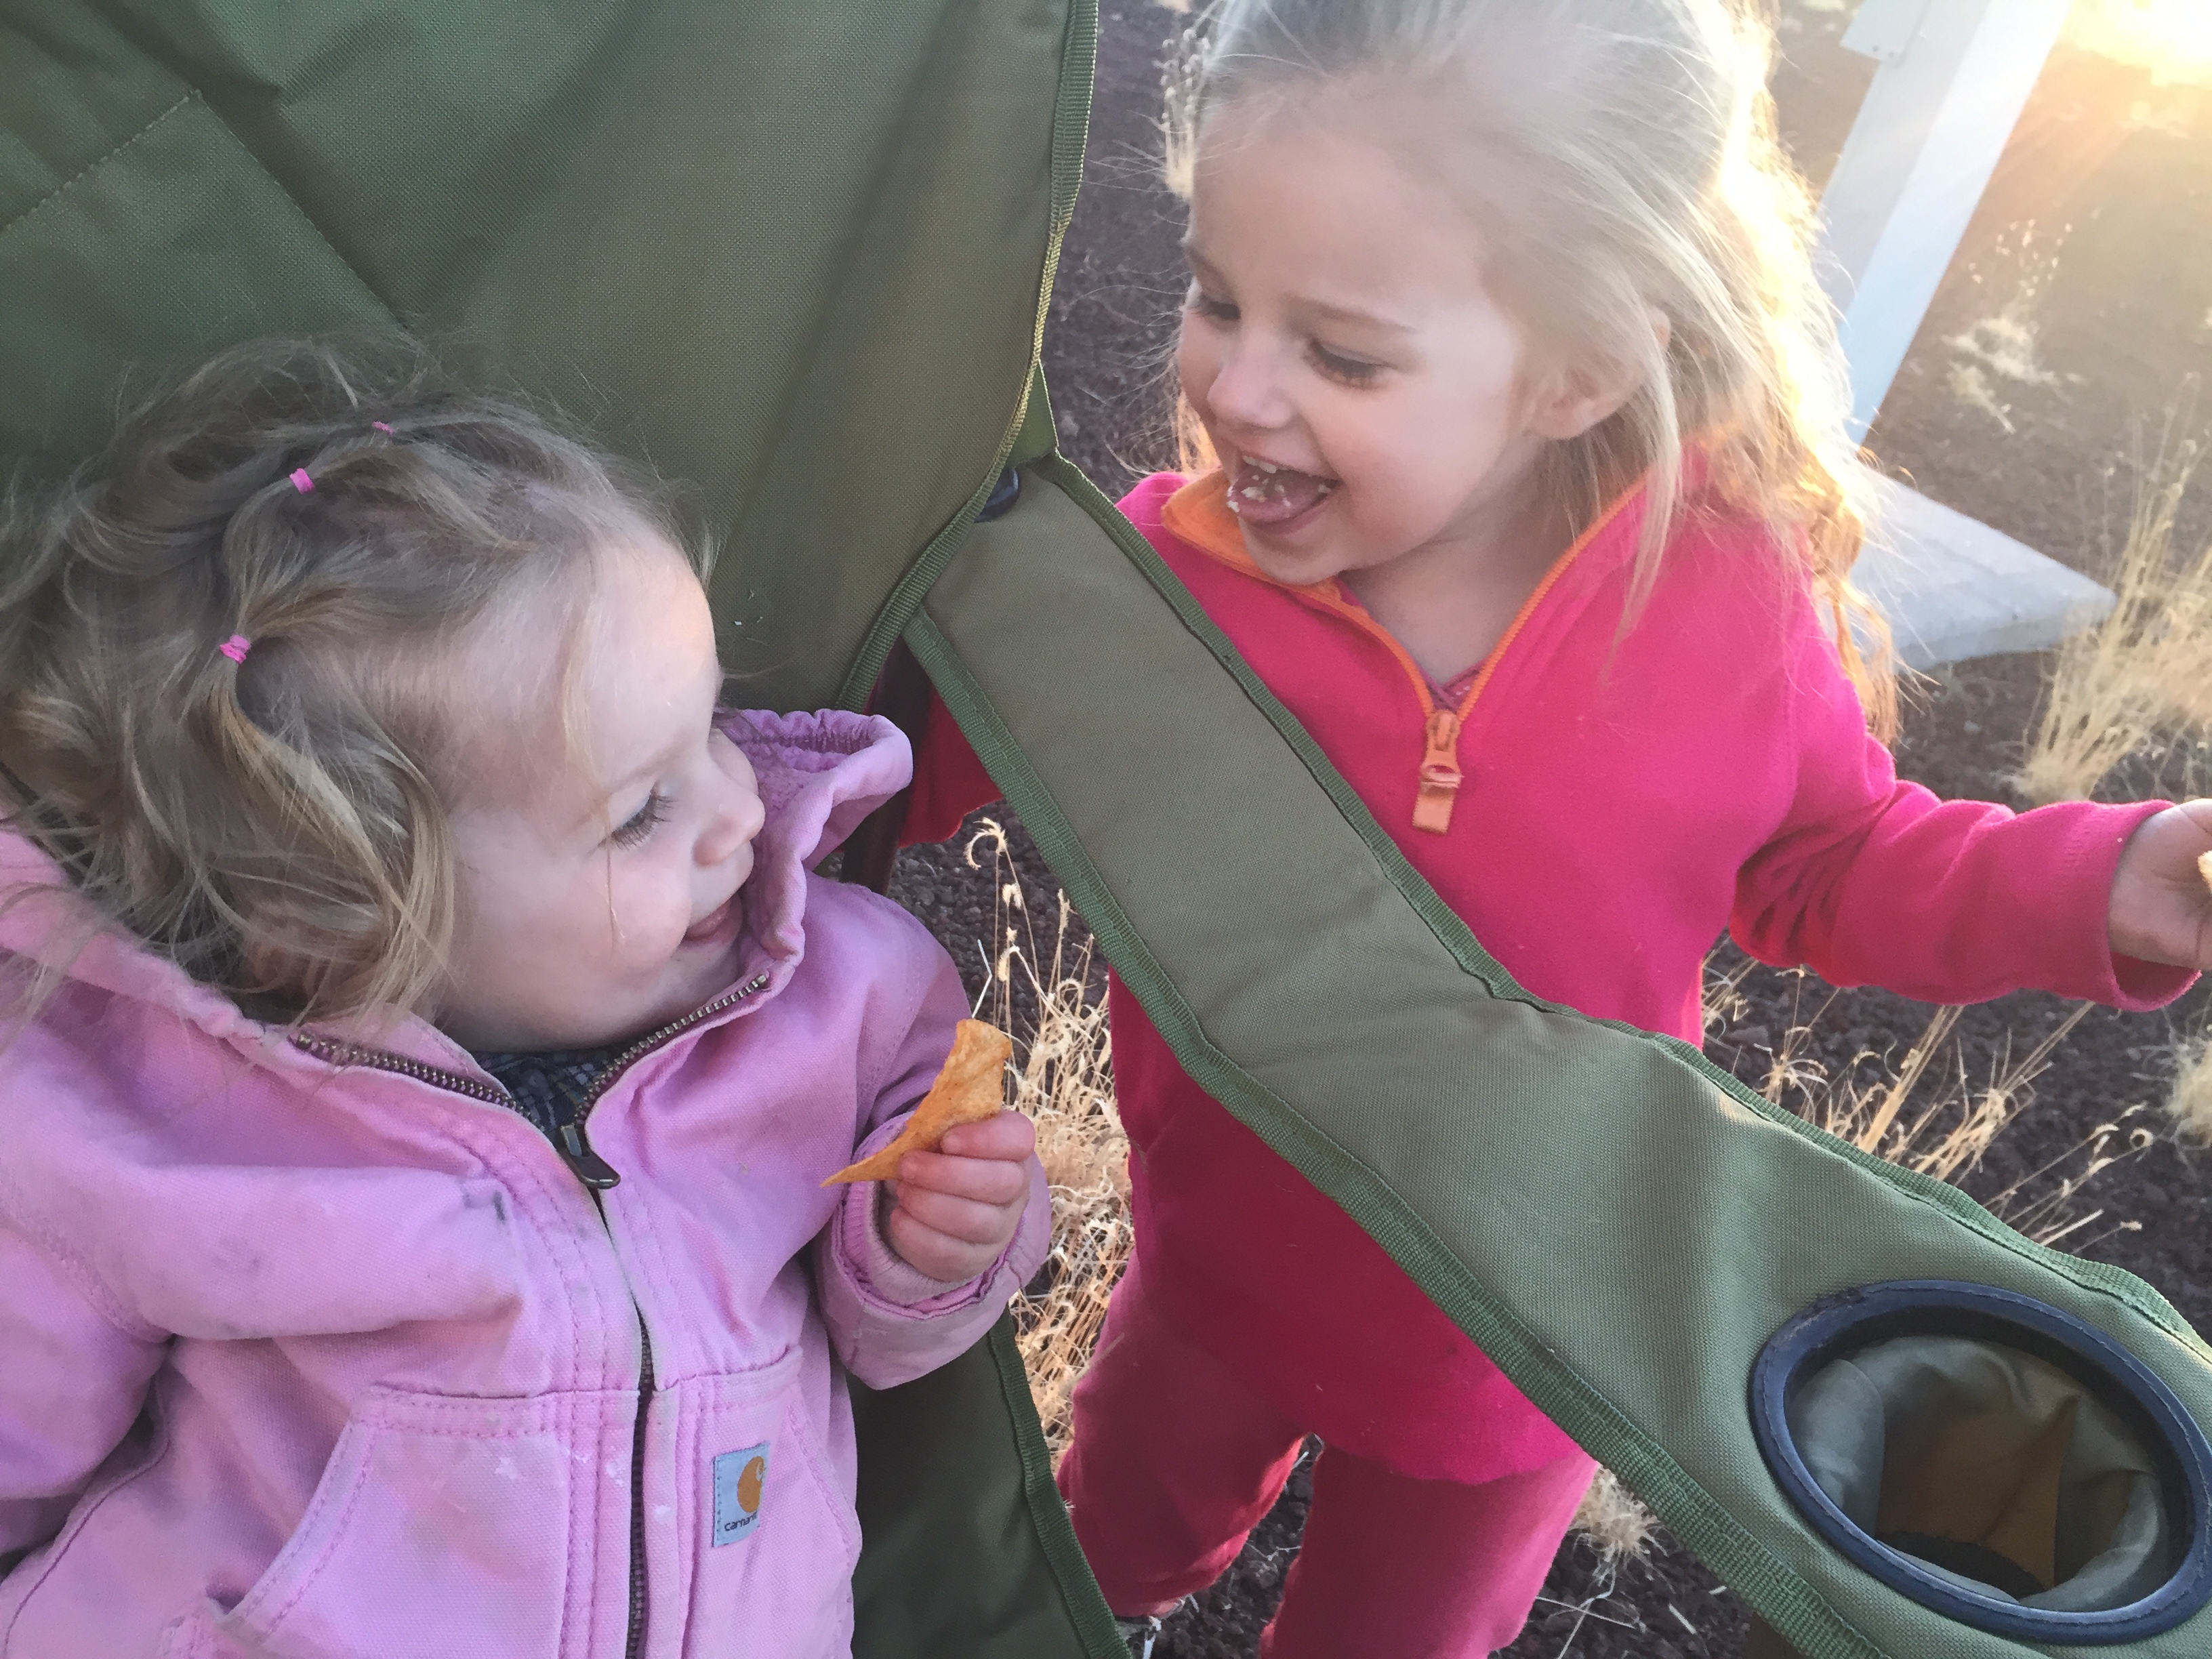
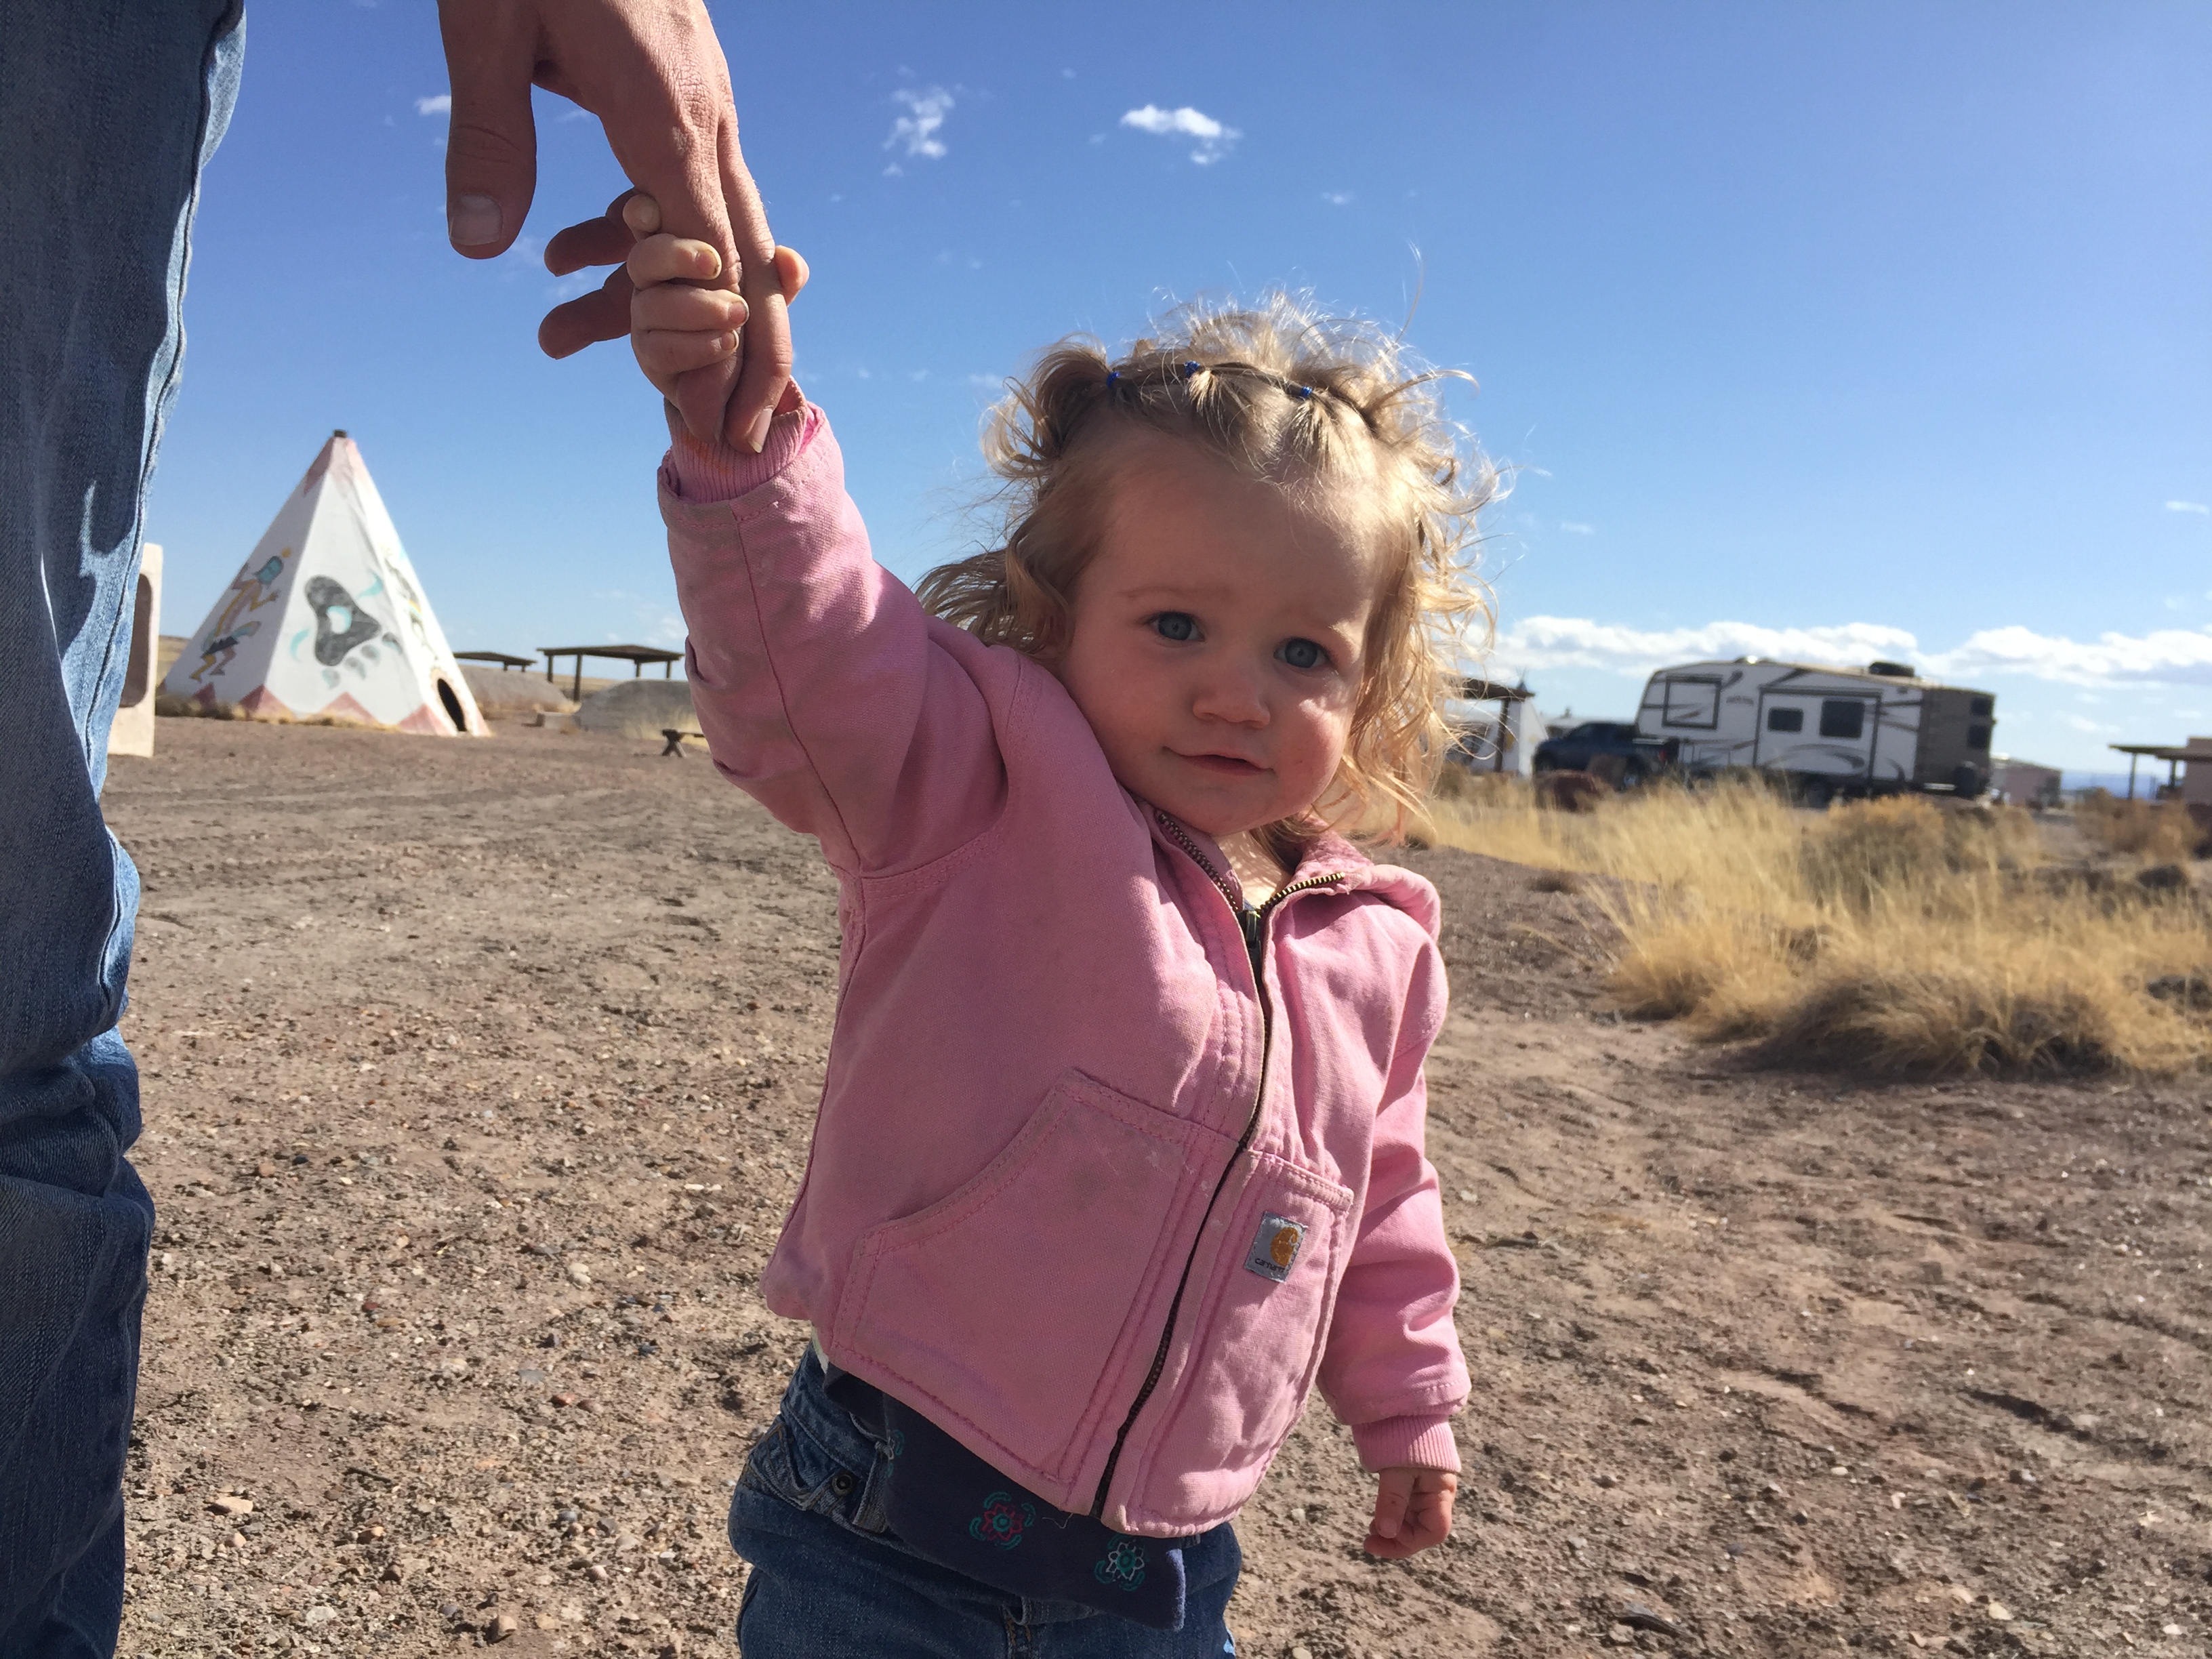
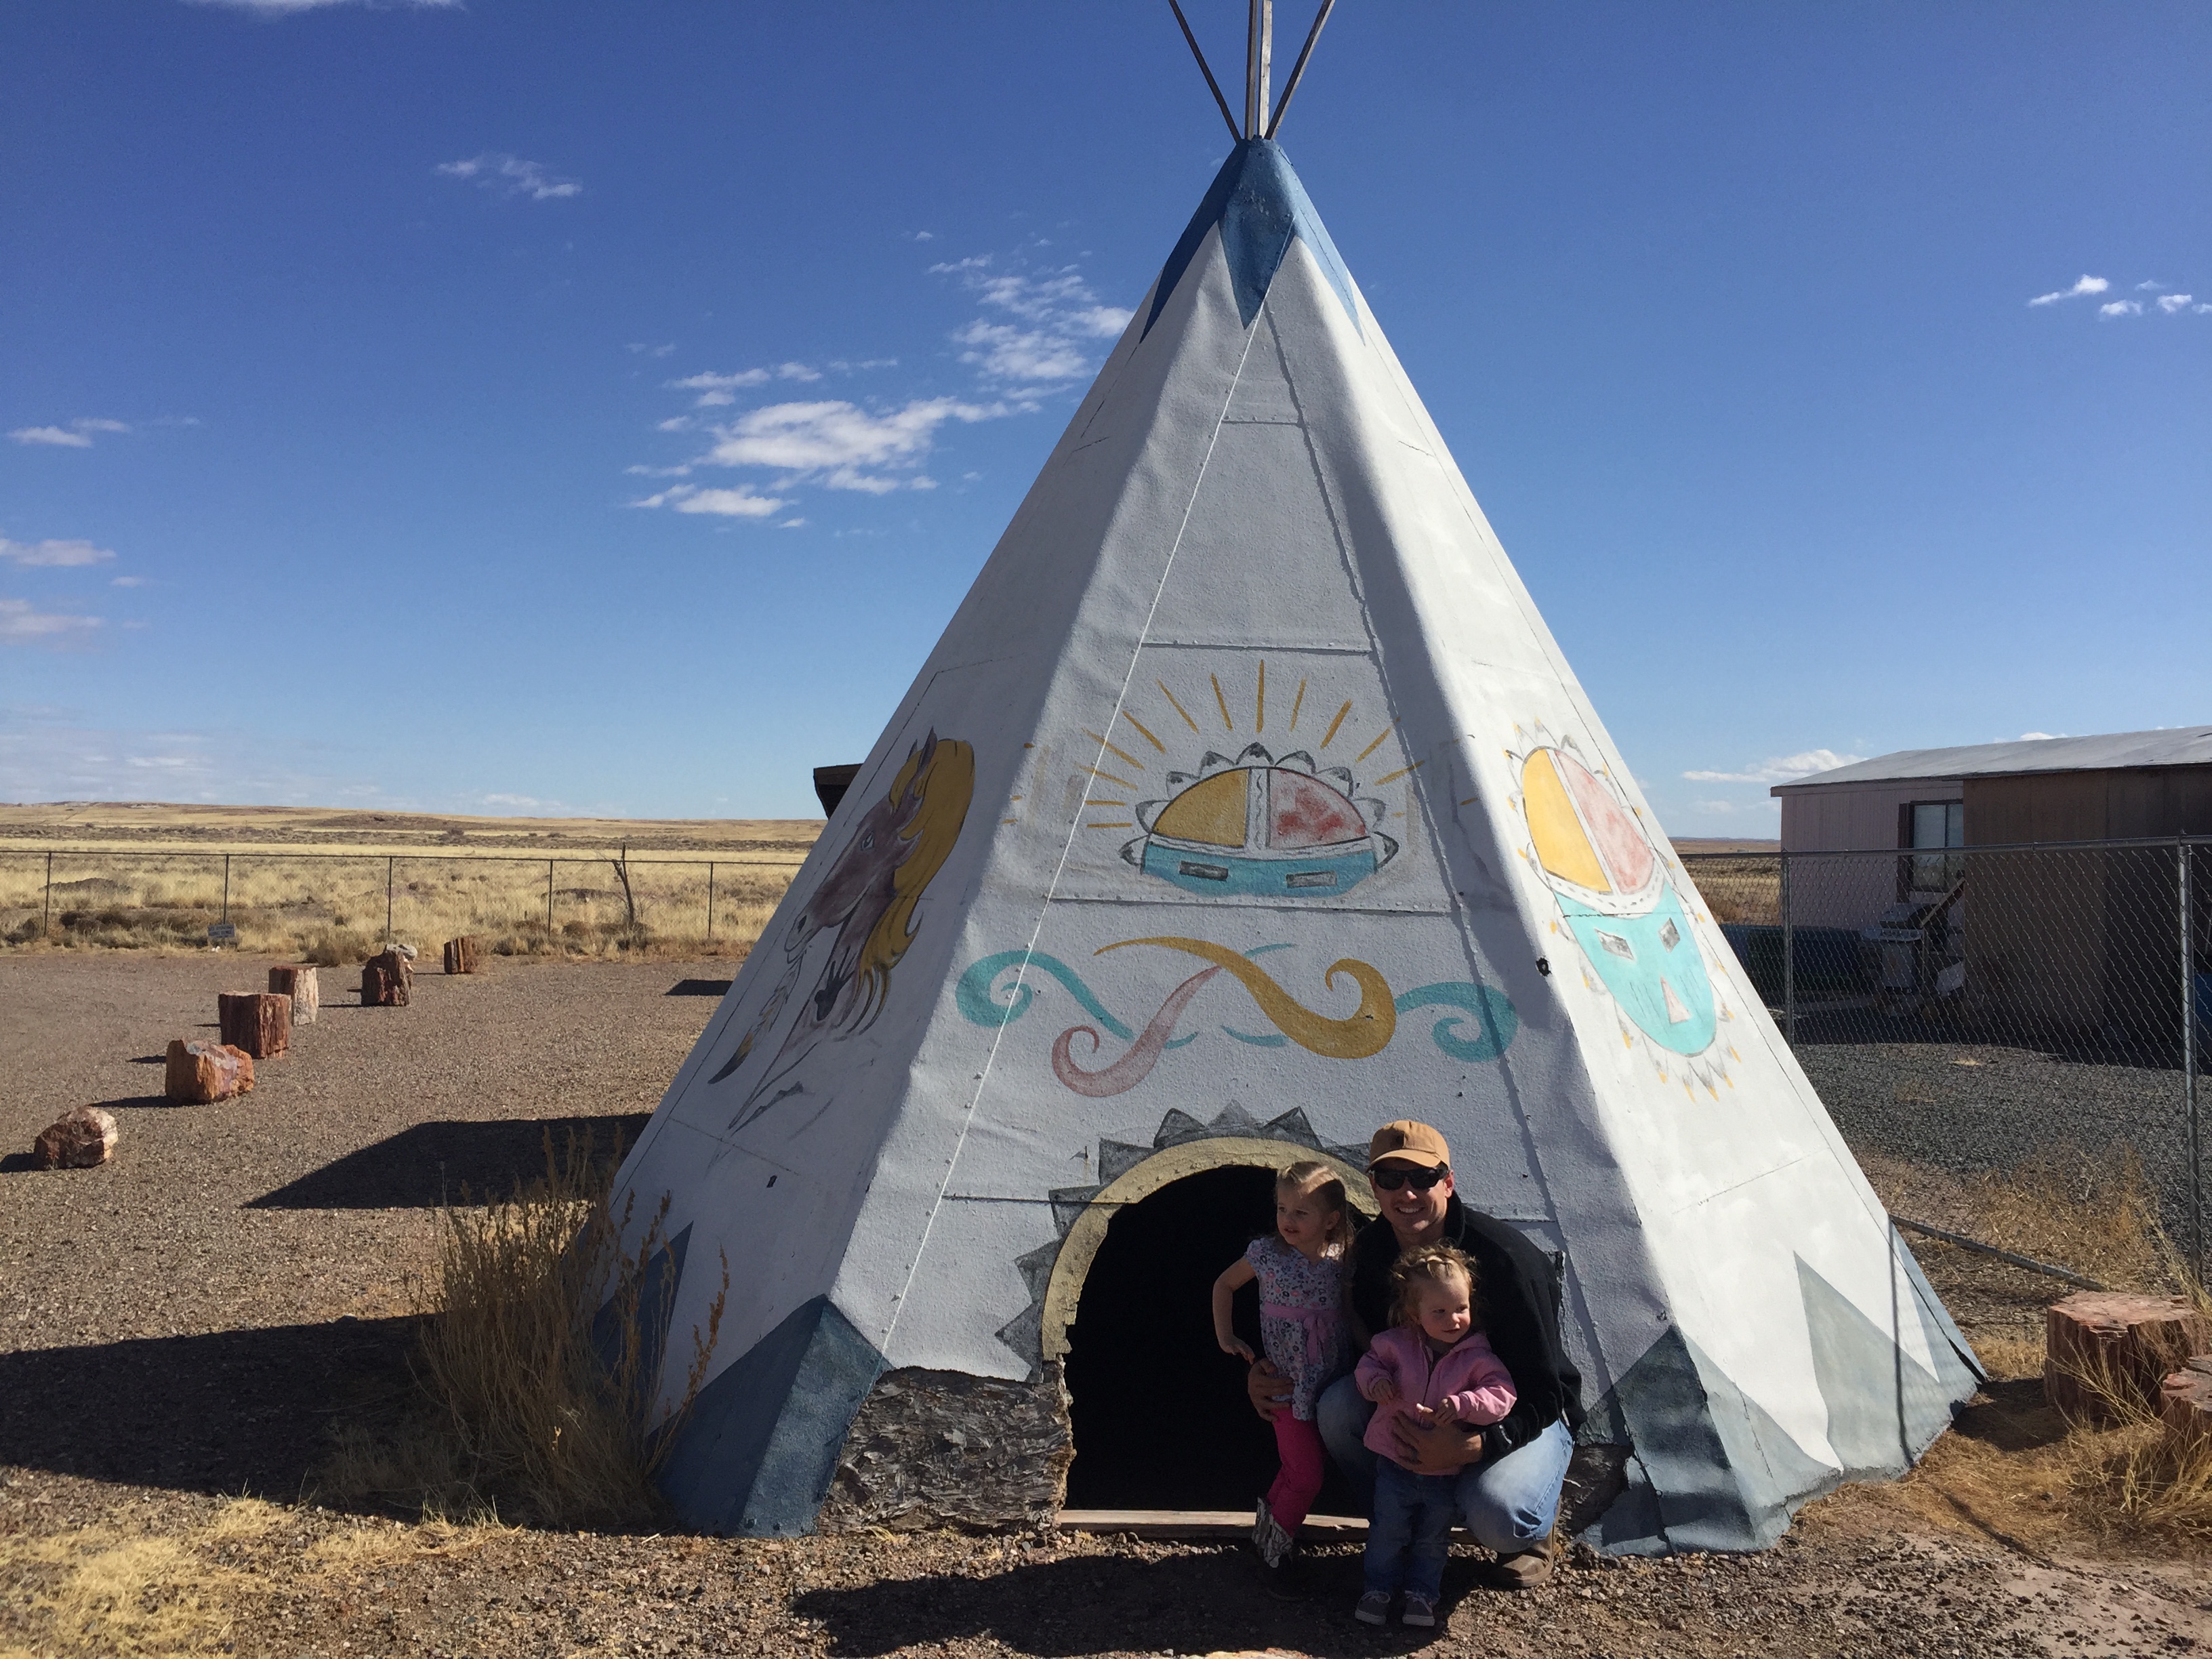
This park spans 28 miles and has so many amazing views and stops along the way. We started on the south side of the park at the gift shop on the out skirts. We had lunch and let the girls play around.
There were some fun tepees that Emery loved! And the girls had a hayday in the gift shop, so we didn’t stay long in there haha. This gift shop allows free parking but has no hookups. We would have loved to stay but we haven’t gotten boon docking down pat yet, and needed electricity that night.
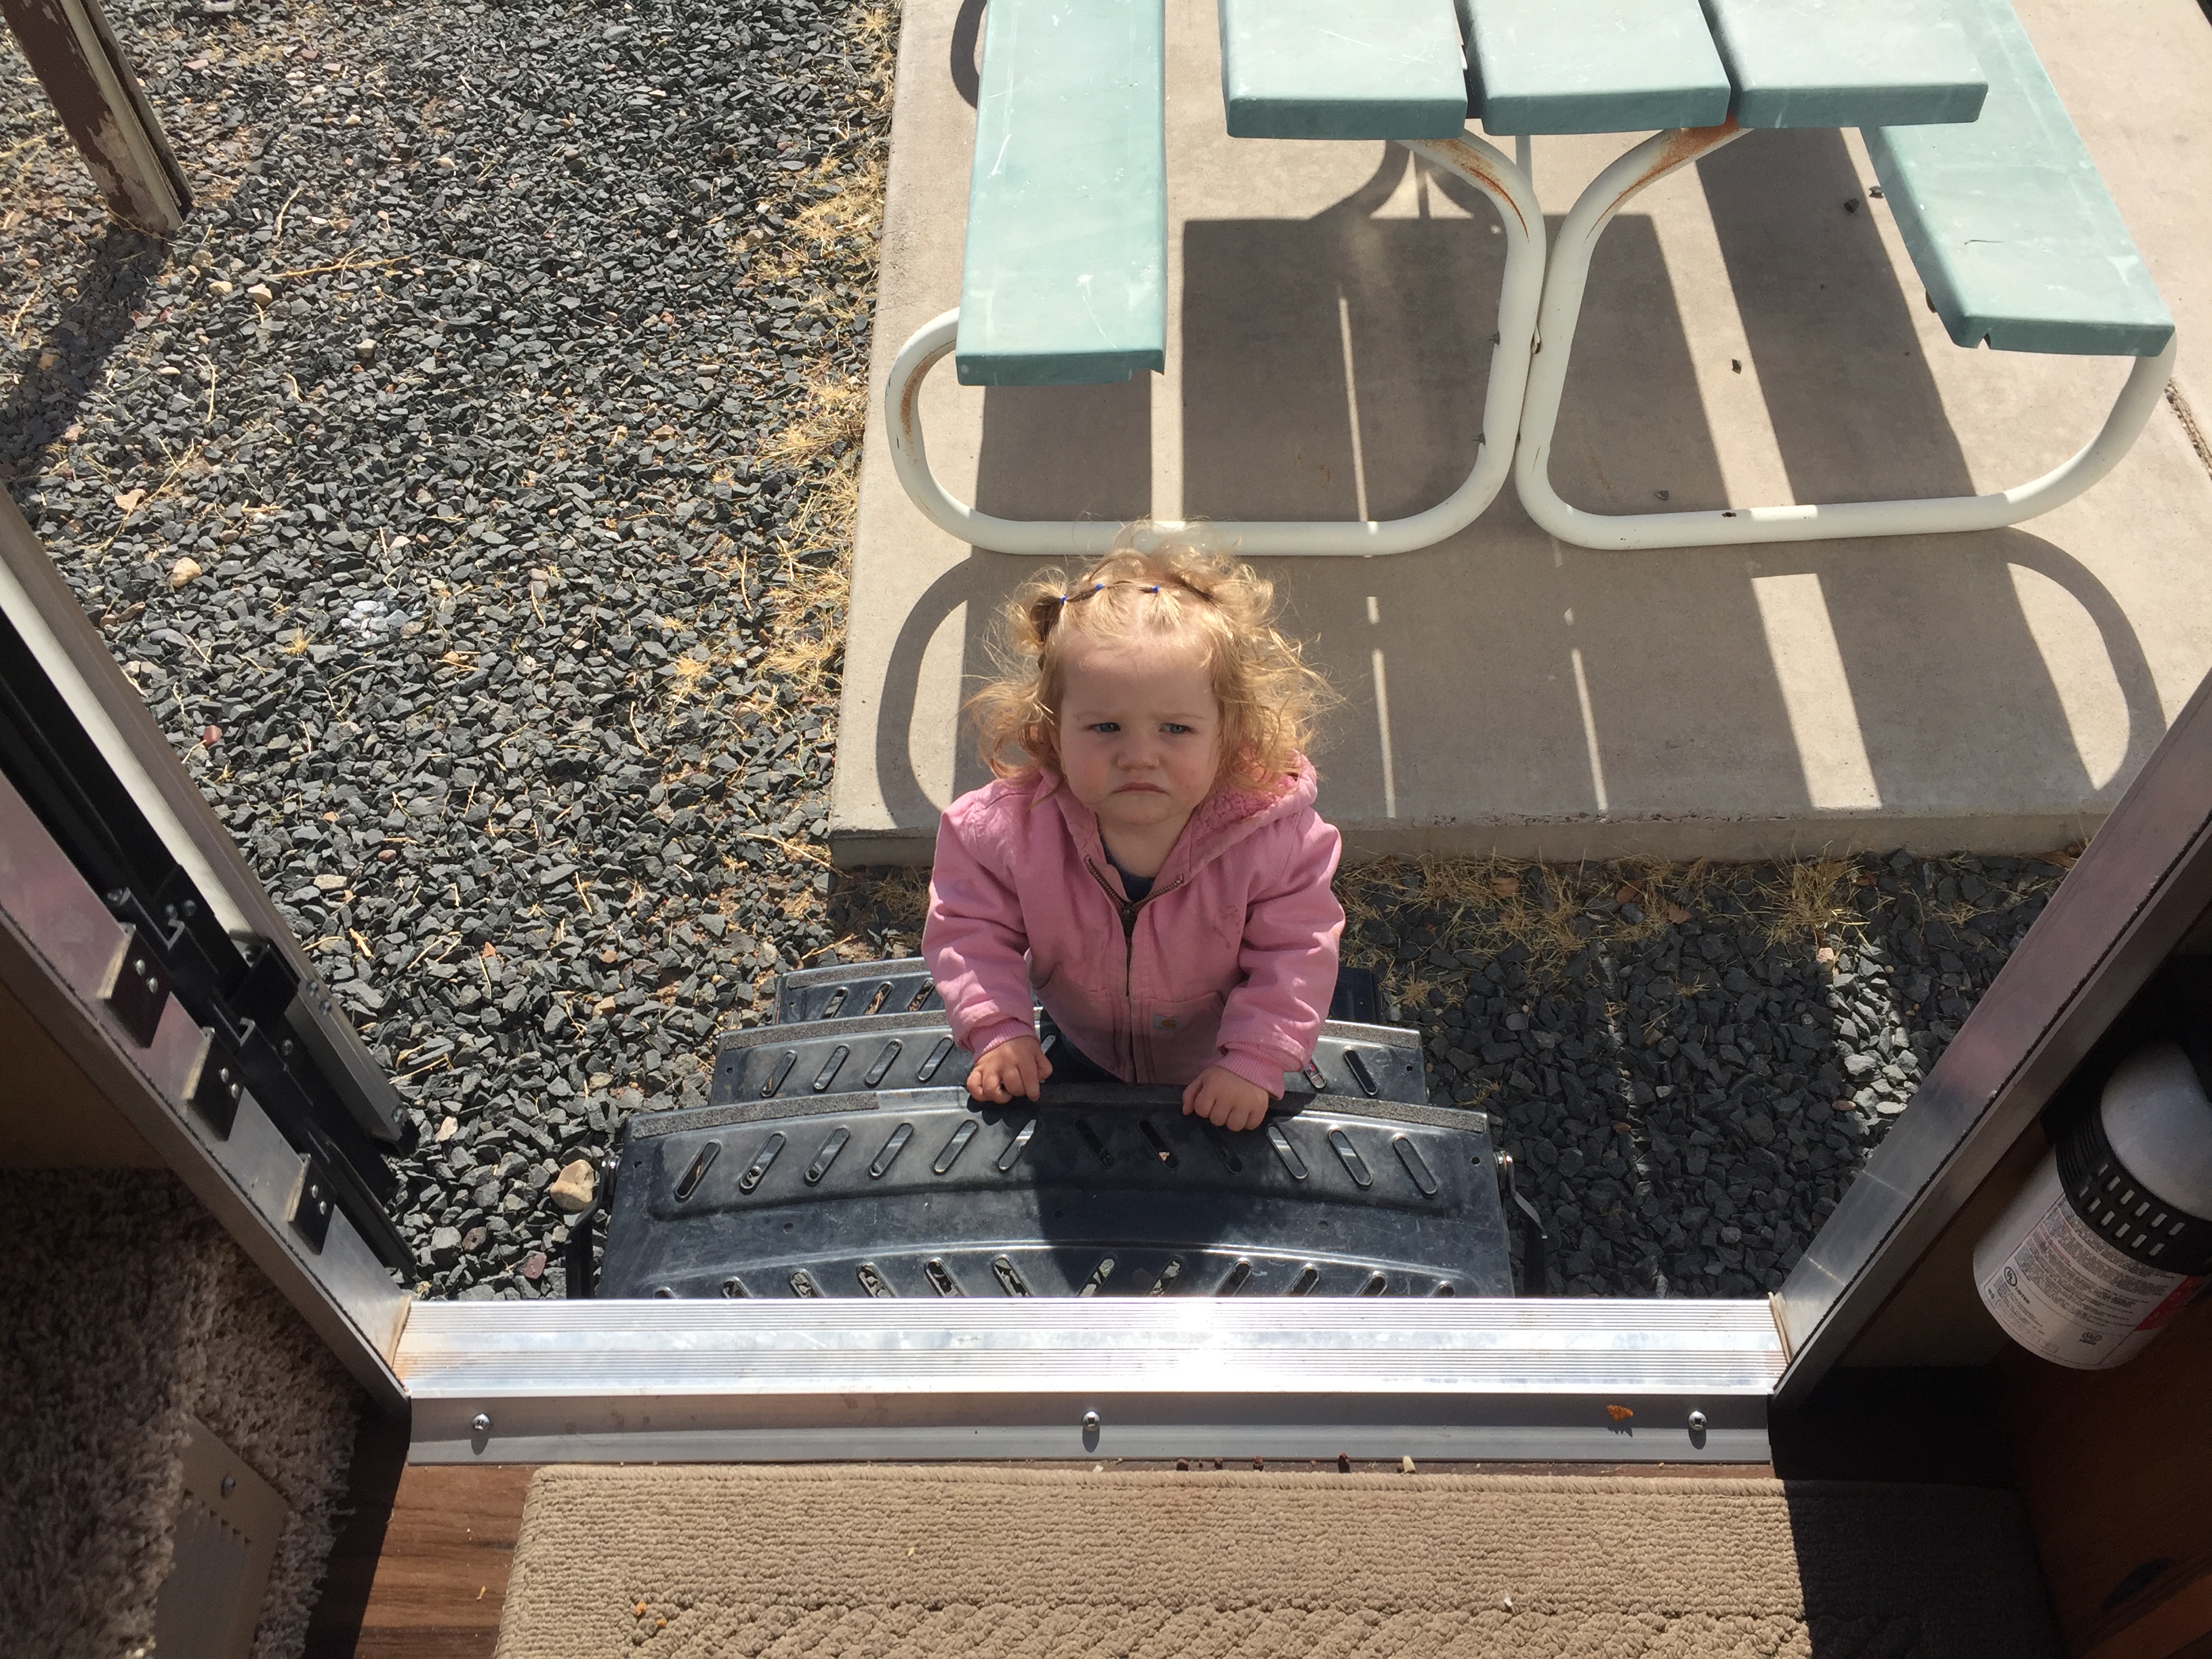 This is her don’t mess with me, I’m pooping face.;)
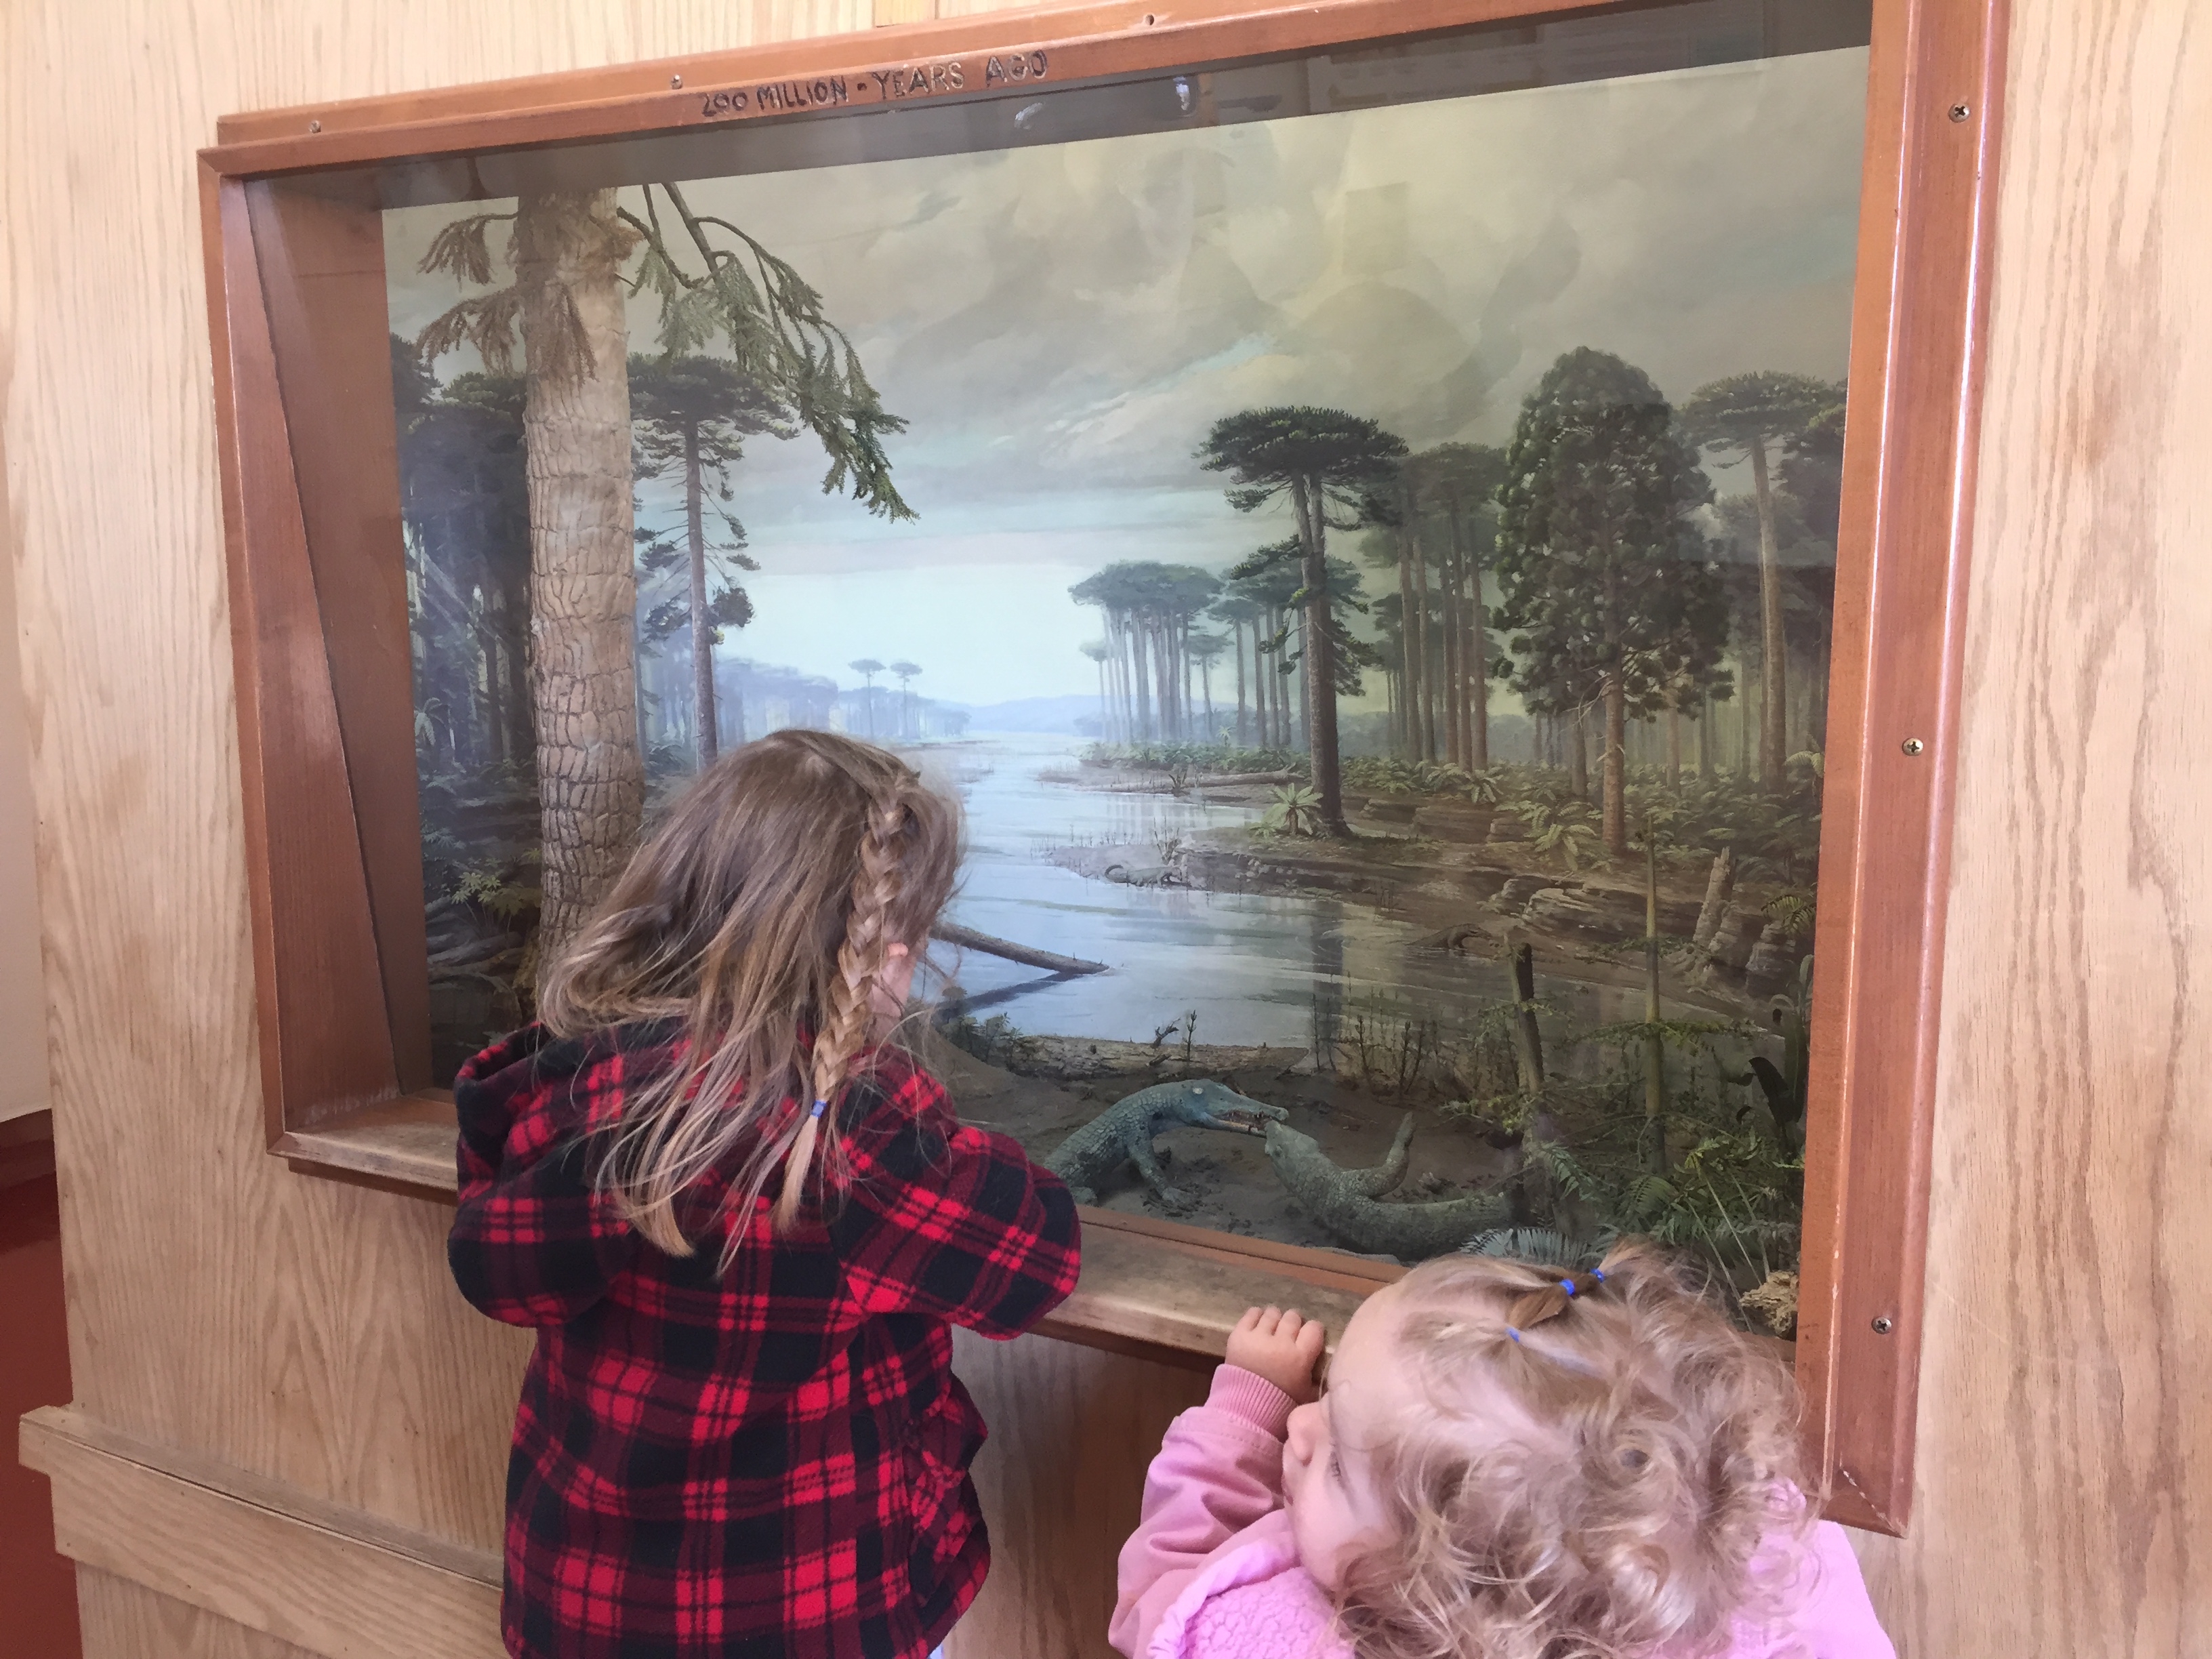
Once we were done with lunch we headed into the park, we first stopped at the Rainbow Forest Museum/Visitors Center. This is where we learned how the petrified wood is formed, and the girls got to pretend to dig up fossils. We got the scoop on what we needed to do and see and headed out.
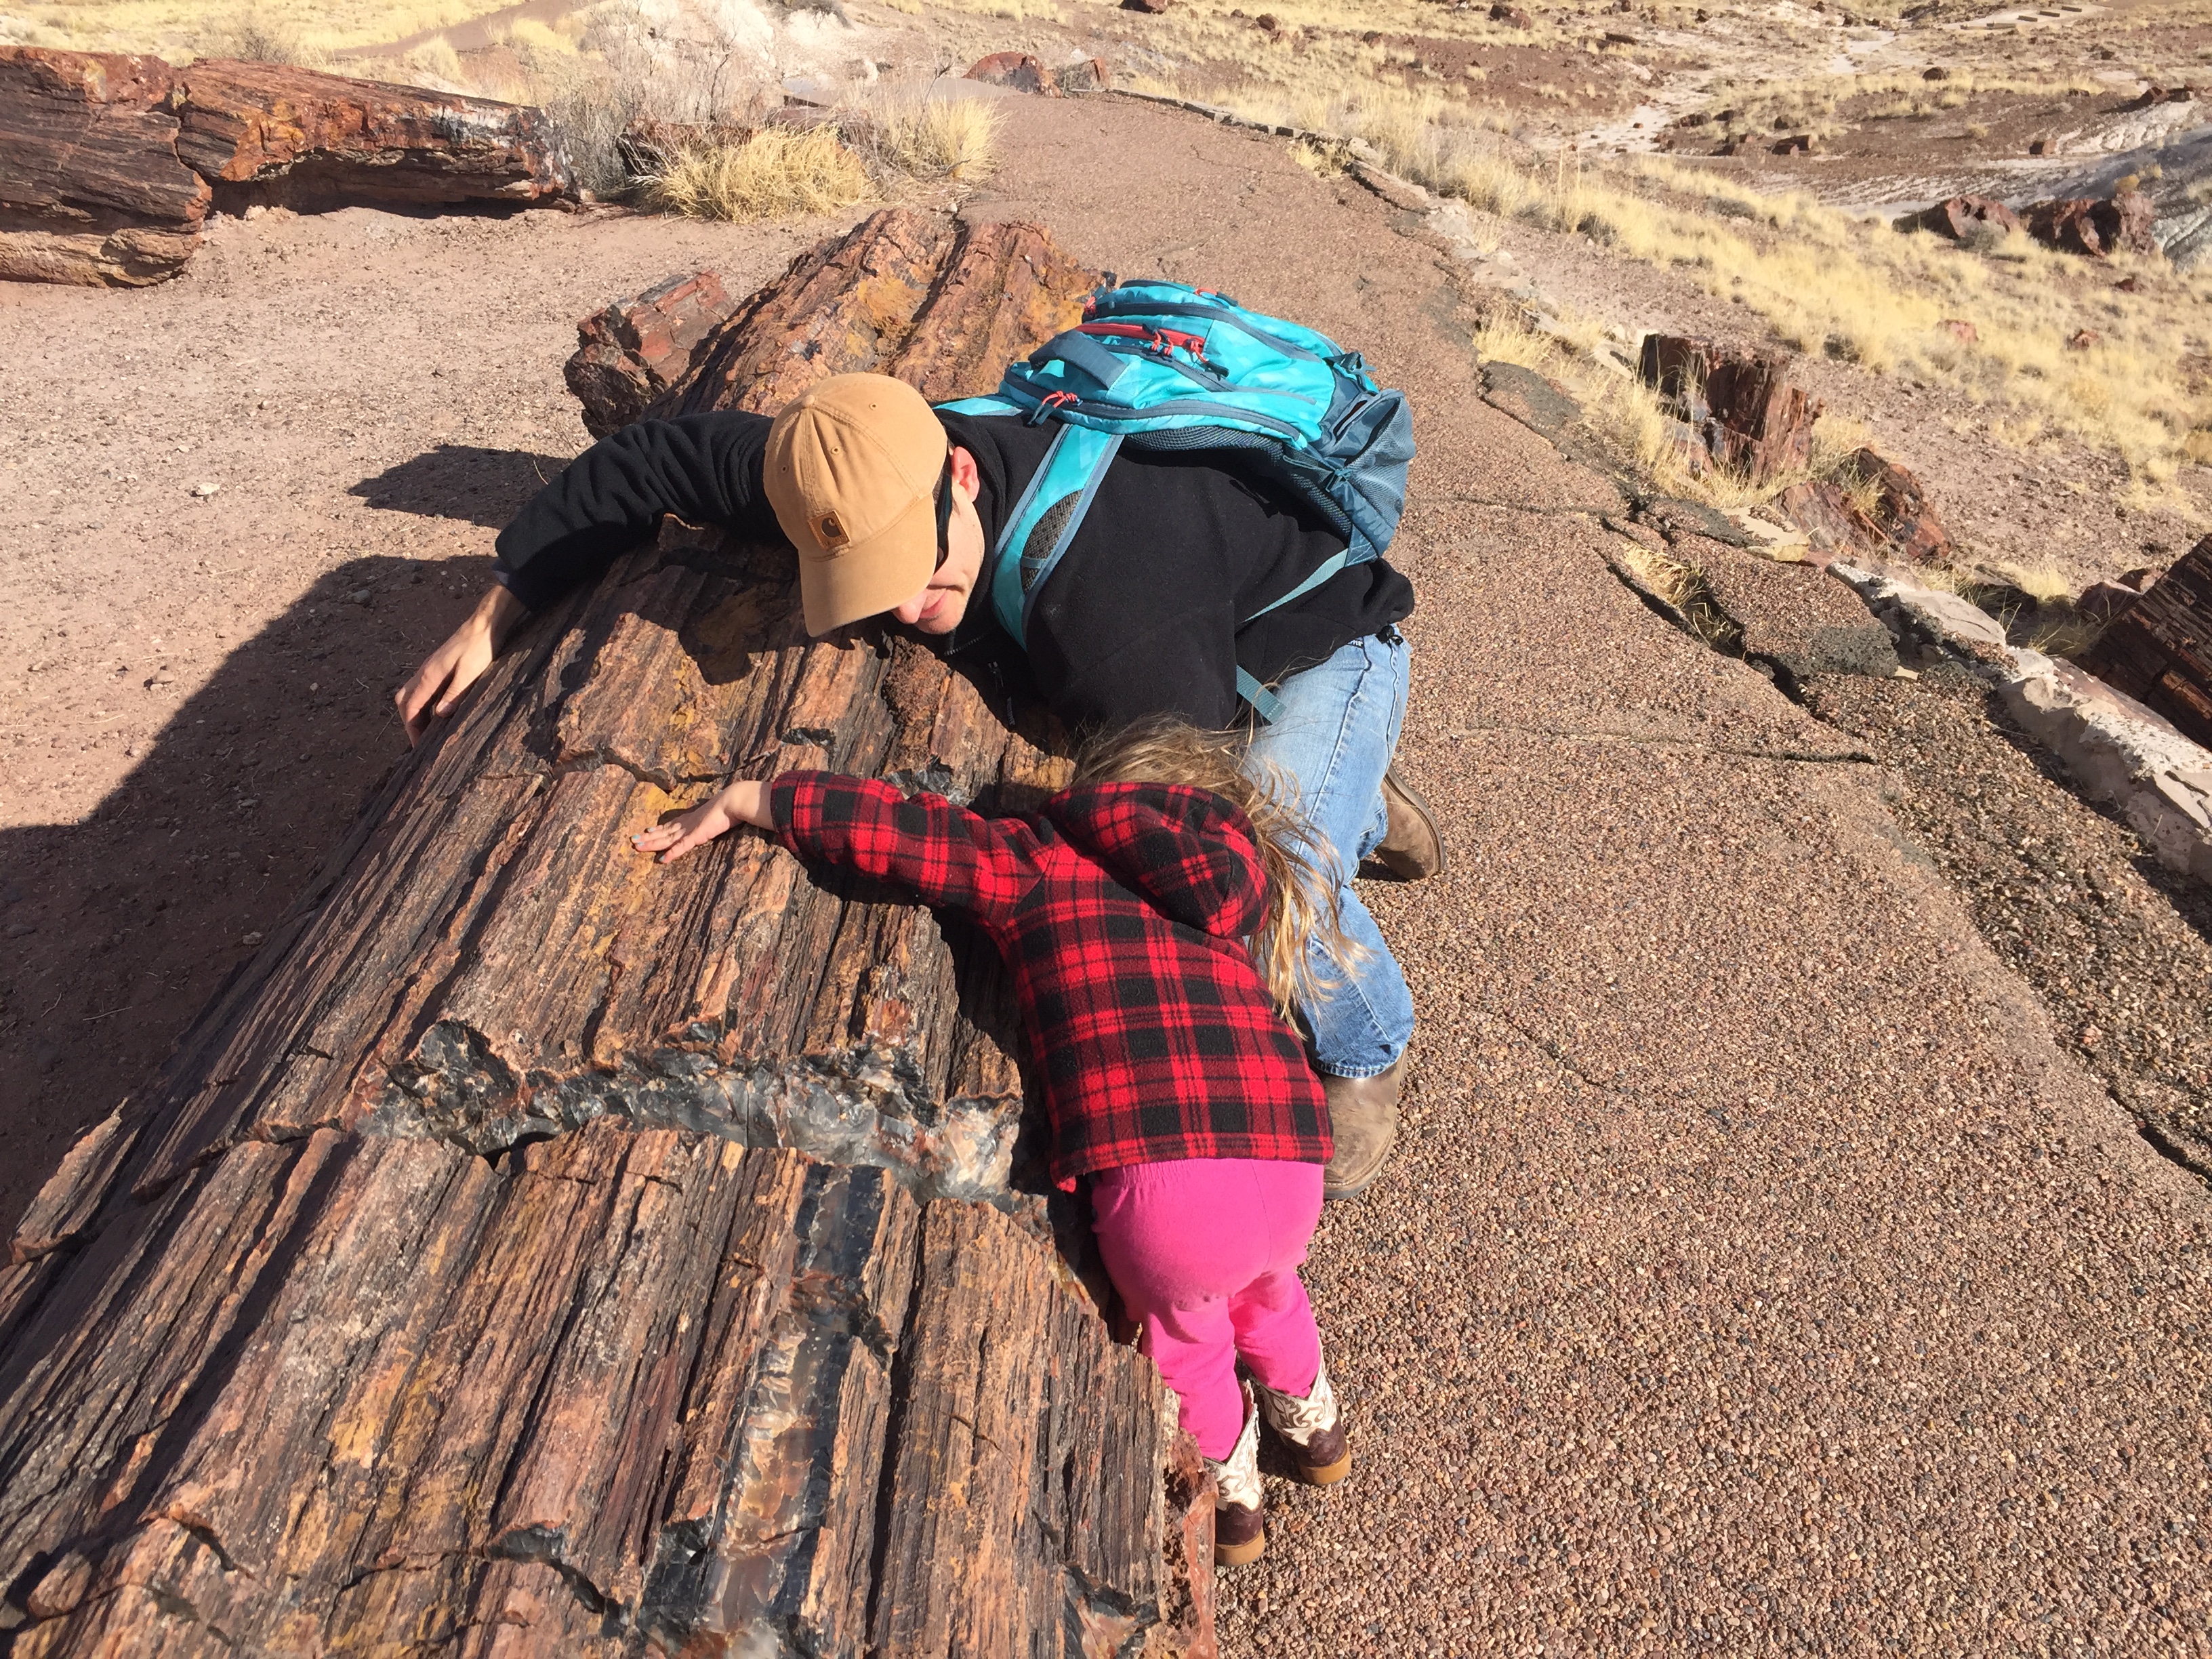
Right out of the back door we started on the Giant Logs trail. It was a fun little loop to get us started and introduced to the petrified wood. At the top was “Old Faithful” One of the largest logs in the park.
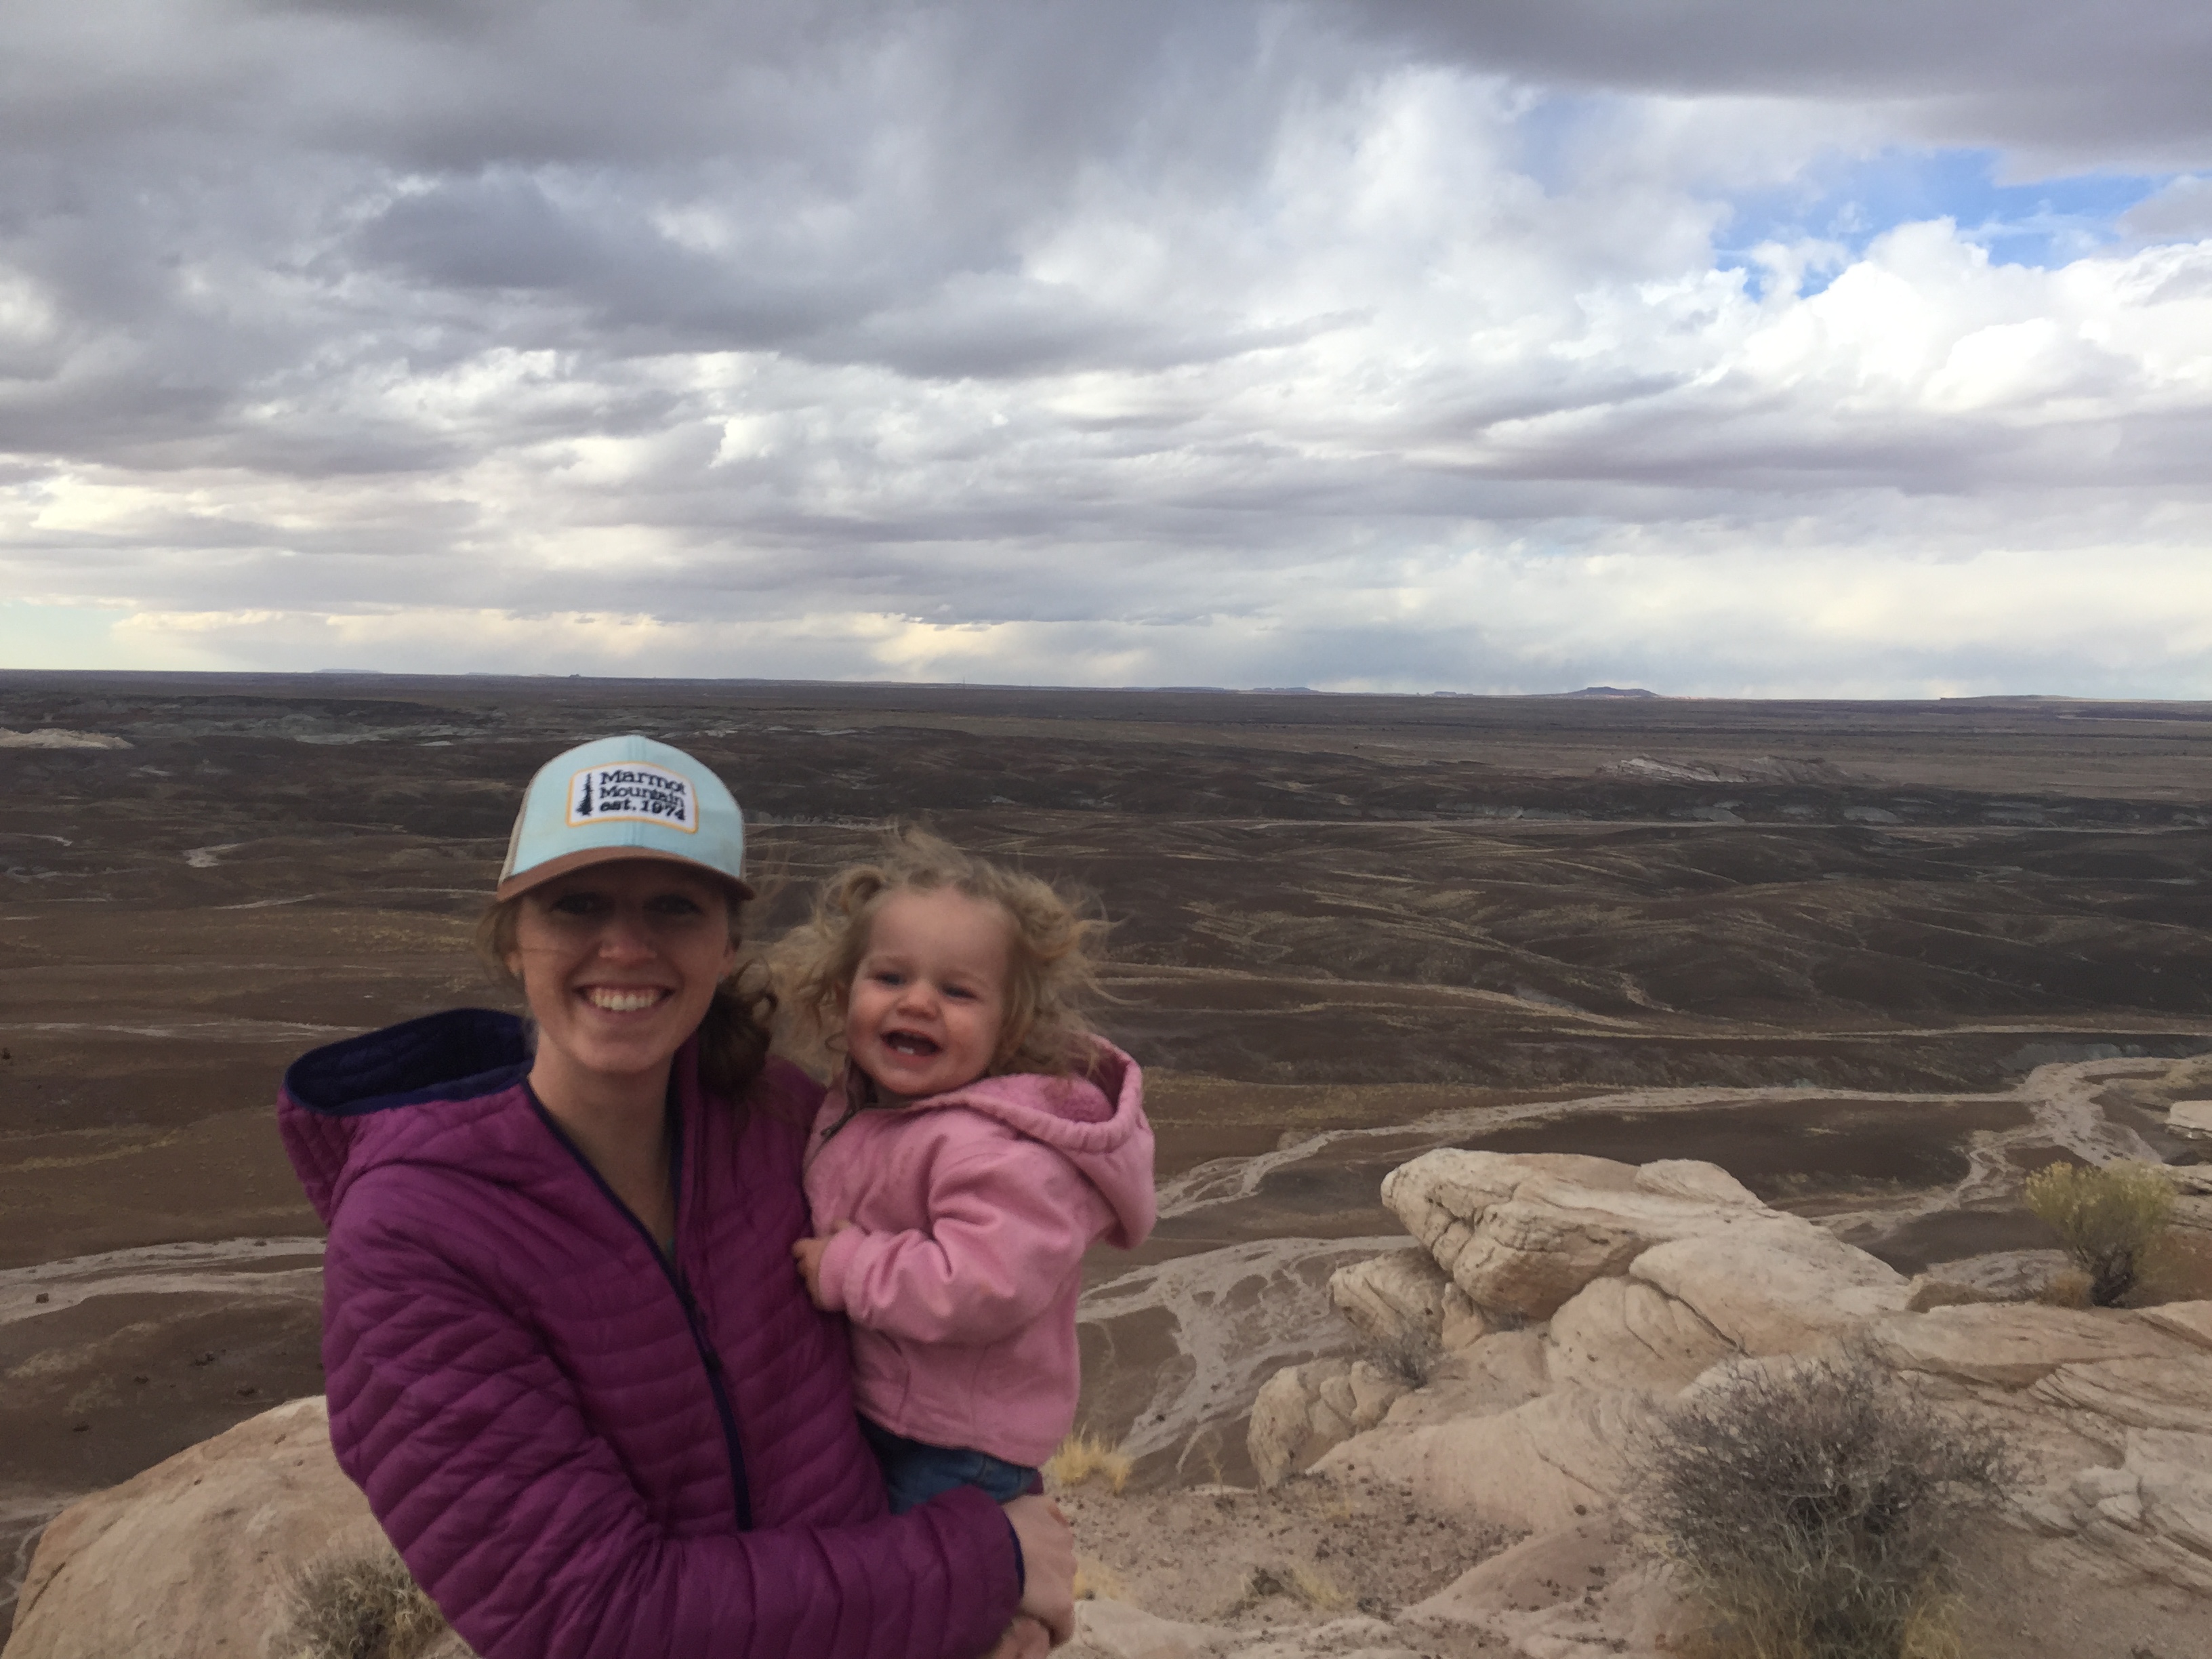
 They love the wind…NOT!
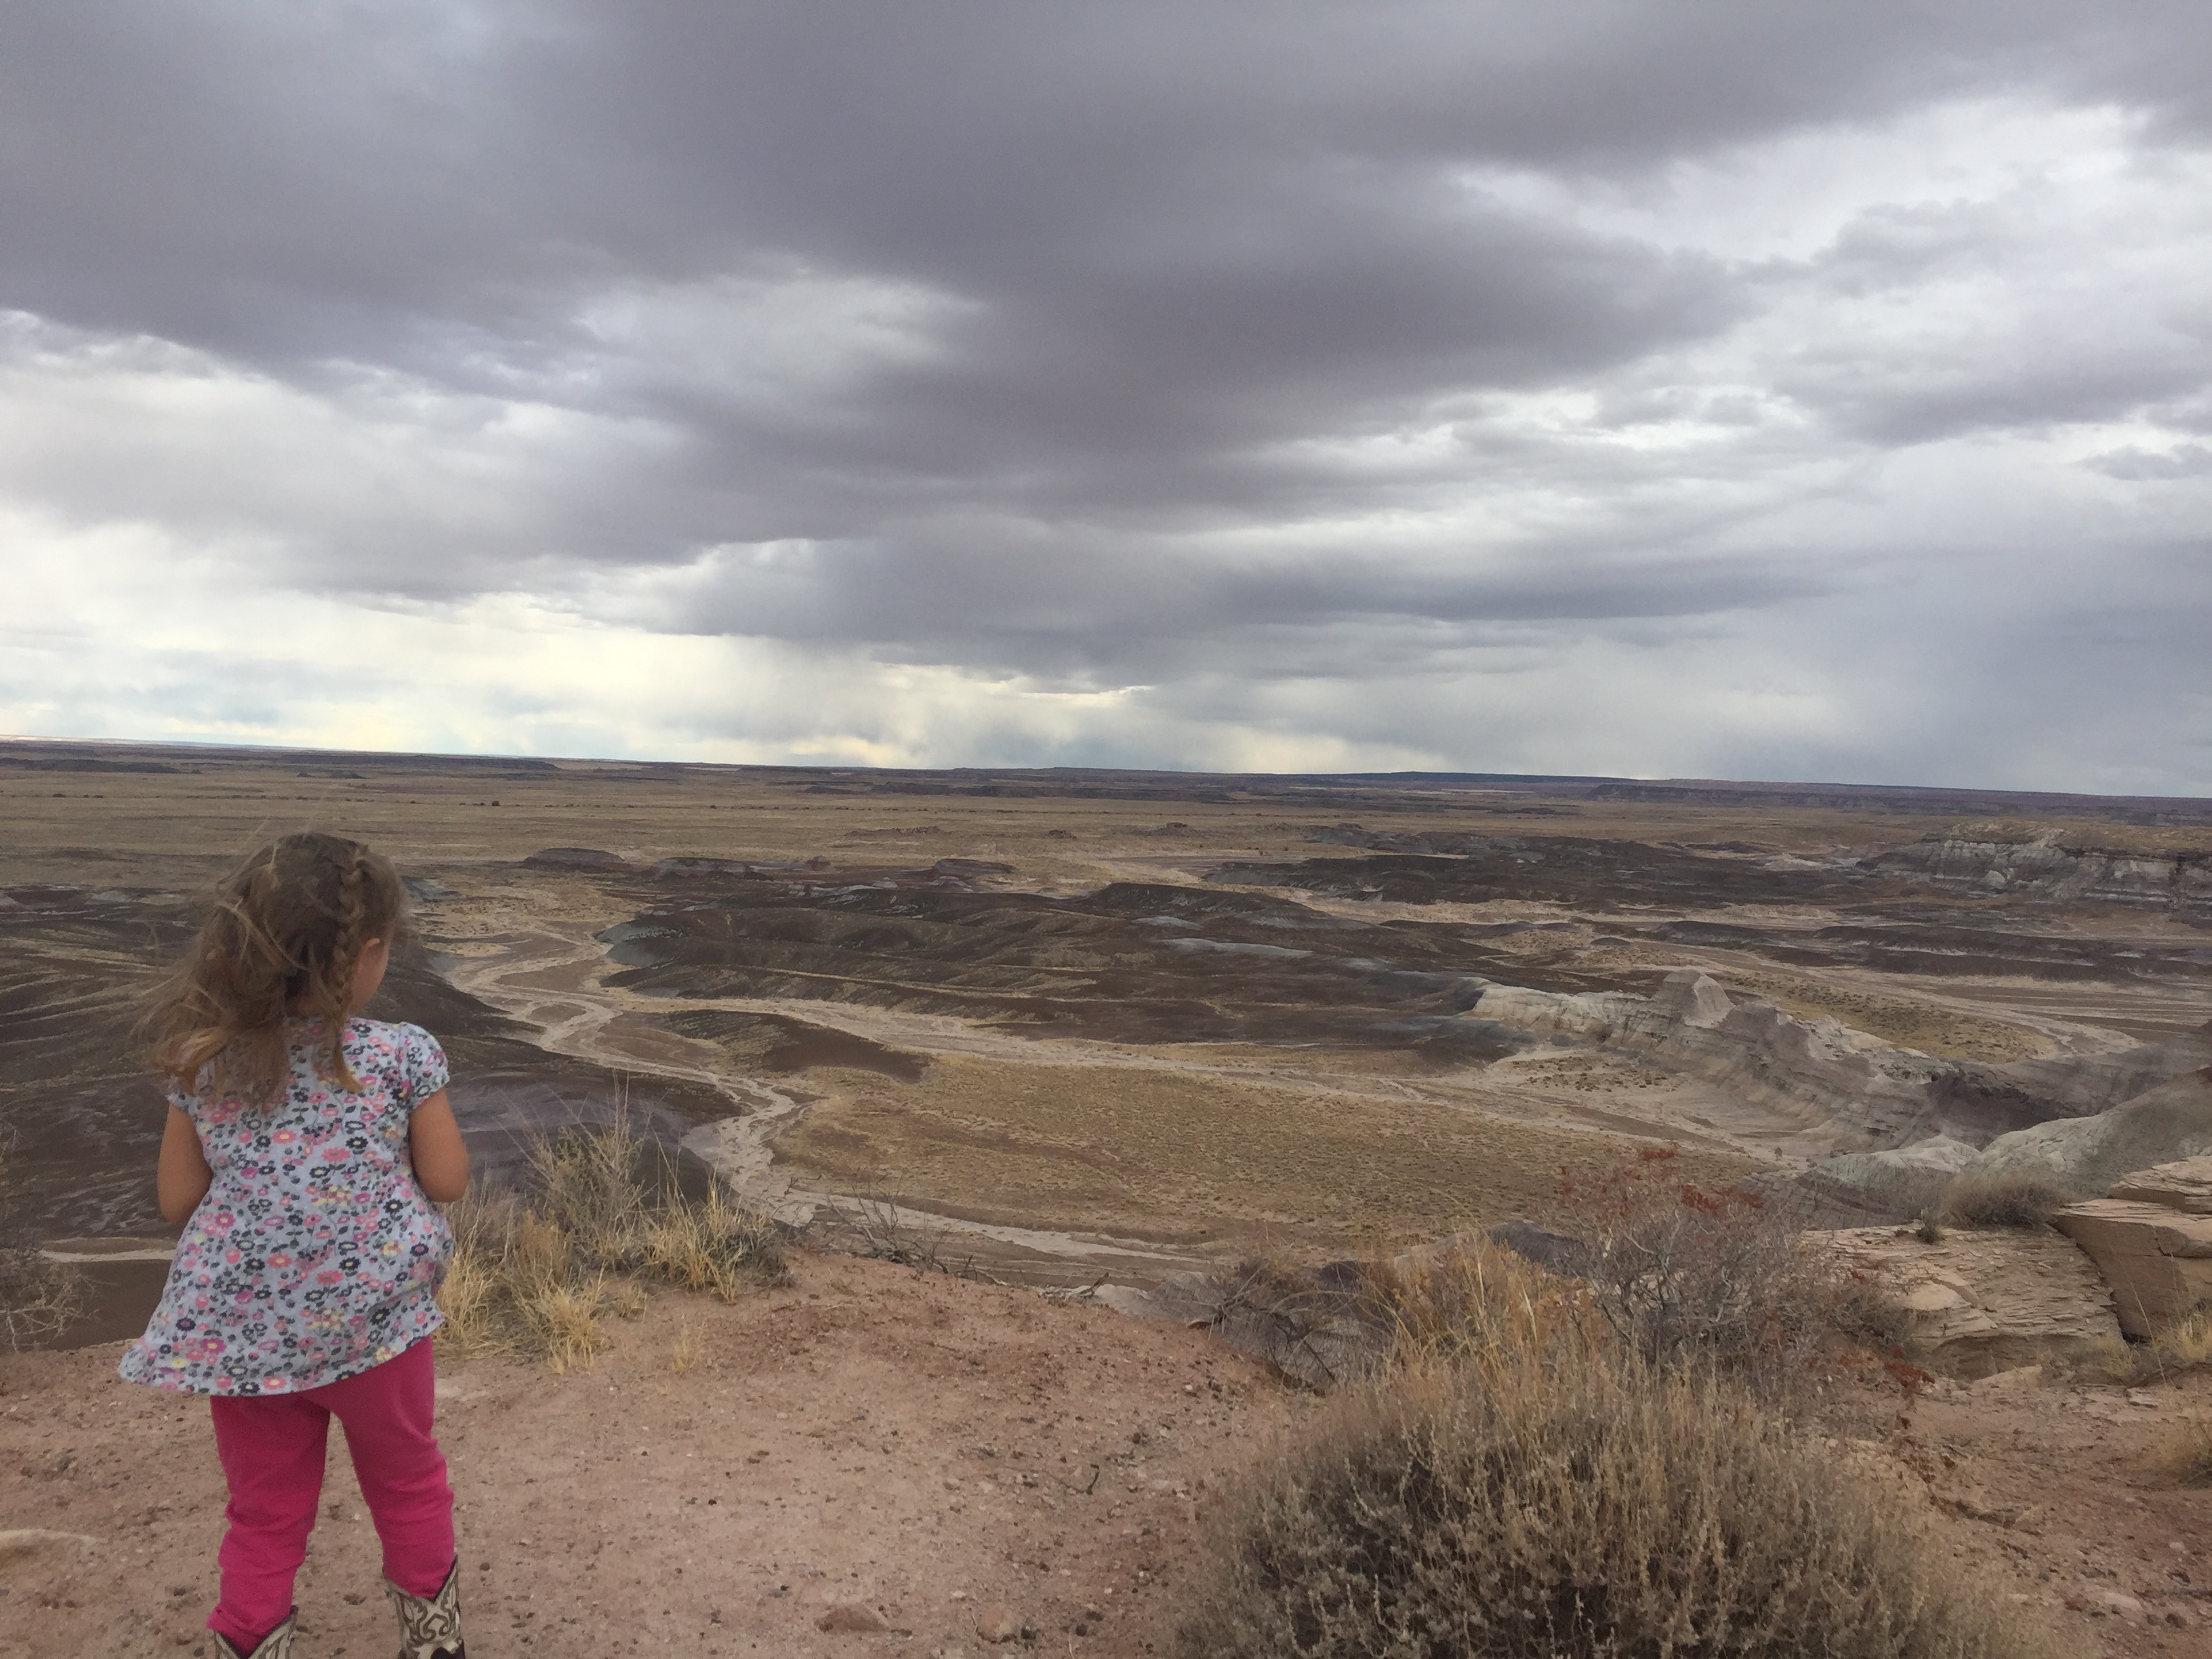
We got back in the truck and headed to Jasper Forest overlook. We where almost blown away here. It was a beautiful overlook but the girls hated how strong the wind was. So we jumped right back in the truck and did a drive by the Agate Bridge.
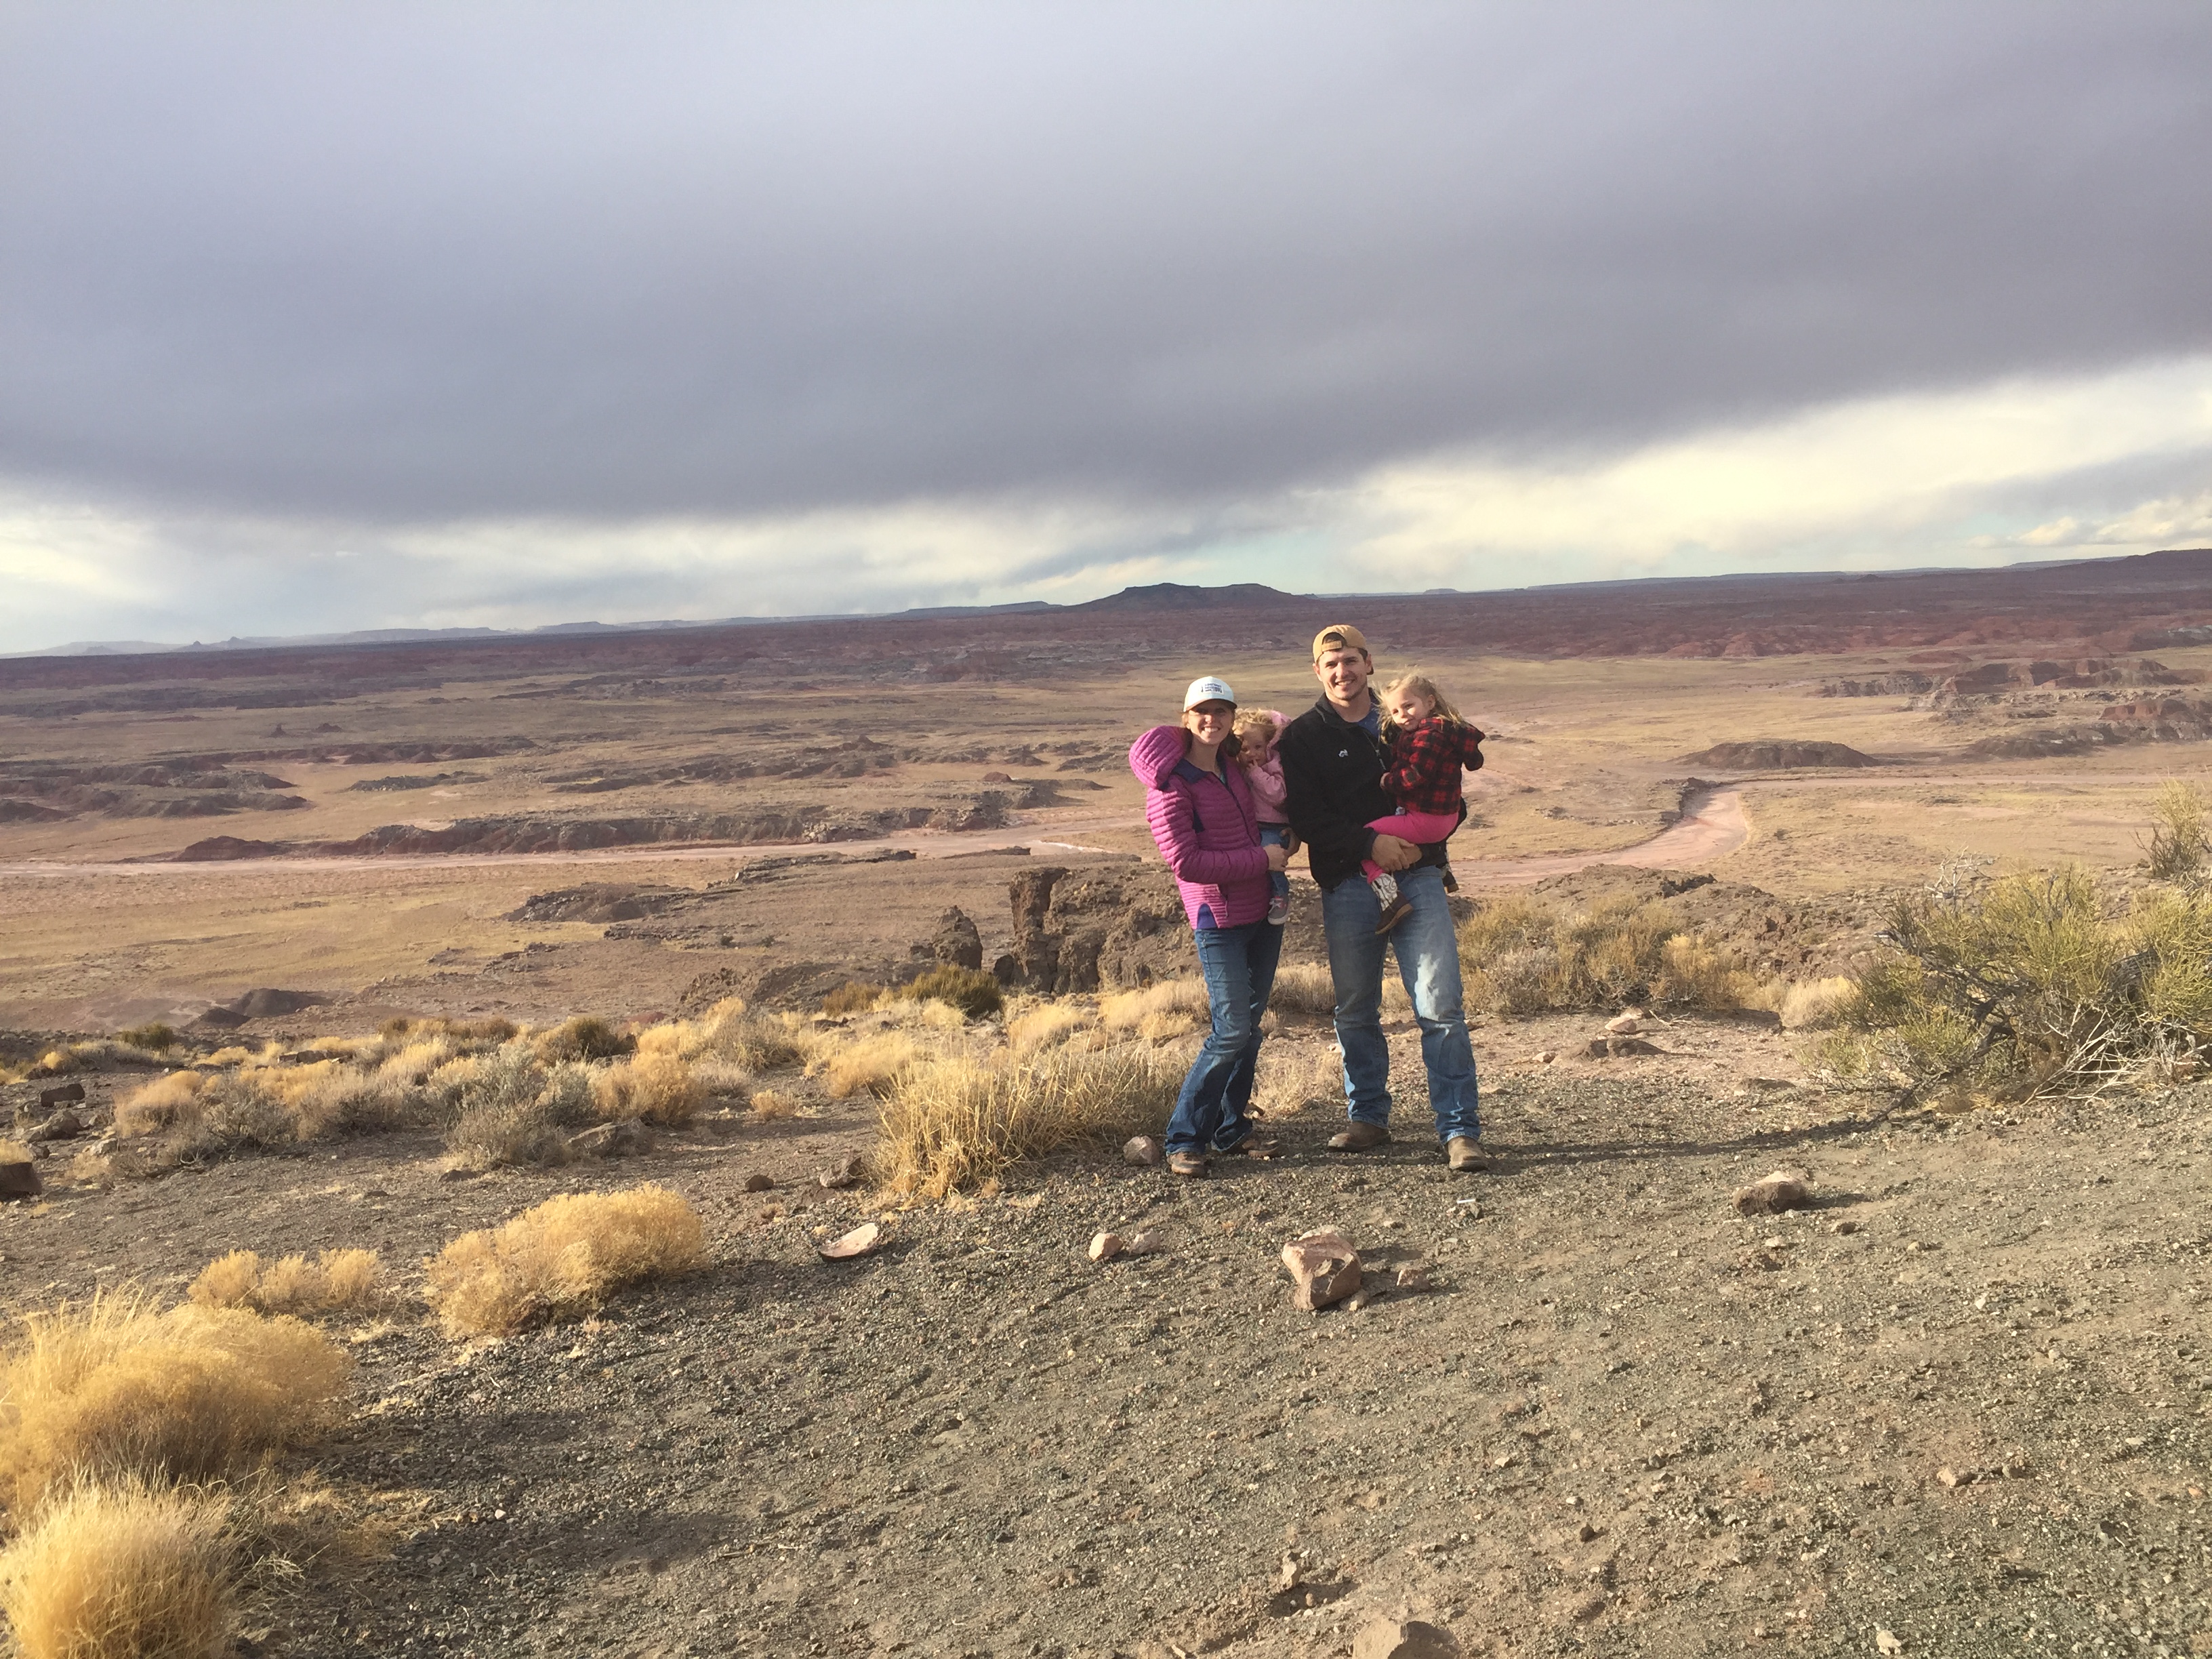
Next on our list was Blue Mesa. We just drove the loop but there is a steep 1.0 mile hike that will take you from the top of the mesa down into the badlands. The views on this drive were amazing! We attempted a family picture but the girls weren’t going to do it. The wind was really that bad!!
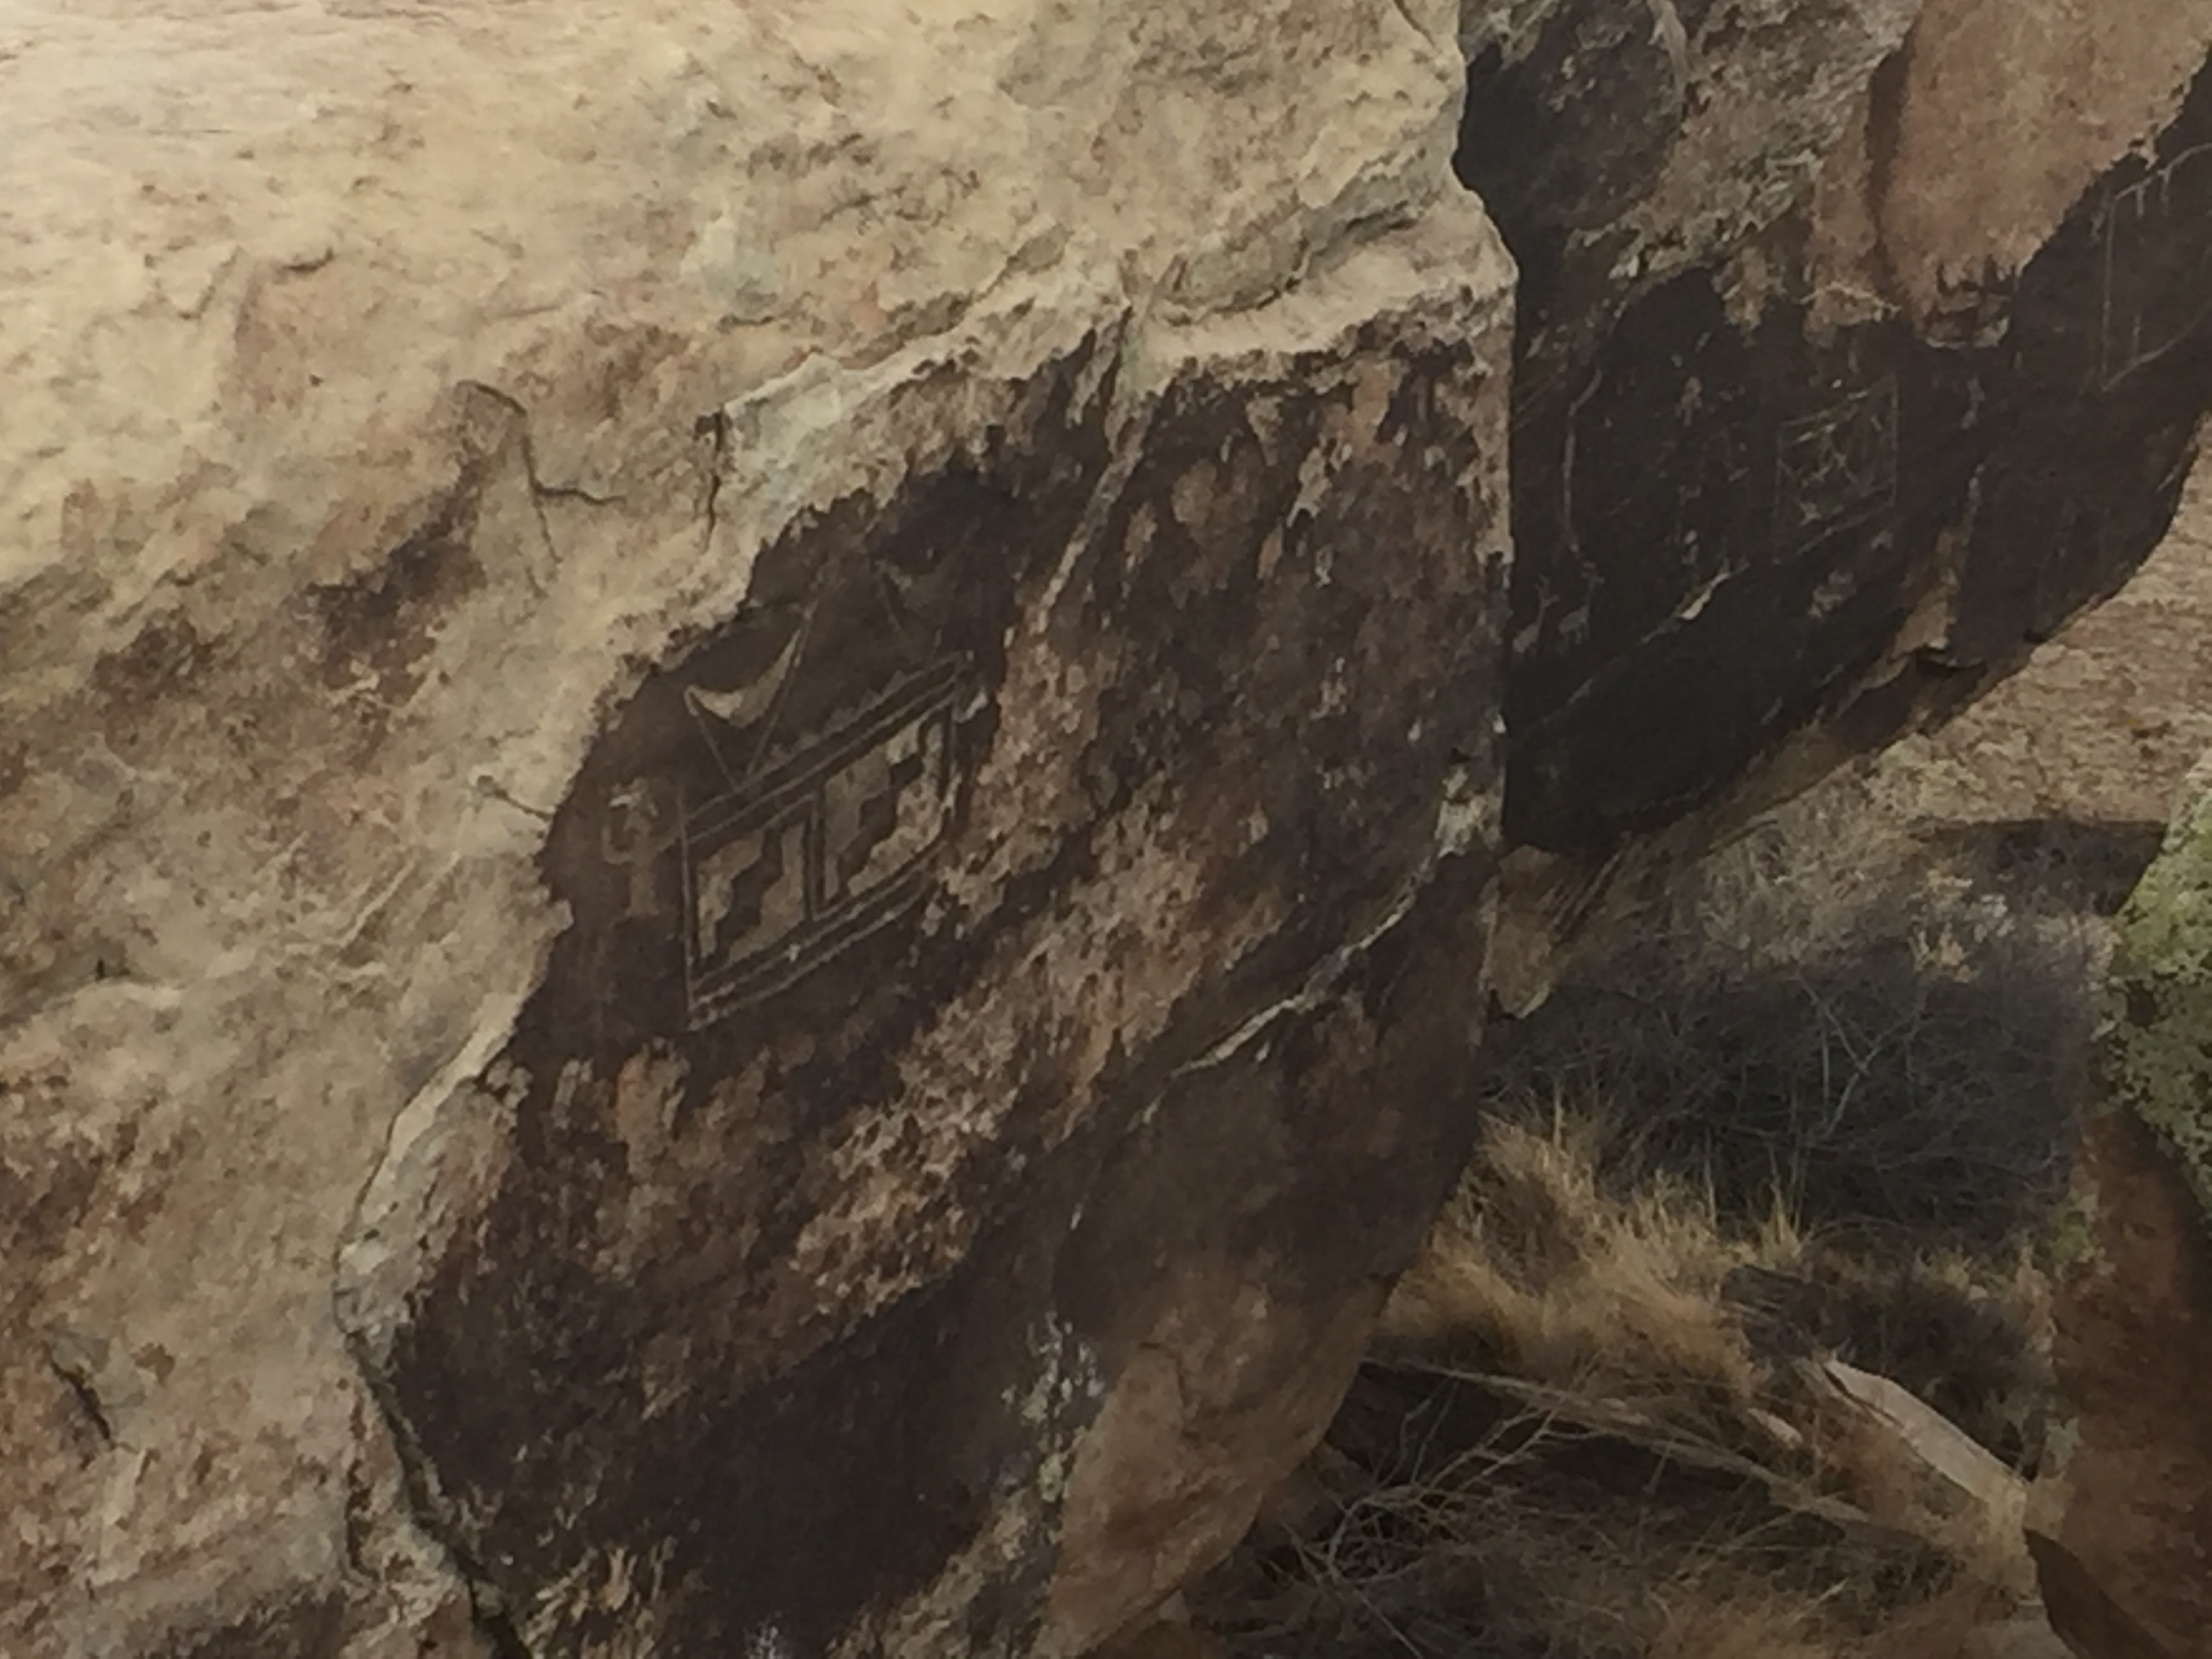
We debated stopping at the newspaper rock but continued on to Puerco Pueblo. This was a short 0.5 mile loop leading from the parking lot to some Indian ruins and petroglyphs.

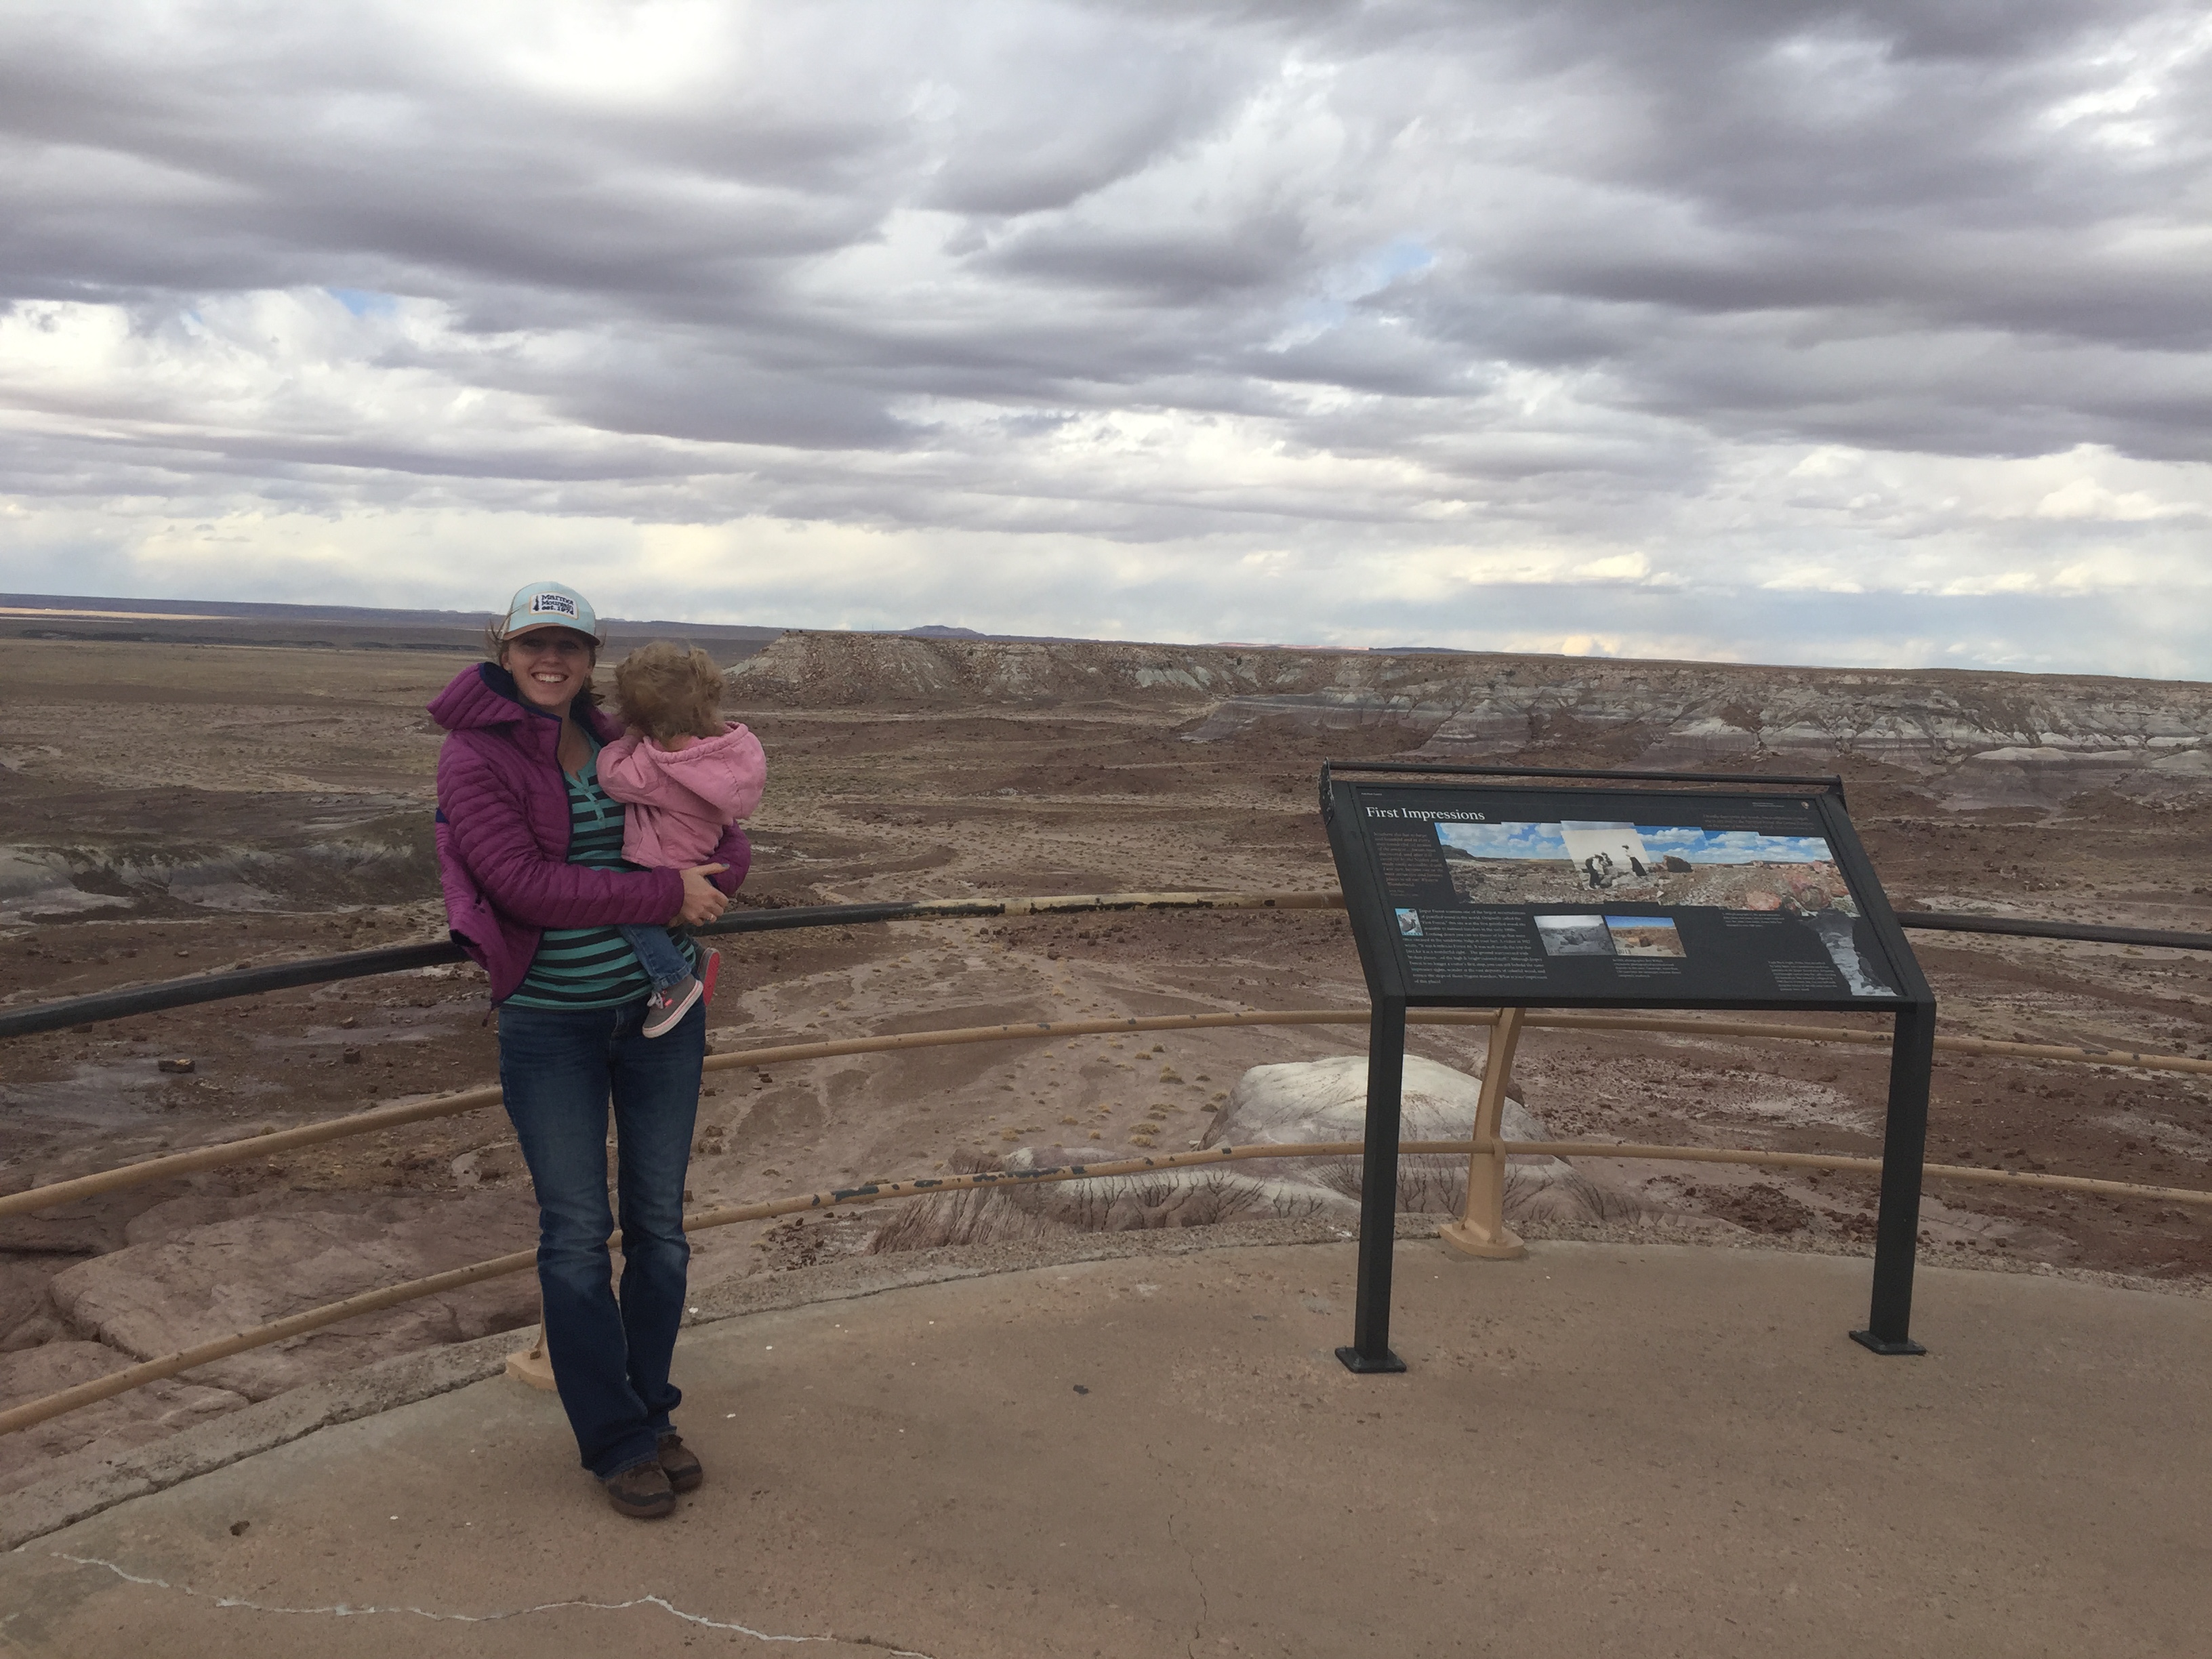
As we crossed over the interstate into the painted desert the views were spectacular! There are several lookout points you can stop at, we chose to stop at Pintado Point. What a breathtaking view! It was just about sunset too so it was gorgeous to see the sun light up the whole area.
We attempted going to the Painted Desert Inn but just missed it not realizing that is closed at 4:oo PM. Our last stop was at the Painted Deseret Visitors Center. Here we got a Passport booklet and got our stamp. And of course we had to pick up a few souvenirs at the gift shop. 😉


After our long adventurous day it was time to head to Holbrook, AZ. It was nice that we could just hop right back on the interstate and be on our way. From the North end of the Petrified Forest National Park it is about 25ish miles to Holbrook, from the South end it is about 19 miles.
There are two options for RV parks that we found in Holbrook. The KOA and OK RV park. There is also a Normans RV park not to far down the road in Joseph City but it does not have Wifi. We chose the OK RV park because it was a little cheaper and still had everything we needed.

It got pretty cold at night. So we just had to make sure to turn the water off so things wouldn’t freeze. It was an amazing trip and we are so excited for this journey and hope you will be able to make it to this beautiful place. Here is a link if you would like to learn more about Petrified Forest National Park.
Related Posts:
5 Things You Never Have To Do While RV Living
3 Guidelines For Living In An RV With Toddlers
5 Tips To A Successful Road Trip With A Toddler
Was this helpful? Please consider sharing. Or if you have any questions or thoughts, feel free to comment below.
Embrace The Kids Life Style Blog
Email: ContactUs@EmbraceTheKids.com
“Make Them The Reason, Not The Excuse”
P.S. Looking to start traveling full time but not sure how to fund your adventures? Learn how to follow a simple process to start building a full-time income online.
If you enjoyed this post on “Petrified Forest National Park”, comment, share, or follow us on Instagram #EmbraceTheKids.
10 Minute Parental Stress Test
")
The other day I was talking to my sister who recently just had her seventh child. As I was holding her precious new baby I asked her, ” Is it any easier with the seventh?” Her reply was, “I am spread pretty thin.” With kids ranging from 16 to newborn, she stays pretty busy.
As a parent we have a lot on our plates. It’s easy to get very stressed. In fact for most of us, stress is a part of everyday life. So we thought we would share this parental stress test designed to help you recognize where your stress is coming from.
Once you have figured that out, then you can create a plan and come up with solutions to help reduce your stress levels. 🙂 My sister also told me that her kids are not doing many of the things they were previously doing. She recognized that running kids to and fro was causing her stress, so she removed/decreased that part of her life to help her stay in control and focus on what was more important for her family.
I must give credit where it is due because I did not come up with this parental stress test, it is from a book called, “I Didn’t Plan To Be A Witch” by Linda Eyre. Linda and her husband Richard are speakers on parenting and families and the authors of numerous other books. Check out their site www.TheEyres.com to see other books and programs the have created.
Here Is How It Works
Judge the stress each item causes you on a scale from zero to ten: Zero being no stress and ten representing the highest stress. There will be spaces provided to add own stress causing items if you don’t find them on the list.
Stress Test
- Sleep (not getting enough and its effect on your performance)
- Exercise (lack of it or guilt feelings because you know you should)
- Diet (guilt fellings because of your weight or irritability because you’re dieting)
- Pregnancy (hormones and health problems because you are or guilt feeling or frustration because you’re not)
- Nursing a baby (schedule restraints or having not enough or too much milk)
- Number of children (count on point for each child – preschoolers and teenagerscount double. This score may add up to more than 10.)
- Working outside the ome (guilt feelins for leaving or time and emotionaldemands because of)
- Relationship with husband (personality and/or sexual incompatibility)
- Church involvment (feelings of not doing enough or doing too much)
- PTA or school involvement (feelings of not doing enough or doing too much)
- Scoial engagements (job-related commitments or too few or too many angagements)
- Financial needs (disagreement with husband over worries, frustrationsm and difficulties with)
- Time (not having enough time or frustration in managing time)
- Size of house (too small – no place to andthing or too large – taking too mouch time to keep up)
- Guests in home ( frequency of and entertaing, food preparation, house preparation)
- Lessons (from soccer to piano – count double points for lessons that require your help during the week, i.e., sitting with beginners for practice)
- Car pools (to and from school, lessons, church, activites, field trips)
- Homework and children’s grades (too much help requires from you or feelings that you don’t help enough or pressure to produce good students)
- Parents and parents-in-law ( health problems or difficulet relationship with)
- Sibling rivalry (referee tactics inadequate or emotional wear and tear because of)
- Family responsibility (single-parent stress, martyr syndrome, or nee to teach children to help)
- Order (amount of clutter or lack of cooperation to control)
- Obedience (struggle with the balance between control and free agency)
- Babysitting (frustration over finding one, using one too often, or not being able to afford one)
- Cooking (meal preparation or concern over nutrition and variety)
- Laundry (amount of or inability to find matched socks)
- Tone of voice (household often angry or you are stressed and up-tight)
- Health (general well-bing, health problems, depression or fear of disease)
- Children’s friends (or concern about child’s child’s lack of friends)
- Cleaning (lack of help with or ability to accomplish)
- Change (a recent move or new job or feeling the need to change behavior)
- Shopping (confusion of shopping for groceries with preschoolers or not having time or money or good judgment to get what you need)
- Monthly periods (accompanying emotional ups and downs, as well as actually felling ill)
- Car and appliance break-downs (frequency of or inconvenience and cost of)
- Teenagers (dating, driving, or defiance)
- Lack of creative outlets (not having time to do your own thing or feeling the martyr syndrome, etc.)
- Conflicts with a boss or people at work (intensity of or frequency of)
- Husband’s/wife’s job (time demands or lack of promotion, etc.)
- Friends and neighbors (conflicts with or lack of involvement with)
- Arguments (with husband/wife and/or children or other family members)
Now What
Now that you are done, go over your answers. What is bringing you stress, is there a pattern? Now that you can recognize where your stress is coming from, now you can take control and better handle the things that are thrown your way.
Related Posts:
Embrace The Kids – Make Them Be The Reason… Not the excuse
What To Do When Your Kids Aren’t Listening
Was this helpful? Please consider sharing. Or if you have any questions or thoughts, feel free to comment below.
Embrace The Kids Life Style Blog
Email: ContactUs@EmbraceTheKids.com
“Make Them The Reason, Not The Excuse”
P.S. Looking to start traveling full time but not sure how to fund your adventures? Learn how to follow a simple process to start building a full-time income online.
If you enjoyed this post on “10 Minute Parental Stress Test”, comment, share, or follow us on Instagram #EmbraceTheKids.